Metal Testing Equipment
Description
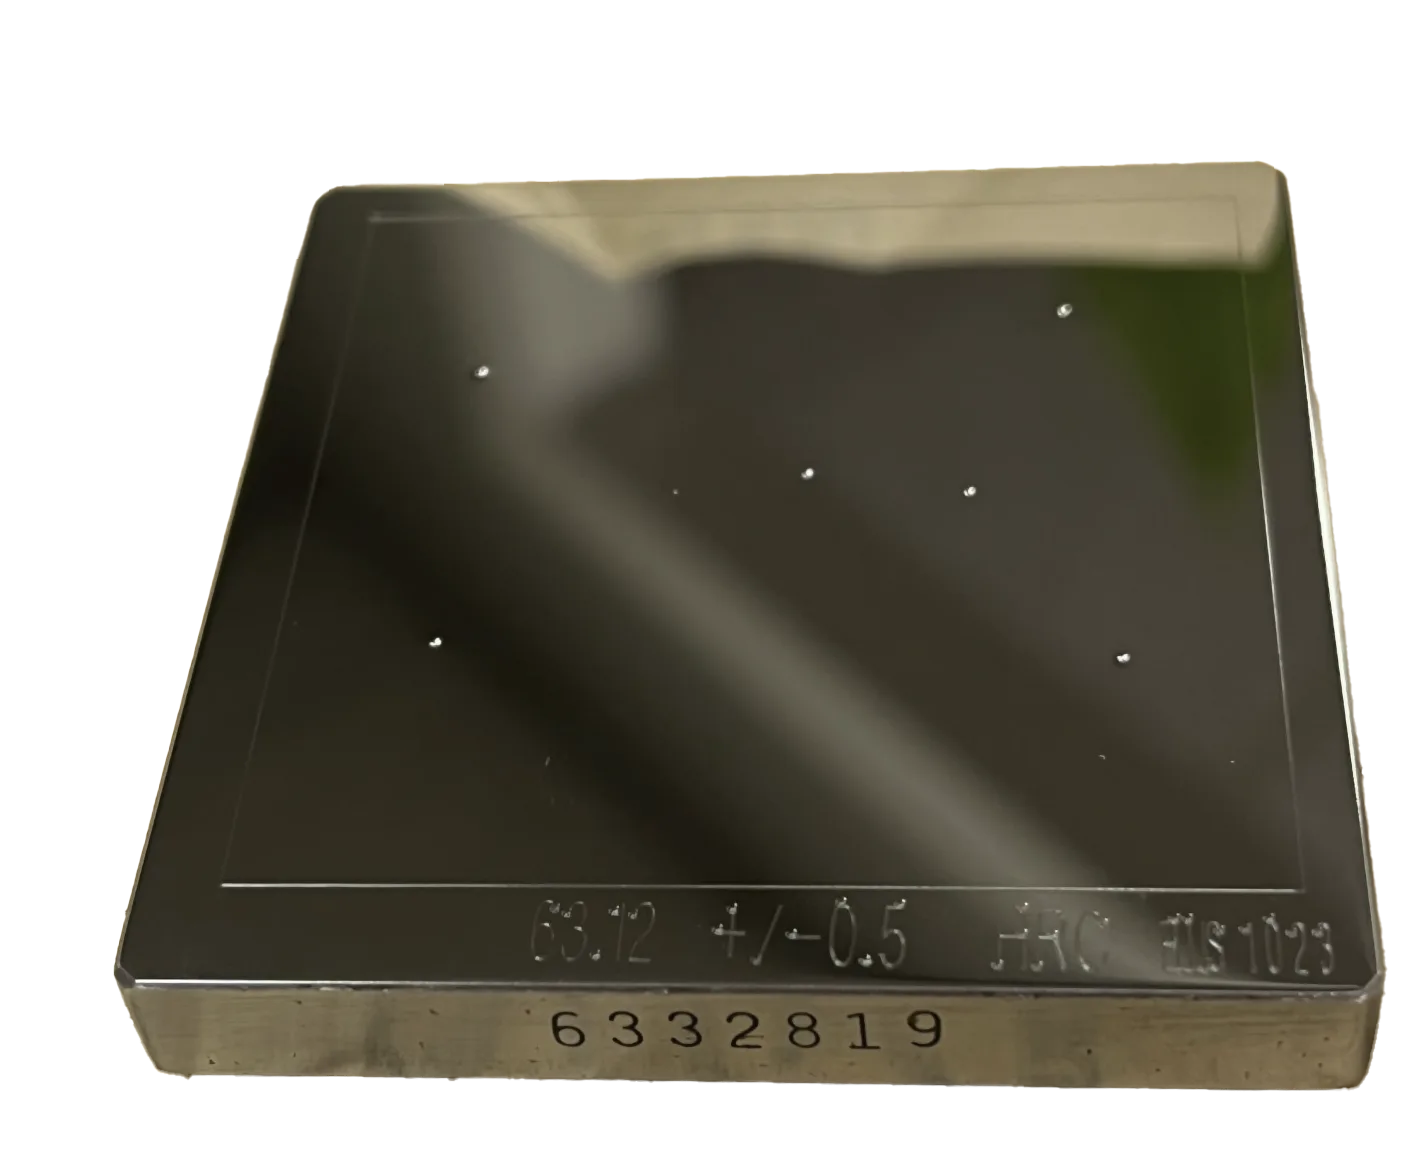
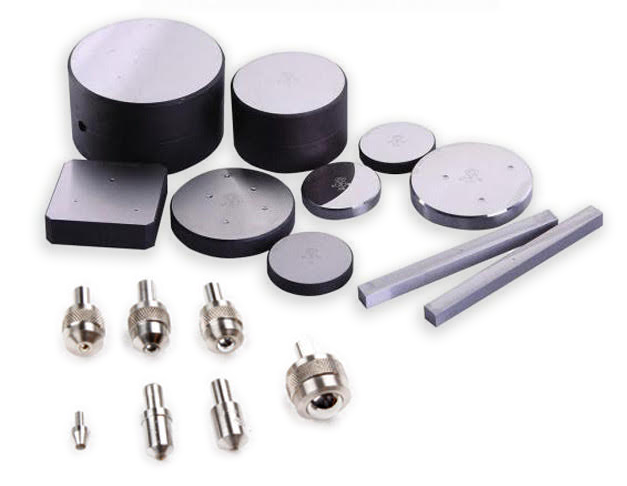
NextGen Material Testing offers a full line up of hardness test blocks and other accessories for your metal hardness testing needs. Certified Test Blocks are a requirement as a reference material for any type of hardness testing. At NextGen, we understand the importance of a Test Block to ensure the accuracy of your hardness testing procedures. Industry standards, such as ASTM, specify that a test block must be used every day that your testing apparatus is in operation as well as whenever an indenter, anvil or load force is changed.
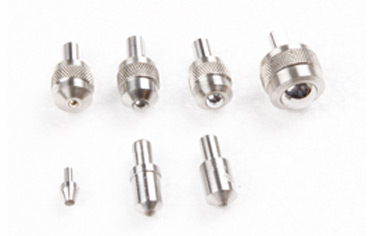
NextGen offers most Brinell, and Rockwell blocks in stock. We also carry Knoop, and Vickers Micro blocks, and heavy load Vickers blocks. To complete the line of accessories, we also carry a full line of certified indenters for Rockwell, Brinell, Vickers and Knoop testing and test anvils which are compatible with a wide majority of hardness testers. Contact us today with your specific requirements.
Download Your Catalogue
FULL CONSUMABLES CATALOGUE
NextGen hardness test blocks are all certified in accordance with ASTM E384 (Vickers and Knoop), E18 (Rockwell) or E10 (Brinell). All the blocks are calibrated and accredited to ISO guide 25 and are performed in an ISO 17025 compliant facility.

Standard Rockwell Hardness Test Blocks - ASTM E-18 and ISO 6508
| Hardness Scale | Part # | Penetrator | Major Load | Hardness Values Available | Material |
|---|---|---|---|---|---|
| HRA | TB-HRA-S | C Diamond | 60kg | HRA60 - HRA84 | Steel |
| HRA | TB-HRA-B | C Diamond | 60kg | HRA20 - HRA59 | Brass |
| HRA | TB-HRA-C | A Diamond (Carbide) | 60kg | HRA88 & up | Carbide |
| HRB | TB-HRB-B | 1/16" Ball | 100kg | HRB10 - HRB92 | Brass |
| HRB | TB-HRB-S | 1/16" Ball | 100kg | HRB90 - HRB130 | Steel |
| HRC | TB-HRC-S | C Diamond | 150kg | All | Steel |
| HRC | TB-HRD-S | C Diamond | 100kg | All | Steel |
| HRE | TB-HRE-B | 1/8" Ball | 100kg | All | Brass |
| HRF | TB-HRF-B | 1/16" Ball | 60kg | All | Brass |
| HRG | TB-HRG-B | 1/16" Ball | 150kg | HRG2.5 - HRG64 | Brass |
| HRG | TB-HRG-S | 1/16" Ball | 150kg | HRG66 & up | Steel |
| HRH | TB-HRH-B | 1/8" Ball | 60kg | All | Brass |
| HRK | TB-HRK-B | 1/8" Ball | 150kg | All | Brass |
| HRL | TB-HRL-B | 1/4" Ball | 60kg | All | Brass |
| HRM | TB-HRM-B | 1/4" Ball | 100kg | All | Brass |
| HRP | TB-HRP-B | 1/4" Ball | 150kg | All | Brass |
| HRR | TB-HRR-B | 1/2" Ball | 60kg | All | Brass |
| HRS | TB-HRS-B | 1/2" Ball | 100kg | All | Brass |
| HRV | TB-HRV-B | 1/2" Ball | 150kg | All | Brass |

NOTE: Aluminum Test blocks are available in "B", "E", "F", "G", "H", "K" Scales, but ranges are more limited.
Superficial Rockwell Hardness Test Blocks - ASTM E-18 and ISO 6508
| Hardness Scale | Part # | Penetrator | Major Load | Hardness Values Available | Material |
|---|---|---|---|---|---|
| HR15N | TB-HR15N | N Diamond | 15kg | All | Steel |
| HR30N | TB-HR30N | N Diamond | 30kg | All | Steel |
| HR45N | TB-HR45N | N Diamond | 45kg | All | Steel |
| HR15T | TB-HR15T | 1/16" Ball | 15kg | All | Brass |
| HR30T | TB-HR30T | 1/16" Ball | 30kg | All | Brass |
| HR45T | TB-HR45T | 1/16" Ball | 45kg | All | Brass |
| HR15W | TB-HR15W | 1/8" Ball | 15kg | All | Brass |
| HR30W | TB-HR30W | 1/8" Ball | 30kg | All | Brass |
| HR45W | TB-HR45W | 1/8" Ball | 45kg | All | Brass |
| HR15X | TB-HR15X | 1/4" Ball | 15kg | All | Brass |
| HR30X | TB-HR30X | 1/4" Ball | 30kg | All | Brass |
| HR45X | TB-HR45X | 1/4" Ball | 45kg | All | Brass |
| HR15Y | TB-HR15Y | 1/2" Ball | 15kg | All | Brass |
| HR30Y | TB-HR30Y | 1/2" Ball | 30kg | All | Brass |
| HR45Y | TB-HR45Y | 1/2" Ball | 45kg | All | Brass |
Brinell Hardness Test Blocks — ASTM E-10 and ISO 6506
All of our Brinell Test Blocks come certified to applicable standards. We adhere to a strict procedure for the calibration of these blocks, and the accuracy of the tester is maintained using a proving ring and load cell both traceable to N.I.S.T. The readings themselves are done using a stage micrometer also calibrated and traceable to N.I.S.T.
| Part # | Description | Hardness Values Available |
|---|---|---|
| TB-HBW-250 | Brinell 250kg Load | All Hardness Ranges |
| TB-HBW-500 | Brinell 500kg Load | All Hardness Ranges |
| TB-HBW-1000 | Brinell 1000kg Load | All Hardness Ranges |
| TB-HBW-62.5 | Brinell 62.5kg Load | All Hardness Ranges |
| TB-HBW-1500 | Brinell 1500kg Load | All Hardness Ranges |
| TB-HBW-3000 | Brinell 3000kg Load | All Hardness Ranges |
| TB-HBW-750 | Brinell 750kg Load | All Hardness Ranges |
| TB-HBW-187.5 | Brinell 187.5kg Load | All Hardness Ranges |
| TB-TeleBrineller | Telebrineller Test Bars | All Hardness Ranges |
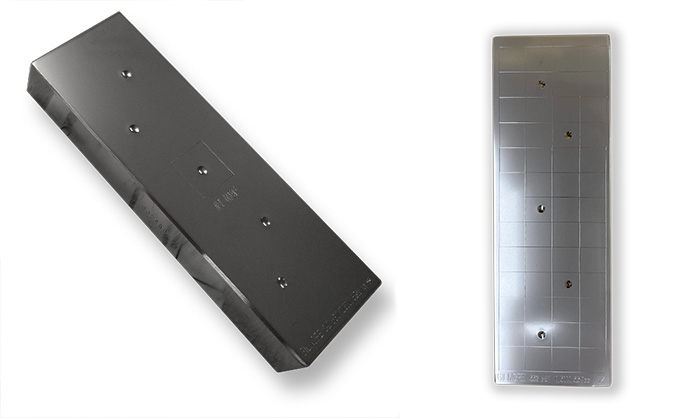
Brinell Hardness Test Block with Indentations
Vickers and Knoop Hardness Test Blocks - ASTM E-384 and ISO 6507
Our range of micro hardness test blocks exceed industry standards. All of our micro test blocks are mirror-polished and mounted to provide the best possible test surface.
Each mirror-polished Heavy Load Vickers test block has the same surface area provided by our Rockwell test blocks, so that you get the most test opportunities for your money.
| Part # | Description | Hardness Values Available |
|---|---|---|
| TB-HV-M | Micro Vickers (1 gram to 1,000 gram) | All Hardness Ranges |
| TB-HV-H | Heavy Load Vickers (1kg to 50kg) | All Hardness Ranges |
| TB-HK | Knoop (1 gram to 1,000 gram) | All Hardness Ranges |

FAQs
Standard Rockwell Hardness Test Blocks - ASTM E-18 and ISO 6508 use the following materials:
- Steel
- Brass
- Carbide
Superficial Rockwell Hardness Test Blocks - ASTM E-18 and ISO 6508 use such materials:
- Steel
- Brass
In tungsten carbide hardness testing Rockwell hardness of HRA is often used. HRA, named Rockwell Hardness A scale, which as the initial pressure uses 98.07N (equal to 10kgf), use a diamond pressure head with 120°cone apex angle or steel ball with 1.59, 3.18mm in diameter and then pressurized to 588.4N (equal to 60kgf).
These brass alloys are single-phase alloy, which metallurgically we call "Alpha” phase, which has a face-centred cubic structure. The solubility of zinc in copper is 32.5% at the solidus temperature of 900˚C and 30% at room temperature. The brasses used in cartridge cases are entirely alpha phase and are ideally suited to cold working having superior ductility to the copper-zinc alloys.
Looking for a quote? Click here to obtain a personalized quote!
ASTM E-10 and ISO 6506 standards are used in Brinell Hardness Test Blocks. ASTM E-384 and ISO 6507 standards are used in Vickers and Knoop Hardness Test Blocks.
The standard test method for Knoop and Vickers Hardness Testing of Materials is ASTM E384. Test loads are are typically in the range of 100 to 500 gram, however can be as low as 1 gram and as high as 1,000 grams. A geometrically similar indentation at all test forces is usually produced by the Vickers indenter. ISO 6507 specifies the Vickers hardness test method for the three different ranges of test force for metallic materials, including hard metals and other cemented carbides.
Using ASTM E10 Brinell testing is a method of hardness testing using a tungsten carbide ball as the indenter. The indenter is brought into contact with the planar surface of a test specimen and held with a test force for a specified dwell time. The magnitude of the force and the diameter of the ball can vary depending on the material being tested. Methods of direct and indirect verification of testing machines used for determining Brinell hardness in accordance with ISO 6506‑1 and when these two types of verification have to be performed are specified by ISO 6506.
You can click here to request a personalized quote.
A penetrator is used to measure the hardness of a material. The Rockwell test system is based on the idea that the depth of penetration decreases as the hardness of the object being tested increases. The minor load is applied to the surface in order to condition it. The major load is applied and then released gradually. The minor load remains, but the difference between the depth of penetration before and after application of the major load is used to calculate the Rockwell hardness number. The specified penetrator was installed into the indenter fixture. A flat anvil or V-shaped anvil is installed to support the specimen.
The following penetrators are used in Standard Rockwell Hardness Test Blocks - ASTM E-18 and ISO 6508: C Diamond, A Diamond (Carbide), 1/16" Ball, 1/8" Ball, 1/4" Ball and 1/2" Ball.
Superficial Rockwell Hardness Test Blocks - ASTM E-18 and ISO 6508 use, on the other hand, such kinds of penetrators: N Diamond, 1/16" Ball, 1/8" Ball, 1/4" Ball, 1/2" Ball.
ASTM E18 is the industry standard for Rockwell hardness testing of metallic materials. This specification includes both theory and standard practice statements. For those companies Nadcap accredited in heat treat where the AC7102/5 for hardness and conductivity testing is included, an additional layer of requirements comes into play. ASTM E18 lists three types of verification testing: direct verification, indirect verification, and daily verification.
ISO 6508 specifies the method for Rockwell regular and Rockwell superficial hardness tests for metallic materials and is applicable to stationary and portable hardness testing machines. For specific materials or products, other specific International Standards apply (for instance, ISO 3738‑1 and ISO 4498).
- Standard Rockwell Hardness Test Blocks - ASTM E-18 and ISO 6508
- Superficial Rockwell Hardness Test Blocks - ASTM E-18 and ISO 6508
- Brinell Hardness Test Blocks — ASTM E-10 and ISO 6506
- Vickers and Knoop Hardness Test Blocks - ASTM E-384 and ISO 6507
If you have any other questions or would like to obtain a personal quote, please click here.
According according to the latest ASTM E18 (v. 2022) specifications. The tolerance on the HRB test blocks are as follows:
If HRB is less than 88 the acceptable tolerance is +/- 2.5.
If HRB is greater than 88 the tolerance is +/-1.0.
Learn more by contact our qualified consultants today.
Based on ASTM Standards, distance between 2 indents is a minimum of 2 times the indentation's diagonal (dK), and 2 ½ times the indentation's width (dW).
The distance between an indentation's center and a test piece edge is at least 1 dK or 2 ½ times the indentation's dW.
Based on ISO Standards, distance between 2 indents is at least 2 times the indentation's dK, and 3 ½ times the indentation's dW.
The distance between an indentation's center and a test piece edge is at least 1 dK or 3 ½ the indentation's dW.
Based on JIS Standards, the distance between an indentation and a test piece edge is a minimum of 3 times the short dW. The distance from one indentation to an adjacent indentation is at least 2 ½ times the short dW, or a minimum of the long dK. If 2 indentations have different sizes, the spacing minimum is based on the short dW of the bigger indentation.
Based on ASTM Standards, measuring the distance between 2 indents or the edge of a test piece and an indent involves at least 2 ½ times the indentation's diagonal (dV).
Based on JIS and ISO standards, the distance between 2 indent centers is a minimum of 3x the indent's diagonal for copper, copper alloys, and steel, and a minimum of 6 times for lighter metals, tin, lead, as well as their alloys.
The distance from an indent's center and the test piece edge must be a minimum of 2 ½ times the dV for copper, steel, and copper allows, and a minimum of 3x for light metals, tin, lead, as well as their alloys.
Based on JIS, ASTM, and ISO standards, the proper distance between 2 adjacent indentations' centers is a minimum of 3 times the indentation's diameter.
The distance any indentation's center to a test piece edge must be a minimum of 2 ½ times the indentation's diameter.
Ensuring compliance to ISO, ASTM, and JIS standards is crucial in user-performed hardness testing. The standard under which the lab operates determines the frequency. Common reasons for performing verification tests include:
- Start of production for the day
- Changing test force
- Changing indenters
- Rockwell Regular & Superficial scales
- Vickers Micro-indentation - for loads starting from 10gf up to 1kgf
- Vickers Micro-indentation - for loads starting from 1kgf up to 120kgf
- Knoop Micro-indentation - for loads from 10gf up to 1kgf
- Brinell: HBW5/250, HBW10/1000, HBW5/750, HBW2.5/62.5, HBW2.5/187.5, and HGW10/3000.
The test blocks are manufactured in an ISO/IEC 17025 accredited lab by the American Assoc. for Lab. Accreditation (A2LA).
- We directly work with brass and steel mills for the specific chemical composition.
- We perform all machining processes in-house, at the calibration site. These include grinding, lapping, and polishing.
- We perform 100% inspections to make sure each single test block meets ASTM physical requirements in terms of flatness, thickness, parallelism, and surface roughness.
- Each Rockwell test block supports compliance to NADCAP.
Square Pattern - The entire block is grid patterned. The problem with this design is that soft blocks create bigger indents, and don't always satisfy ASTM E18-17e1 for the distance between the edge and another indent. You can use any other square to solve the issue.
Circle Pattern - The design solves the distance problem between indents, thereby meeting the standard. There are complaints of excessive space wastage. This, however, is the ASTM E18-17e1 rule.
The Knoop hardness test is used for microhardness testing (loads less than or equal to 1 kgf). Hence before putting the sample material into the microhardness tester, its surface should be highly polished or electropolished.
In the microhardness testing range, the Knoop hardness test is an alternative to the Vickers hardness test and can be carried out on the same universal or micro hardness testing apparatus. It is primarily employed to prevent breaking in brittle materials and to make it easier to measure the hardness of thin layers.
The indenter used in the Knoop hardness test is a pyramidal diamond, just like in the Vickers hardness test. However, the pyramid is extended rather than symmetrical. The length diagonal of the indent is measured optically to determine the Knoop Hardness (HK).
These are the standard dimensions of NextGen's Knoop Hardness Test Blocks:
Micro Knoop - 1kg. or under
Range: from 80 KHN 700
Diameter: 1.25"
Heavy Load Knoop - from 1kg. - 50kg.
Range: from 80 KHN - 700
1.25" Square
Looking for a quote? Click here to obtain a personalized quote!
Vickers Hardness Test is a flexible hardness test technique that is used to measure both macro and microhardness. It is appropriate for a variety of applications and materials and has a wide load range.
A lot of people believe that the Vickers hardness test is simpler to use than other hardness tests for the following reasons:
- The procedure can be carried out using a universal or micro hardness tester;
- The calculations necessary are independent of the indenter size;
- The same indenter (a pyramidal diamond) can be used for all materials, regardless of hardness.
Your indentation will deform the surrounding material and change its properties when you do a Vickers hardness test, regardless of the microhardness tester you employ. The Vickers hardness testing standards specify a specific distance between multiple indentations in order to prevent errors in interpreting perceived hardness.
These are the standard dimensions of NextGen's Vickers Hardness Test Blocks:
Micro Vickers - 1kg. or under
Range: from 80 UVN - 2200 UHN
Diameter: 1.25"
Heavy Load Vickers - from 1kg. - 50kg.
2.0" Square - 50 x 50mm
1/4” Thickness - 6.35 mm
Range: 80 UHN - 800
For 800 & up 1.25" diameter (32mm)
Looking for a quote? Click here to obtain a personalized quote!
Circle and gridded blocks are sold separately. The most common block dimensions are 6 x 2 x ¾". Other available dimensions 2 x 2" and 6 x 4 1/2 x ¾", depending on ASTM E10-17 dimension rules. Call to check for availability and prices. Materials used are brass, aluminum, or steel, depending on the hardness required.
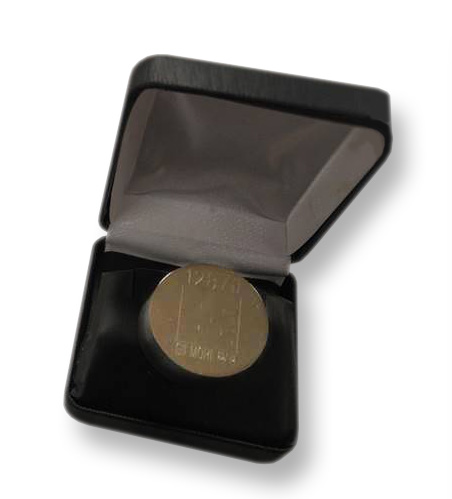
The Master Calibration Kits we produce give customers the ultimate Quality Control tool. Every kit contains test blocks or a single block, as well as the penetrator unit used for calibrating them. Matching the blocks to a particular penetrator establishes a set relationships, which can then be disregarded as probable variables in hardness test systems. If a problem crops up, an available master kit lets you accurately and promptly determine if the source is your hardness tester.
All the blocks that come with our kits have been calibrated using a tester, the accuracy of which has been verified with NIST traceable depth and load measuring devices. The kits come with a polished wood case, as well as certificates that cover all applicable standards.
You can start with the part specifications with your customer or within your organization. Part specifications are sometimes listed with common scales like HRC, although you can't do the scale on your part - the reason being the part may be too thin or possesses a case hardness. ISO and ASTM charts provide guidance on the minimum thickness.
Take care when using testers by conversion or those that convert hardness scales electronically. Conversions cannot be accredited.
You use test blocks to verify the calibration of the tester, and not your part. Although it is ideal to use a block that's as close as possible to your part's hardness, it isn't that critical. That being said, blocks are selected from different heat treat lots to get the best possible match. Different indenter and force combinations can likewise affect the result of your received block value.
It is recommended that you consider the suggested hardness levels listed in ISO and ASTM documents.
While some blocks sometimes self-destruct within a short period due to heavy use, some can last for several years. In general, high force testing can destroy soft blocks in about a month, particularly when it requires daily verification.
Changes in ISO and ASTM requirements can render a block useless. This is what happened to pre-NIST traceable HRC back in 2000, as well as blocks calibrated in the absence of verified indenters pre-E180-07.
The standard dimensions of the Brinell hardness test blocks are as follows:
Square Brinell Hardness Test Blocks
Length: 152.40mm (6")
Depth: 50.90mm (~2")
Thickness: 6.85mm (~0.25")
Request quote to get your consumables price catalogue.
The standard dimensions of the Rockwell C hardness test blocks are as follows:
Square Rockwell Hardness Test Blocks
Width: 50.90mm (~2")
Depth: 50.90mm (~2")
Thickness: 6.85mm (~0.25")
Request quote to get your consumables price catalogue.
Absolutely, NextGen has the full range of regular and carbide level NIST traceable hardness test block that you need. Regular Vickers test block ranges are up to 850HV and the carbide ranges are 850HV and over. Whether you need 1200HV, 1650HV or more, we have you covered. Request quote today to get the pricing for hardness test block that best meets your testing requirements.
Do you offer expedited lead times for your NIST certified test blocks?
Expedited lead times are always an option. The prices expedited lead time will depend on our production stage. We recommend you contact us to confirm the absolute best lead time and associated cost that we can offer. It is worth noting that our standard lead times are faster than most of our competitors on the market. If waiting is an option, we will do our very best to impress you.
Yes, without an exception, all of NextGen's hardness test blocks come standard with a certificate of calibration. Soft copies can be requested for your reference.
Expedited orders for certified test blocks are an option for an extra fee. Please contact us today to learn the difference in price based on your specific test block requirements.
Absolute, we would be happy to assist you with international shipments. Please note that all international shipments of hardness test blocks are subject to 100% advanced payment terms for both the inventory and shipping charges. Contact us today to learn more.
The typical lead time for the NIST traceable Vickers hardness test blocks is 2-4 weeks. We always try our very best to bring the lead time down as much as possible, because we understand that your needs may be urgent. Expedited options are available at an additional cost, feel free to contact us today to inquire.
At all times NextGen has a certain stock of hardness test blocks readily available to meet your needs. Simply submit you quote request or contact our qualified representatives to help check the stock for you. Should we be out, our team will be happy to provide you our best lead times.
It is possible to have a test block with multiple force calibrations. In order to calibrate a test block according to ASTM E92, 5 sets of 5 indentations are required (25 total). Therefore should you require 2 calibrations, the unit will have 50 micro indentations before being used for testing. This of course will still leave plenty of room for your other tests.
The test blocks are calibrated according to ASTM E92. NextGen works in partnership with an ISO 17025 companies who certify the test blocks. Each unit comes with a certificate of calibration.
Related Products
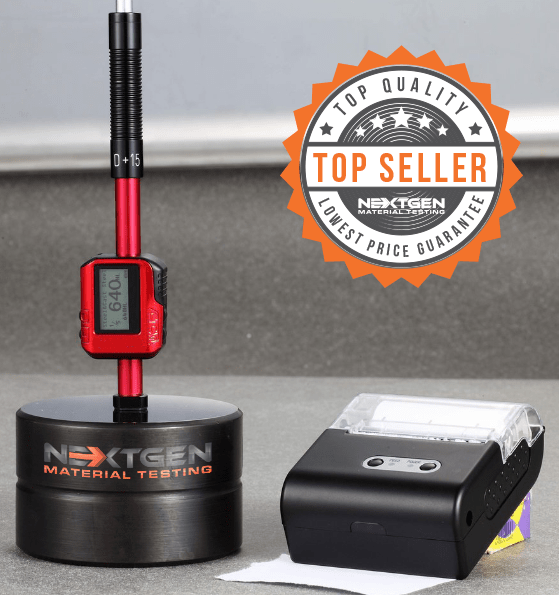
NG - LeebGen 3000 - Leeb Rebound Portable Hardness Tester
LeebGen3000 is a non-destructive precision metal hardness tester developed according to the latest industry standards. LeebGen 3000 is equipped with features which provide the instrument with a combination of a user-friendly interface and exceptional test result accuracy. This in turn allows for ease of operation and an accurate conversion display of virtually any metal hardness testing value.
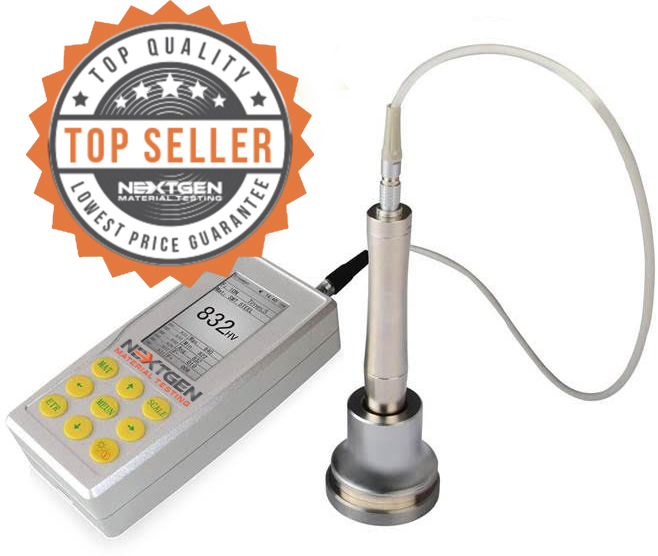
Ultrasonic Contact Impedance Hardness Tester - UH200
Welcome to our most advanced and cost-effective Ultrasonic Hardness Testing System. This portable machine is all you need and more!
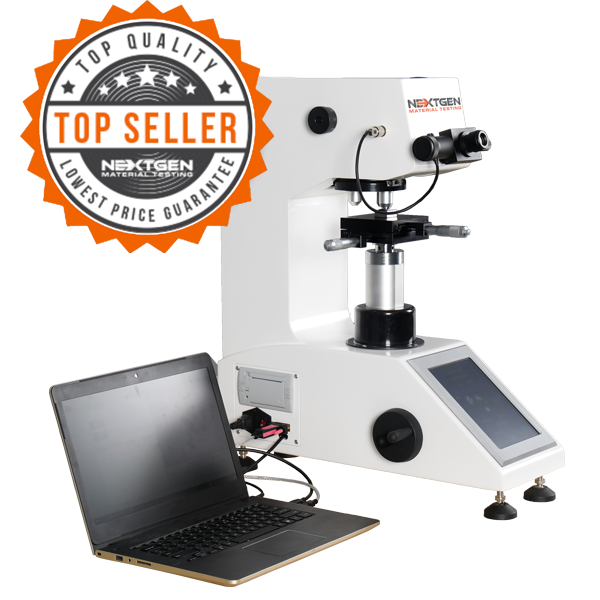
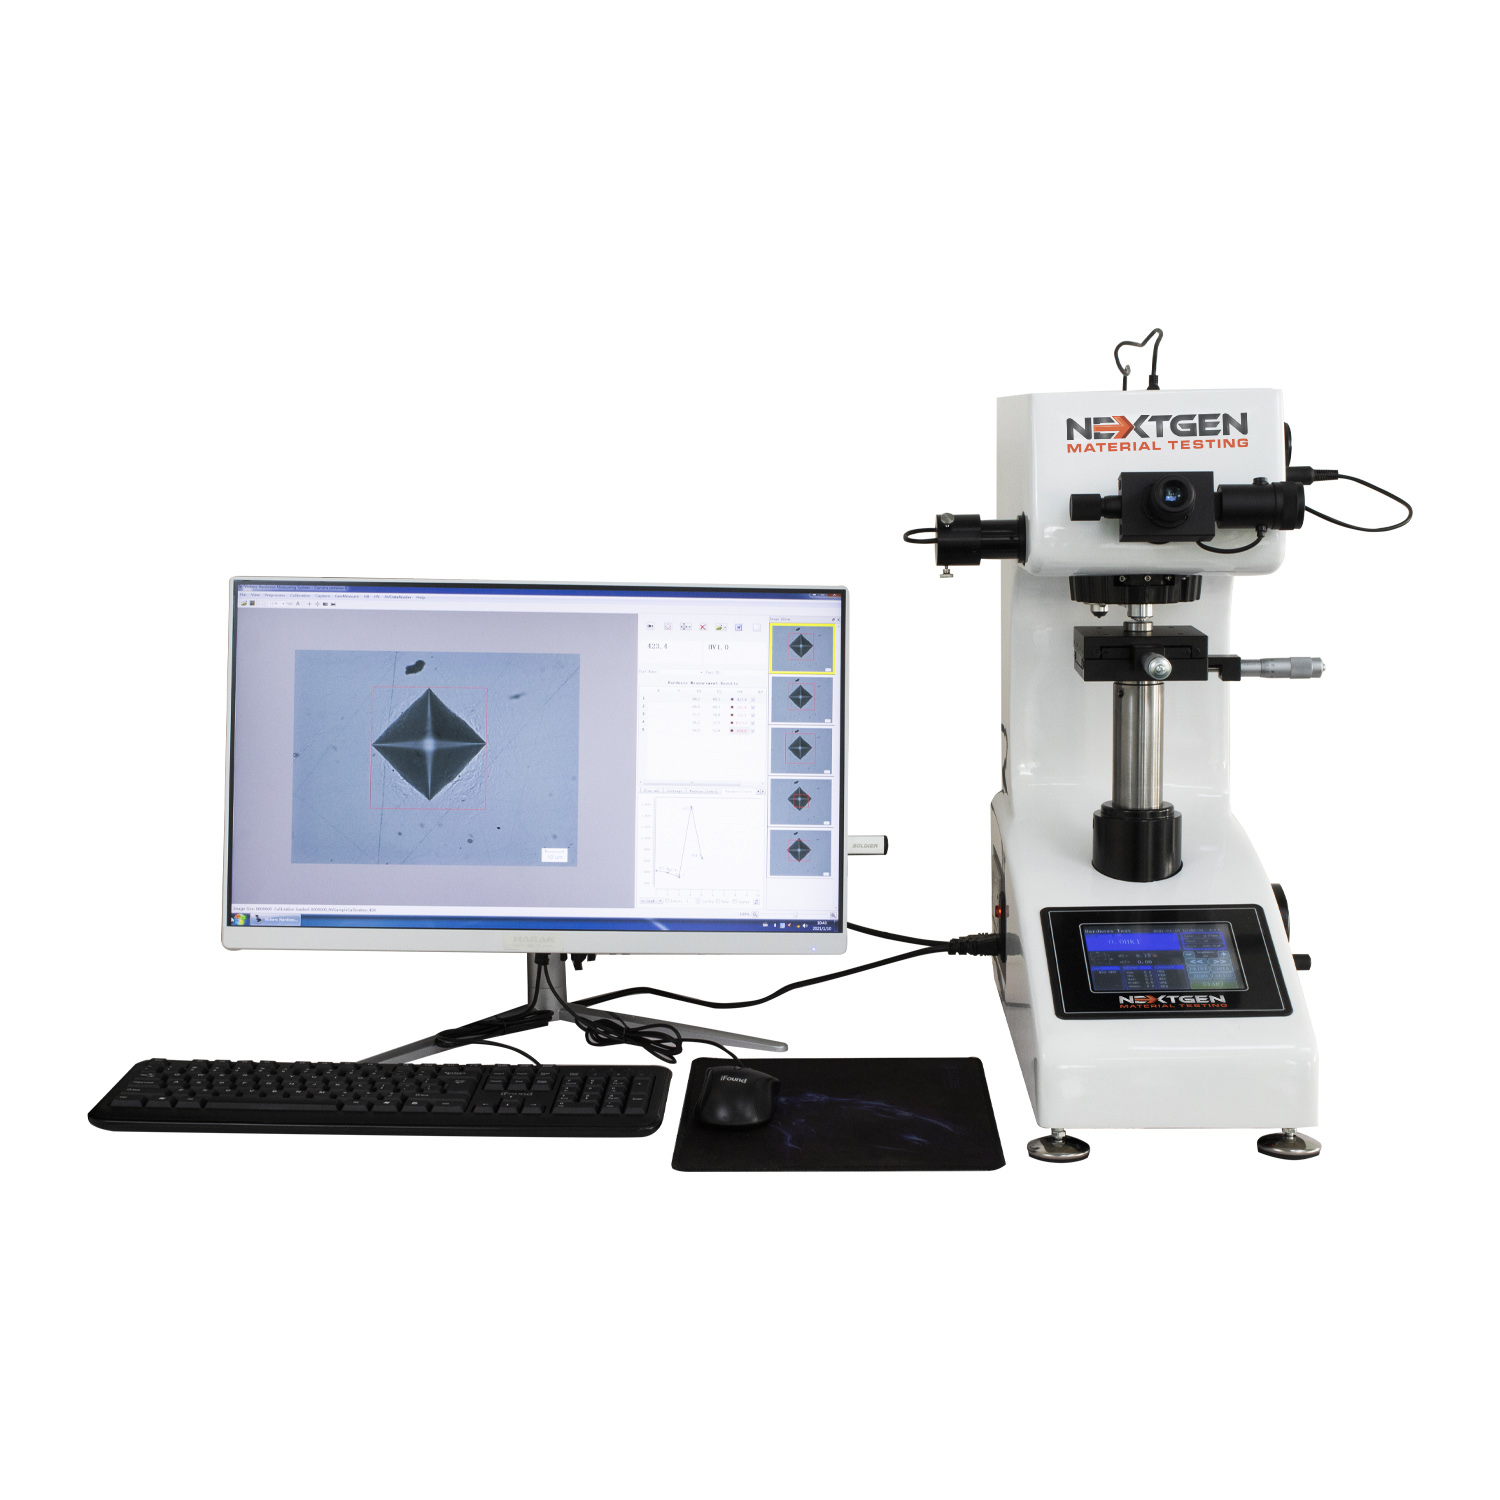
Micro Vickers and Knoop Hardness Tester - Digital and Digital with CCD Optical Analysis Software
NG-1000 Series
NextGen Micro Hardness testers provide solutions for Vickers and Knoop hardness testing with micro loads ranging from 10gf to 1kgf. The NG1000 series is available in Standard Digital, Digital and CCD configurations for Micro Vickers/Knoop testing.
Macro Vickers Hardness Tester - Standard Digital, Digital and Digital with CCD Optical Analysis Software
NG-5000 Series
NextGen Macro Vickers Hardness testers are available with different load capacities and are available in Standard Digital, Digital or CCD configurations. With 5kgf, 10kgf, 30kgf and 50kgf maximum loads available, the NextGen Macro hardness testers can fit all of your Macro testing requirements.
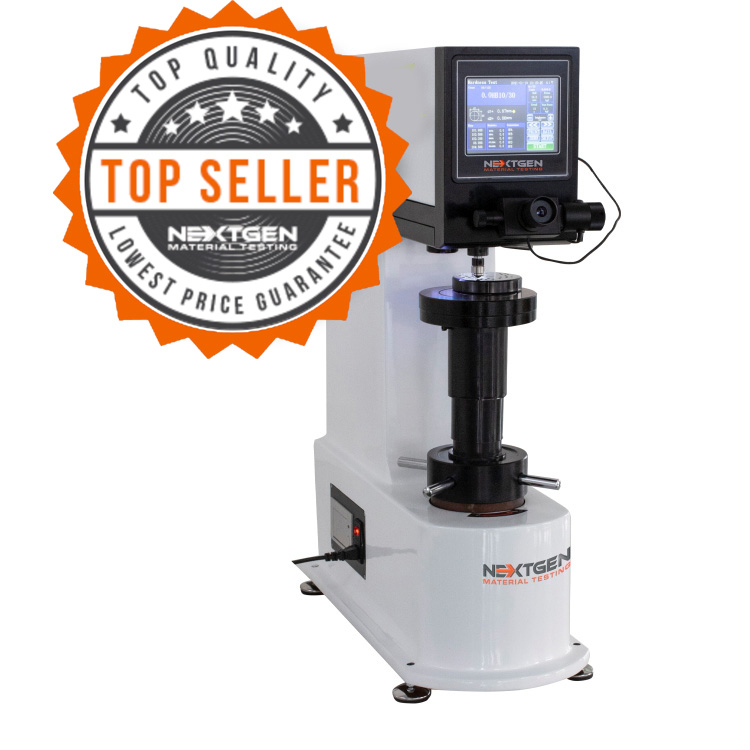
BrinGen - 3000 Series - Digital Brinell and Automatic Brinell Hardness Tester - Closed Loop System
BringGen 3000 is a digital and automatic Brinell testing system equipped with closed loop technology. The forces range from 62.5kgf to 3000kgf and are electronically controlled according to ASTM E10 for precise and repeatable measurements.

BrinGen Scope - Optically Advanced CCD Brinell Measuring Scope for Manual or Digital Brinell Hardness Testing System
BrinGen Scope - is a Optically Advanced CCD Brinell Measuring Scope for Manual or Digital designed as Brinell Hardness Testing automatic scanning system. It is engineered to work with a computer or a laptop to make your testing program faster and more accurate. The Optical Brinell Scope is equipped with real-time result support.
NG-RockGen - Analogue Series Rockwell Hardness Tester - Manual and Electronic Models
The NG-RockGen Analogue Rockwell Hardness Tester is designed to test the hardness of metals by determining the depth of penetration of an indenter under a large load compared to the penetration made by a preload according to the Rockwell regular scales.
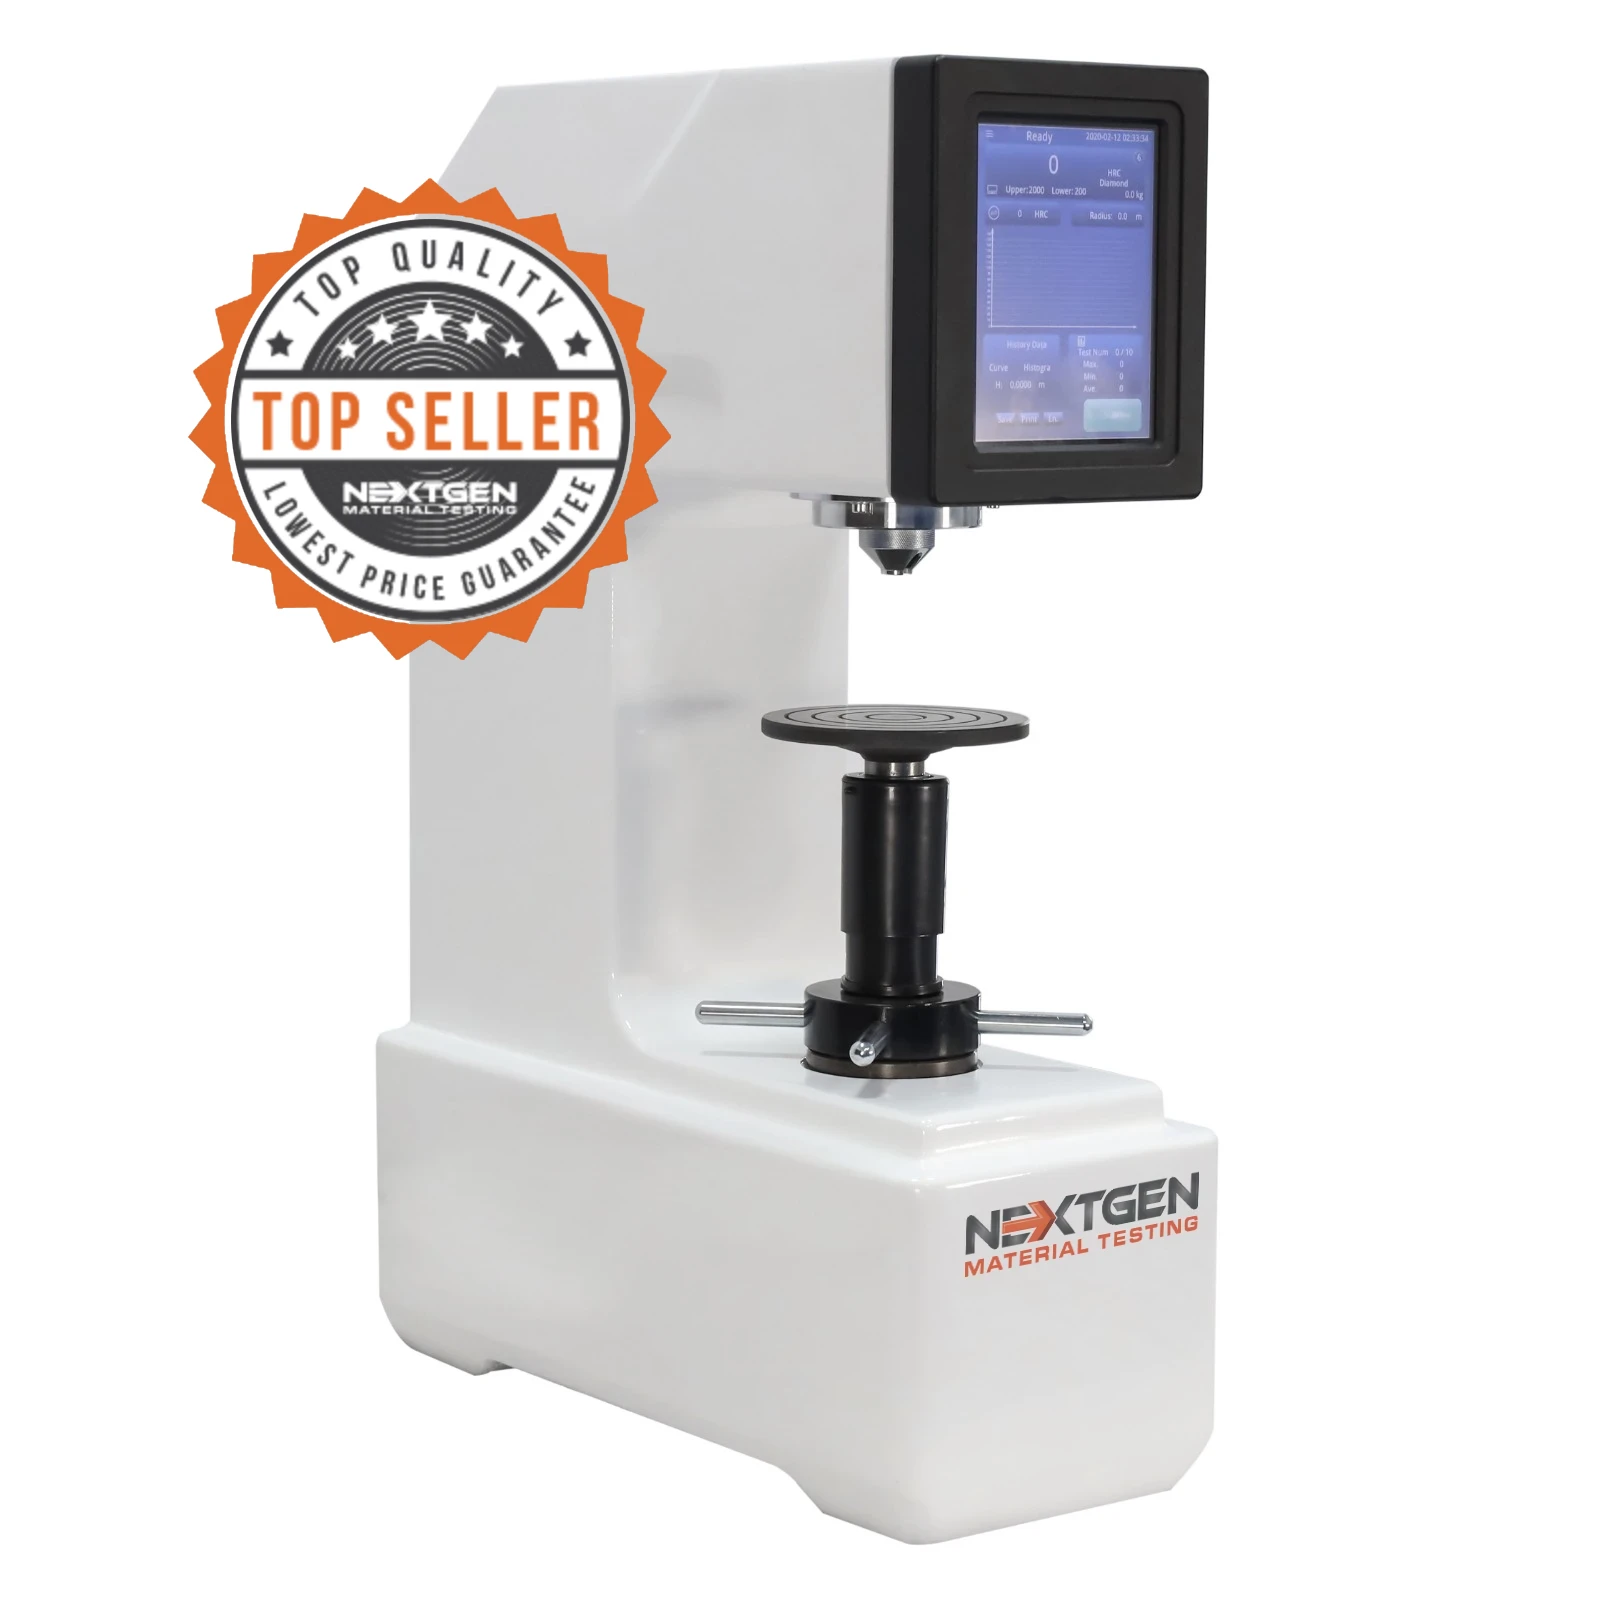
NG-RockGen DGEN Series - Digital Rockwell Hardness Tester - Rockwell Regular, Rockwell Superficial and Rockwell TWIN Digital Models
The NG RockGen Digital Series provides an automatic, digital, high accuracy solution to your Rockwell testing requirements. The Digital series is completely automated and is available in Rockwell Regular or Rockwell Superficial scale configurations.
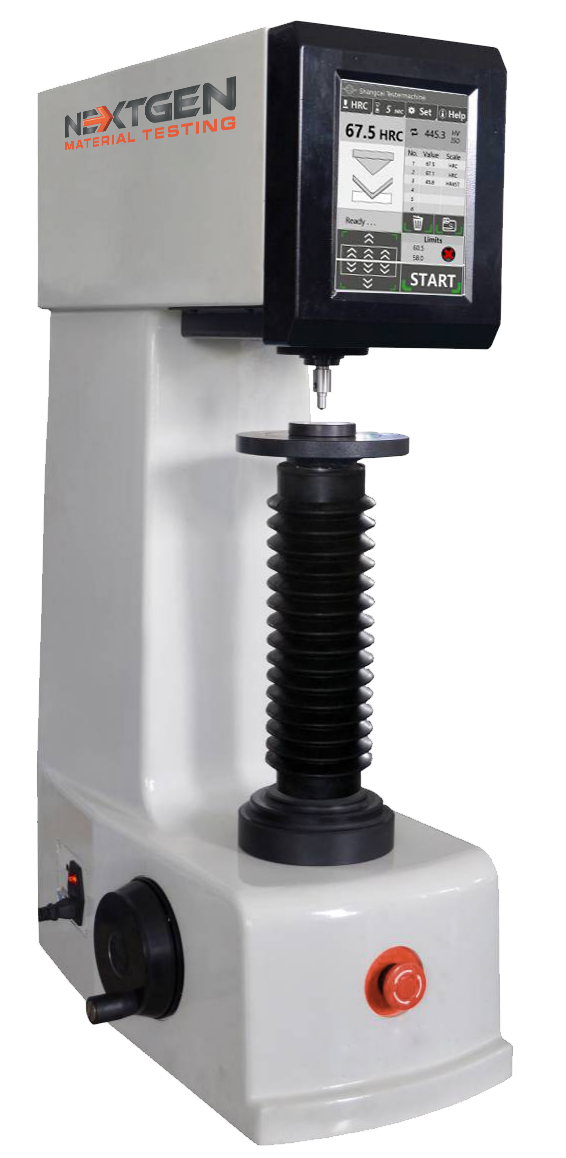
GenRock NG-150 Series - Advanced Rockwell Hardness Tester - Manual and Automatic Rockwell Hardness Testing System
The NG150 GenRock system can be equipped with a variety of accessories to meet all of your hardness testing requirements. A fully motorized stage, Jominy accessories and a wide variety of specimen fixtures are available to configure the NG150 RockGen system to meet your application.
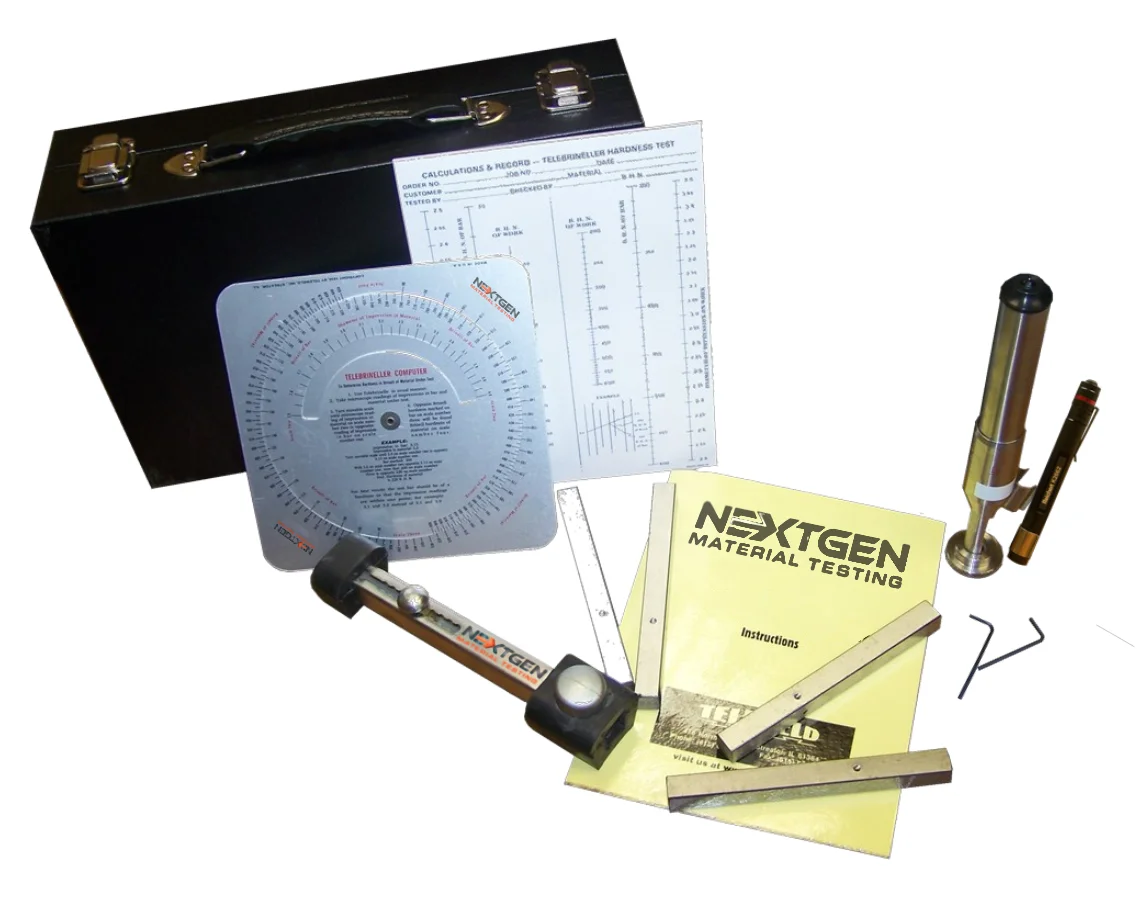
NextGen Telebrineller Brinell Hardness Testing System
The Telebrineller Brinell Hardness Testing System stands out as the best QA solution for ensuring top-notch quality. Developed specifically for welding crews, Telebrineller draws on over fifty years of field experience and solid metallurgical knowledge. Portable and practical, the entire Telebrineller system, housed in a case, weighs less than ten pounds. It's an ideal choice for Brinell hardness testing in any situation.
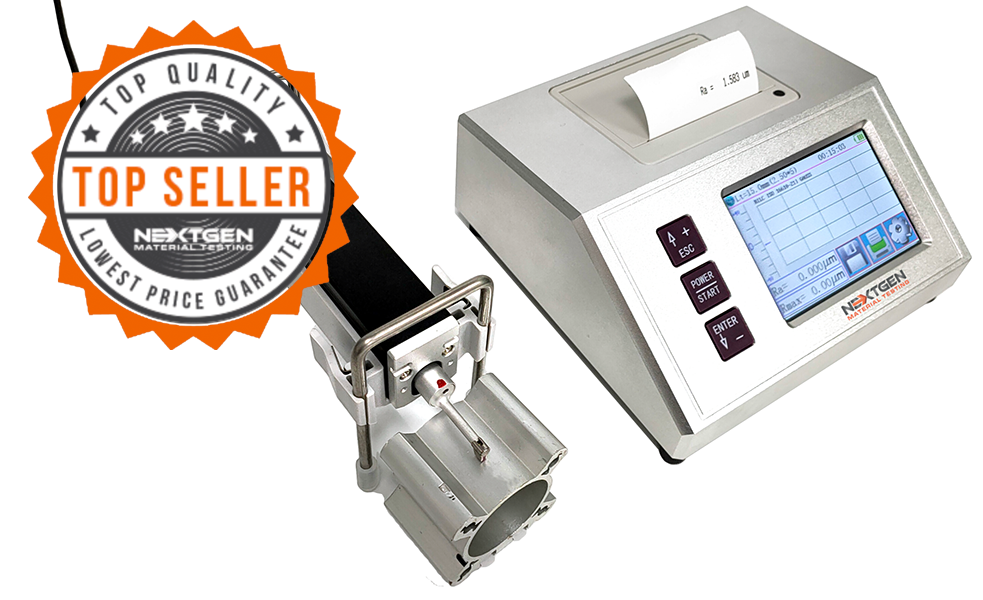
Surface Roughness Testers
High accuracy surface roughness testing systems for material surface analysis and statistical processing of data. Multiple model variations to help fit your technical and budgetary expectations.
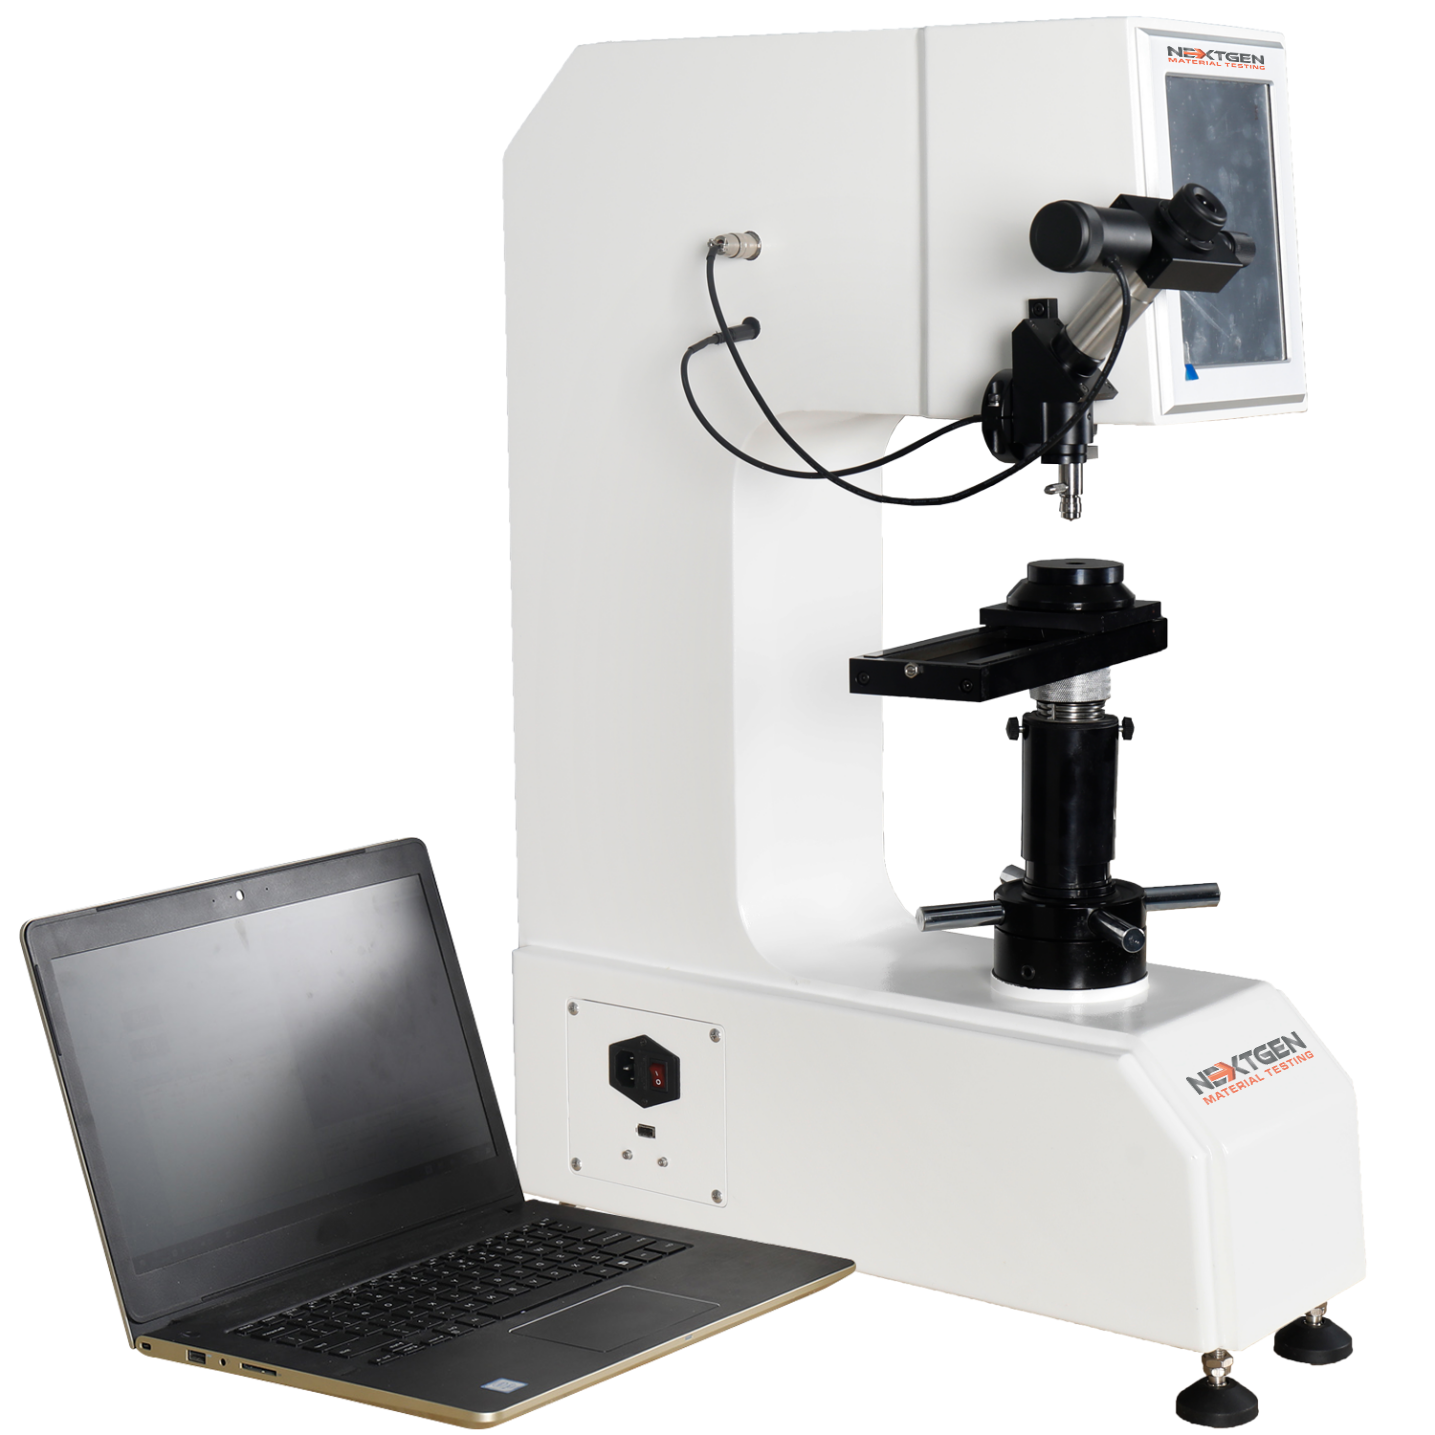
UniGen Universal Hardness Tester – Rockwell, Vickers & Brinell Hardness Testing System
NextGen's Universal Hardness Tester is a closed loop load cell machine with an 8-inch touch screen interface is the ultimate user-friendly solution for your Vickers, Knoop, Rockwell and Brinell Hardness Testing requirements. The measurements are made through optical objective lens and CCD camera to collect indentation images and to generate your hardness reading on the touchscreen LCD.
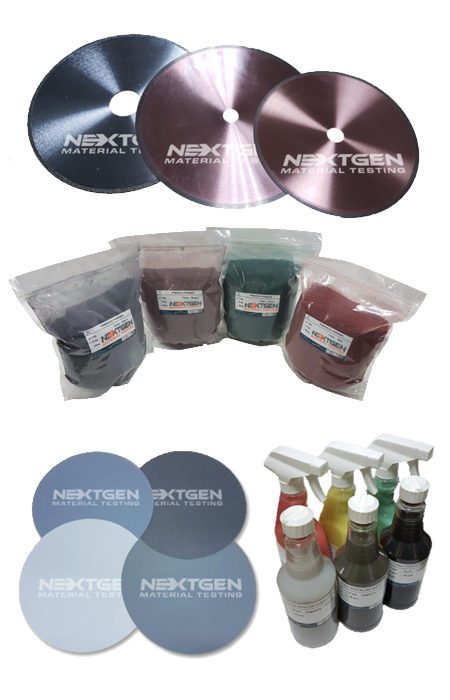
Metallography Consumables
Learn about the full scope of NextGen's cutting, polishing & grinding, mounting and etching metallography consumables. Our consumables are compatible with virtually all global brands, offering a rare combination of exceptional quality, longevity and affordability.
