
Metal Testing Equipment

Metals hardness testing is the measure of how resistant a solid matter is to permanent shape change when an indenter is applied at a known force. When testing metals, the indentation hardness correlates linearly with the tensile strength of the material.
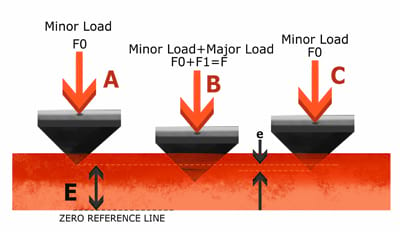
The greater the hardness of the metal, the greater resistance it has to deformation. Depending on the application and the type of material, many scales are available to suit your requirements. Rockwell Hardness Testing scales (ASTM E18) uses the depth of penetration of a preload versus the depth of penetration of a major load by a diamond or ball shaped indenter.
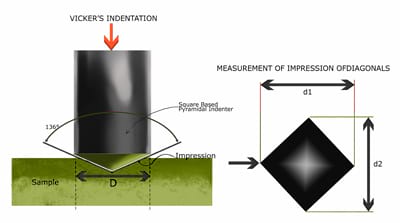
Brinell Hardness Testing (ASTM E10) is common for non-uniform type materials and uses the highest load and largest size ball type indenter. Vickers and Knoop hardness testing (ASTM E384) are performed using a diamond shaped indenter and are most commonly used for small parts, thin sections or case depth analysis.
Contact us to further discuss which hardness testing method would be most suitable for you!
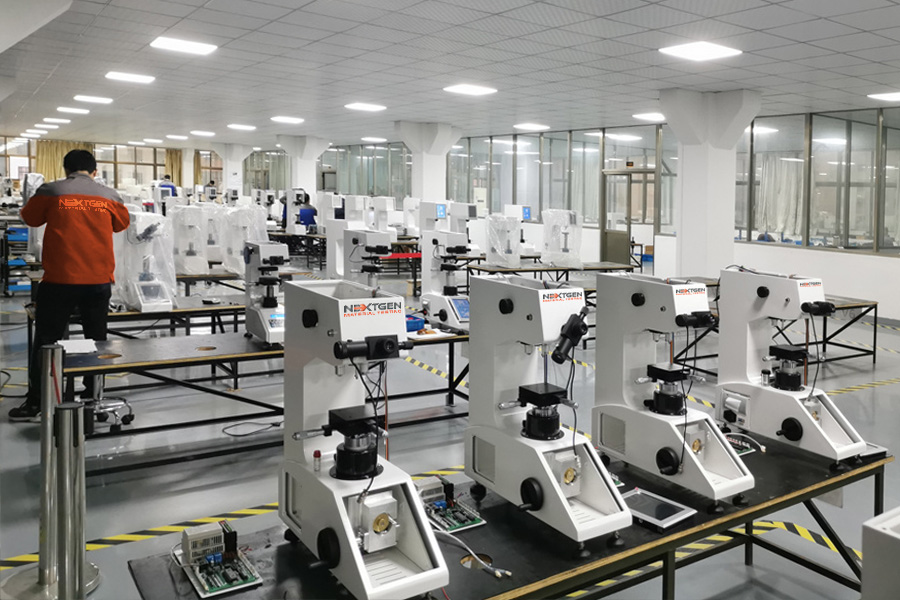
Sub-categories
Rockwell Hardness Testers
Rockwell Hardness Testing is an indentation hardness that measures the depth of penetration after undergoing a preload followed by a major load. Rockwell testing is generally used for quality control of steels and other alloys (including some plastics).
Vickers and Knoop Hardness Testers
Vickers Hardness Testing is an indentation hardness that can be used for all metals. A diamond penetrator is used for both Micro Vickers (0-1kgf) and Macro Vickers (1-100kgf) which allows for the Vickers Hardness value to be continuous over the complete load range.
Brinell Hardness Testers
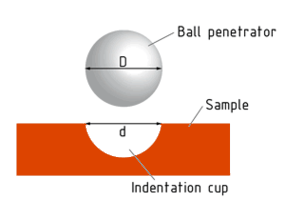
Brinell Hardness Testing is an indentation hardness that measures materials that are too coarse or have too rough of a surface for other hardness methods. A carbide ball is pressed into a material at a defined load for a defined time and the resulting diameter of indentation is measured.
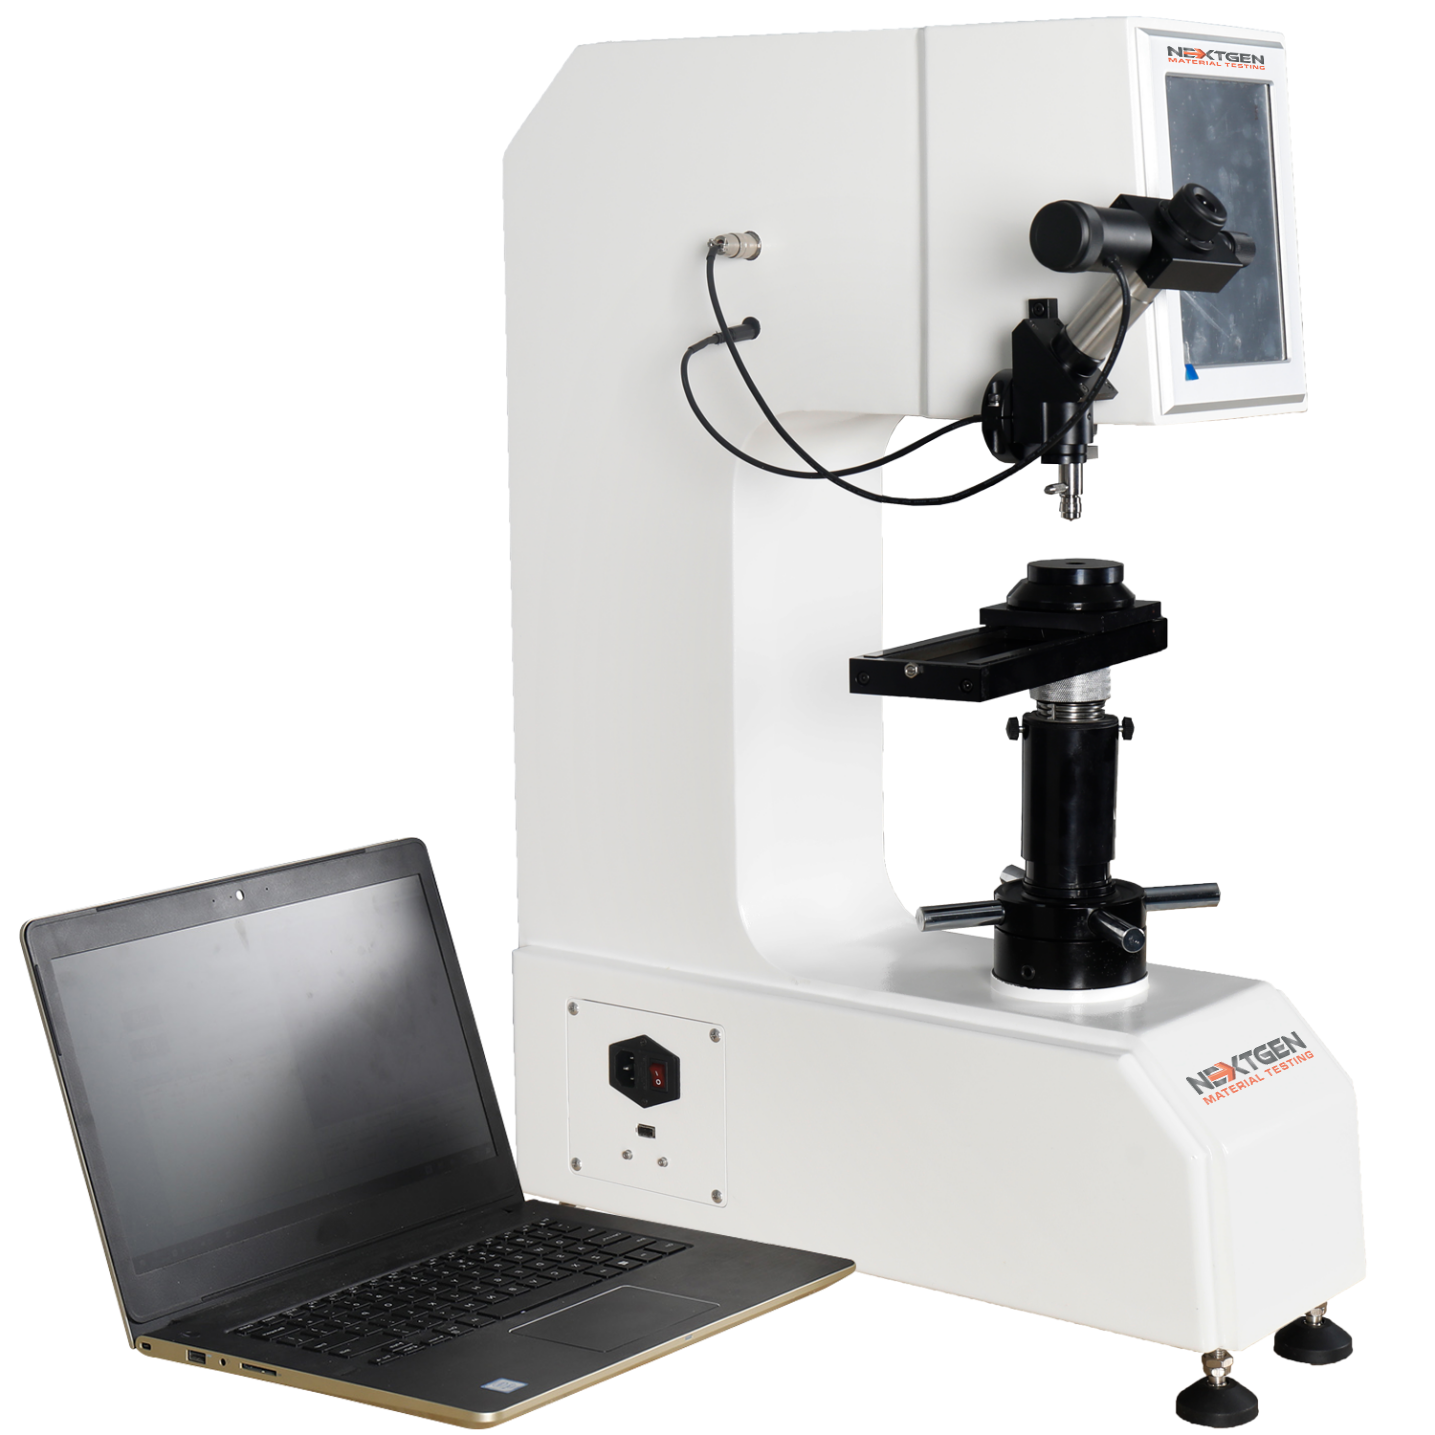
Universal Tester For Vickers / Knoop, Rockwell and Brinell
Explore the world of material testing with our Universal Hardness Tester, a sophisticated and comprehensive solution for assessing the hardness of metals. This cutting-edge equipment seamlessly integrates Vickers, Knoop, Rockwell, and Brinell hardness testing methods, offering unparalleled versatility for your material analysis needs.
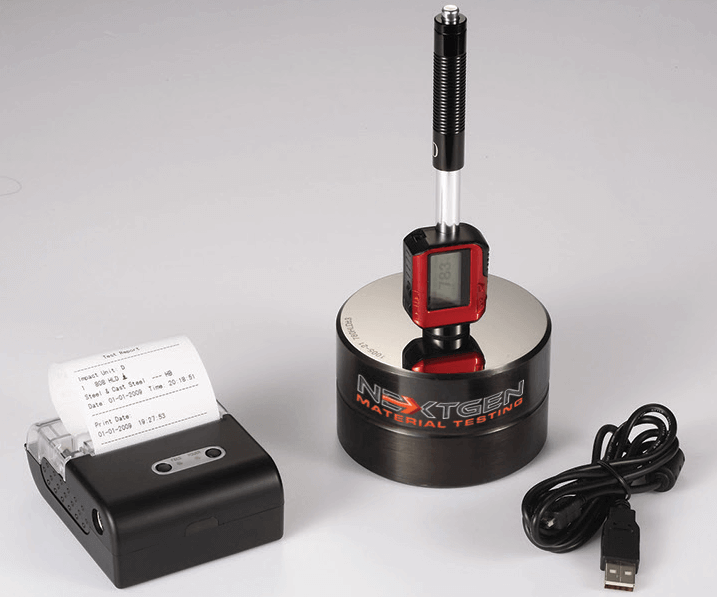
Portable Hardness Testers
Portable hardness testing allows for on site and field production testing on a wide variety of metals and specimen configurations. Portable hardness testers are available in a variety of scales including Rockwell, Brinell, Vickers, Leeb and Webster.
Products
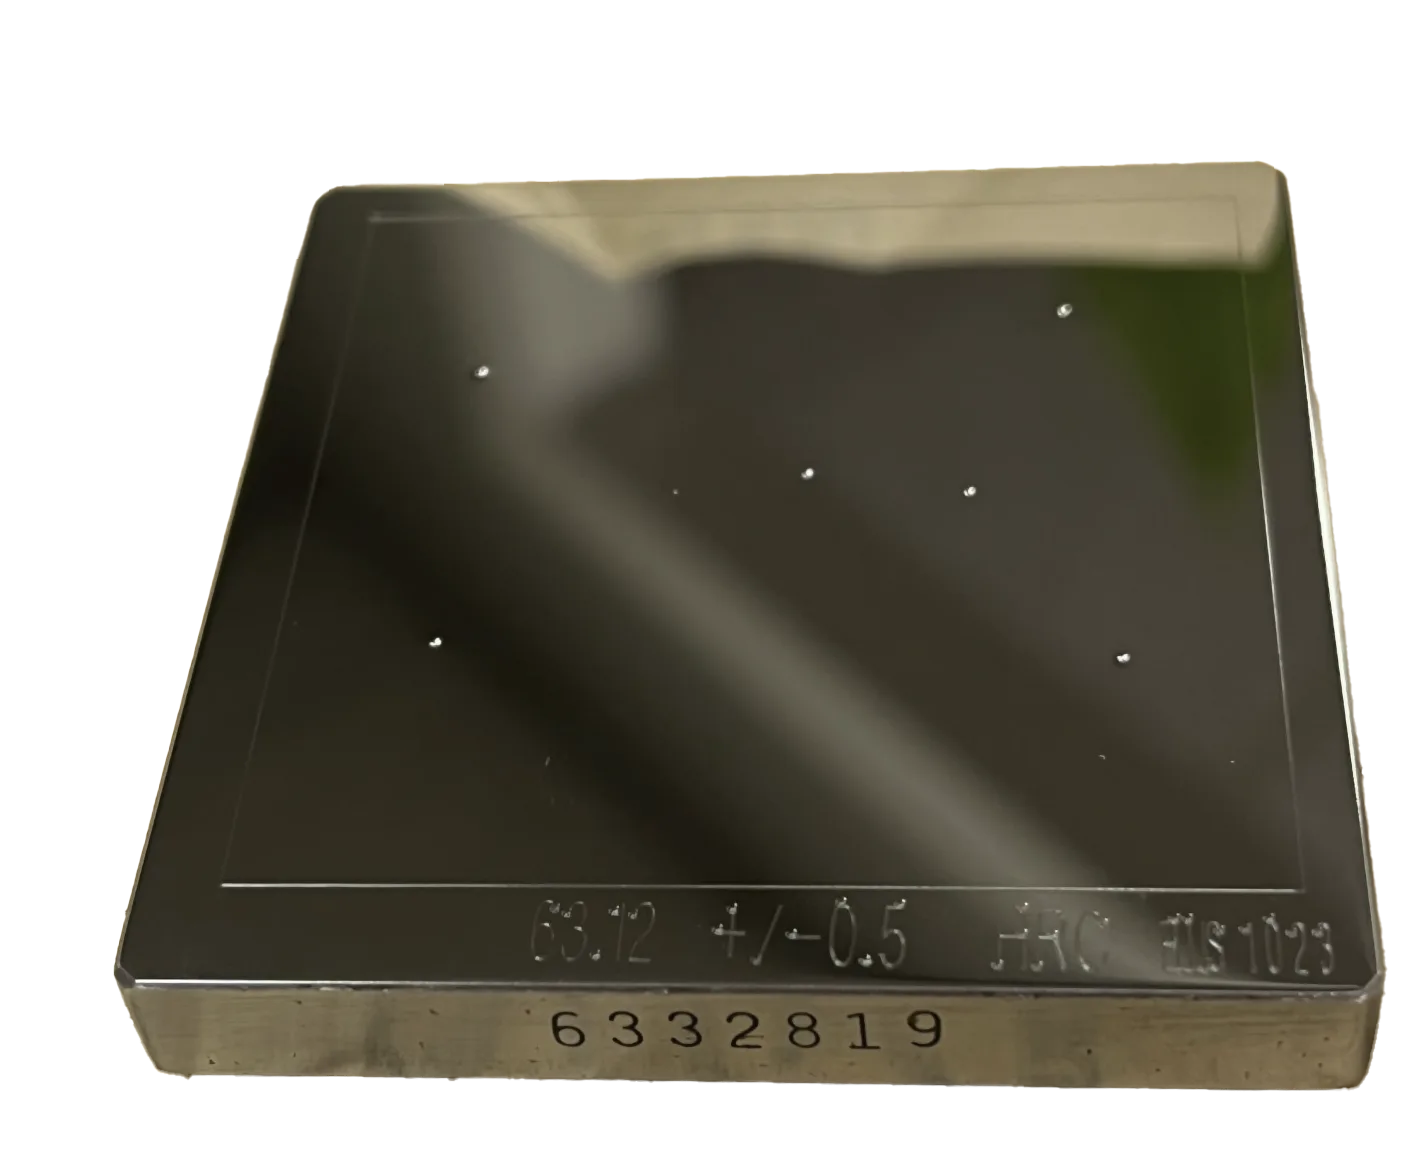
Hardness Test Blocks, Indenters and Hardness Testing Accessories
Certified Test Blocks are a requirement as a reference material for any type of hardness testing. At NextGen, we understand the importance of a Test Block to ensure the accuracy of your hardness testing procedures.
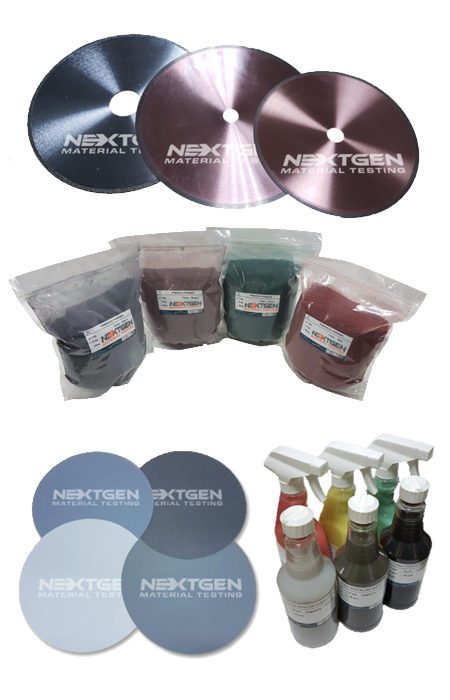
Metallography Consumables
Learn about the full scope of NextGen's cutting, polishing & grinding, mounting and etching metallography consumables. Our consumables are compatible with virtually all global brands, offering a rare combination of exceptional quality, longevity and affordability.
FAQs
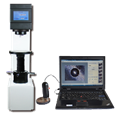
| Model | BrinGen 3000 | BrinGen 3000 w/ CCD Optical Analysis and Software |
| Photo | 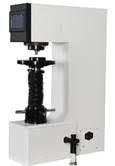 |
 |
| Loading - Dwell - Unloading | Automatic | Automatic |
| Machine structure | Close loop load cell type | Close loop load cell type |
| Test force | 62.5-3000kgf | 62.5-3000kgf |
| Indentation Measurement | Manual microscope measurement of the indentation diameter; input diameter length / force and indenter diameter into machine screen; and the machine calculates the Brinell hardness value automatically.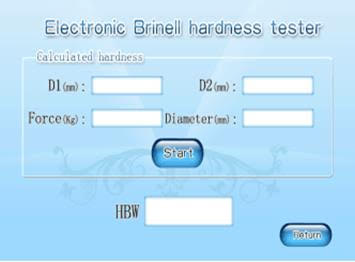 |
Can work independently with machine or directly with the software. Using a portable measurement camera, the software will accurately measure the indentation automatically; the hardness value will display on the software window automatically; and the generated test report including test force / indentation image, hardness value, etc. will display on the software for ease of export. |
| Test report | No | Yes (Word / Excel) |
| Hardness conversion | No | Yes |
| Software | No | Yes, with HBS-P software (support Win 10 system); Software supports automatic measurement and manual measurement working modes |
| Advantages | Lower Price | Easy operate, exceptional accuracy, fast test results, additional test information can be easily obtained |
| N/A | NextGen's CCD system can work on virtually any PC. There will not be a need for a "proprietary" computer to operate the CCD Scope |
|
| Disadvantage | Manual measure the indentation diameter length, and manual input data to the machine screen produces a lower work efficiency | Higher Price |
BringGen-3000 system comes standard with a manual measuring microscope. Once the indentation is made, the manual microscope is placed on top of the indentation and the operator uses the micrometers to align to the diagonals of the indentation. The reading is then input into the main unit using the touch-screen, user-friendly LCD screen and the machine in turn provides your Brinell hardness reading.
The CCD Optical Analysis upgrade for the Brinell hardness tester allows the operator to make the indentation, then simply place the CCD camera onto the indentation, and the automatic software will do the rest. The system will auto align the diagonals and provide you error free Brinell readings directly onto a PC. This eliminates the operator error factor and allows for additional export possibilities to Excel directly.
Learn more by contacting us today.