Metal Testing Equipment
Standards


Description
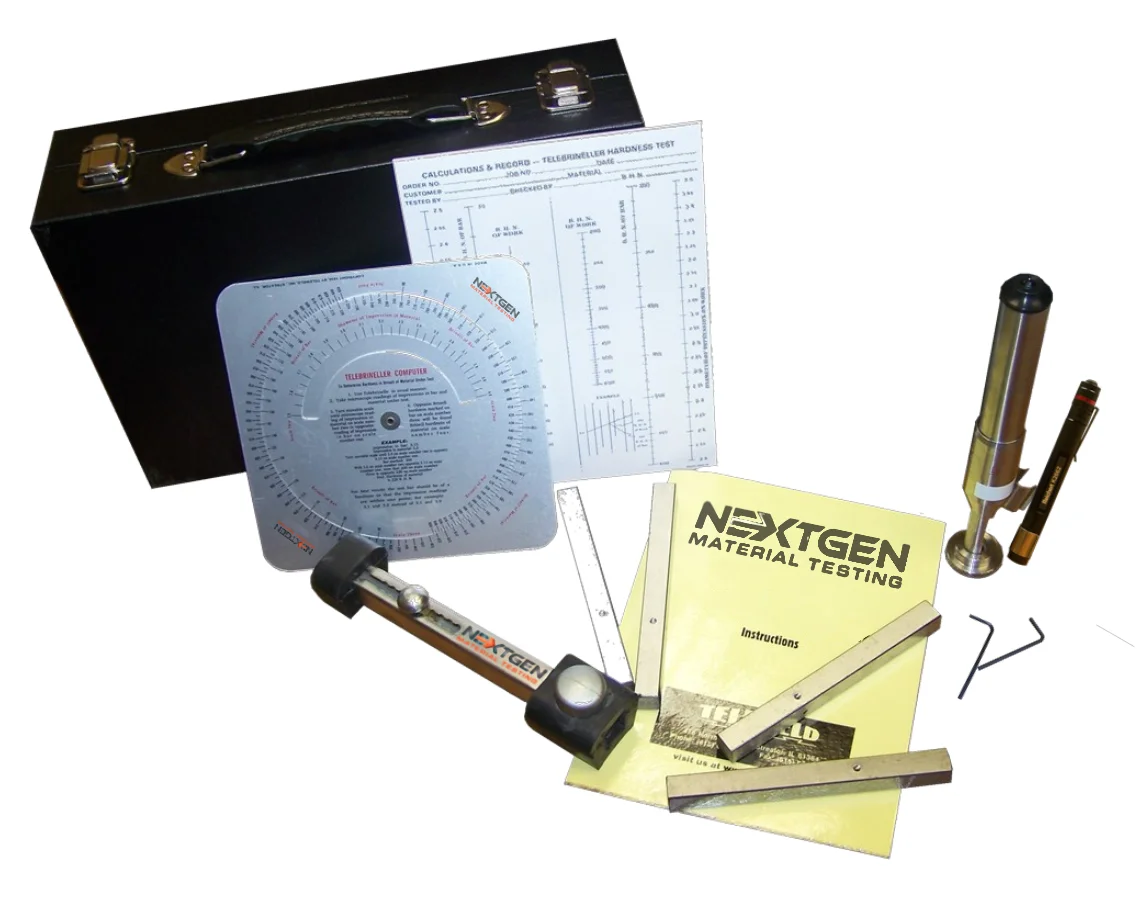
The Telebrineller Brinell Hardness Testing System stands out as the best QA solution for ensuring top-notch quality. Developed specifically for welding crews, Telebrineller draws on over fifty years of field experience and solid metallurgical knowledge.
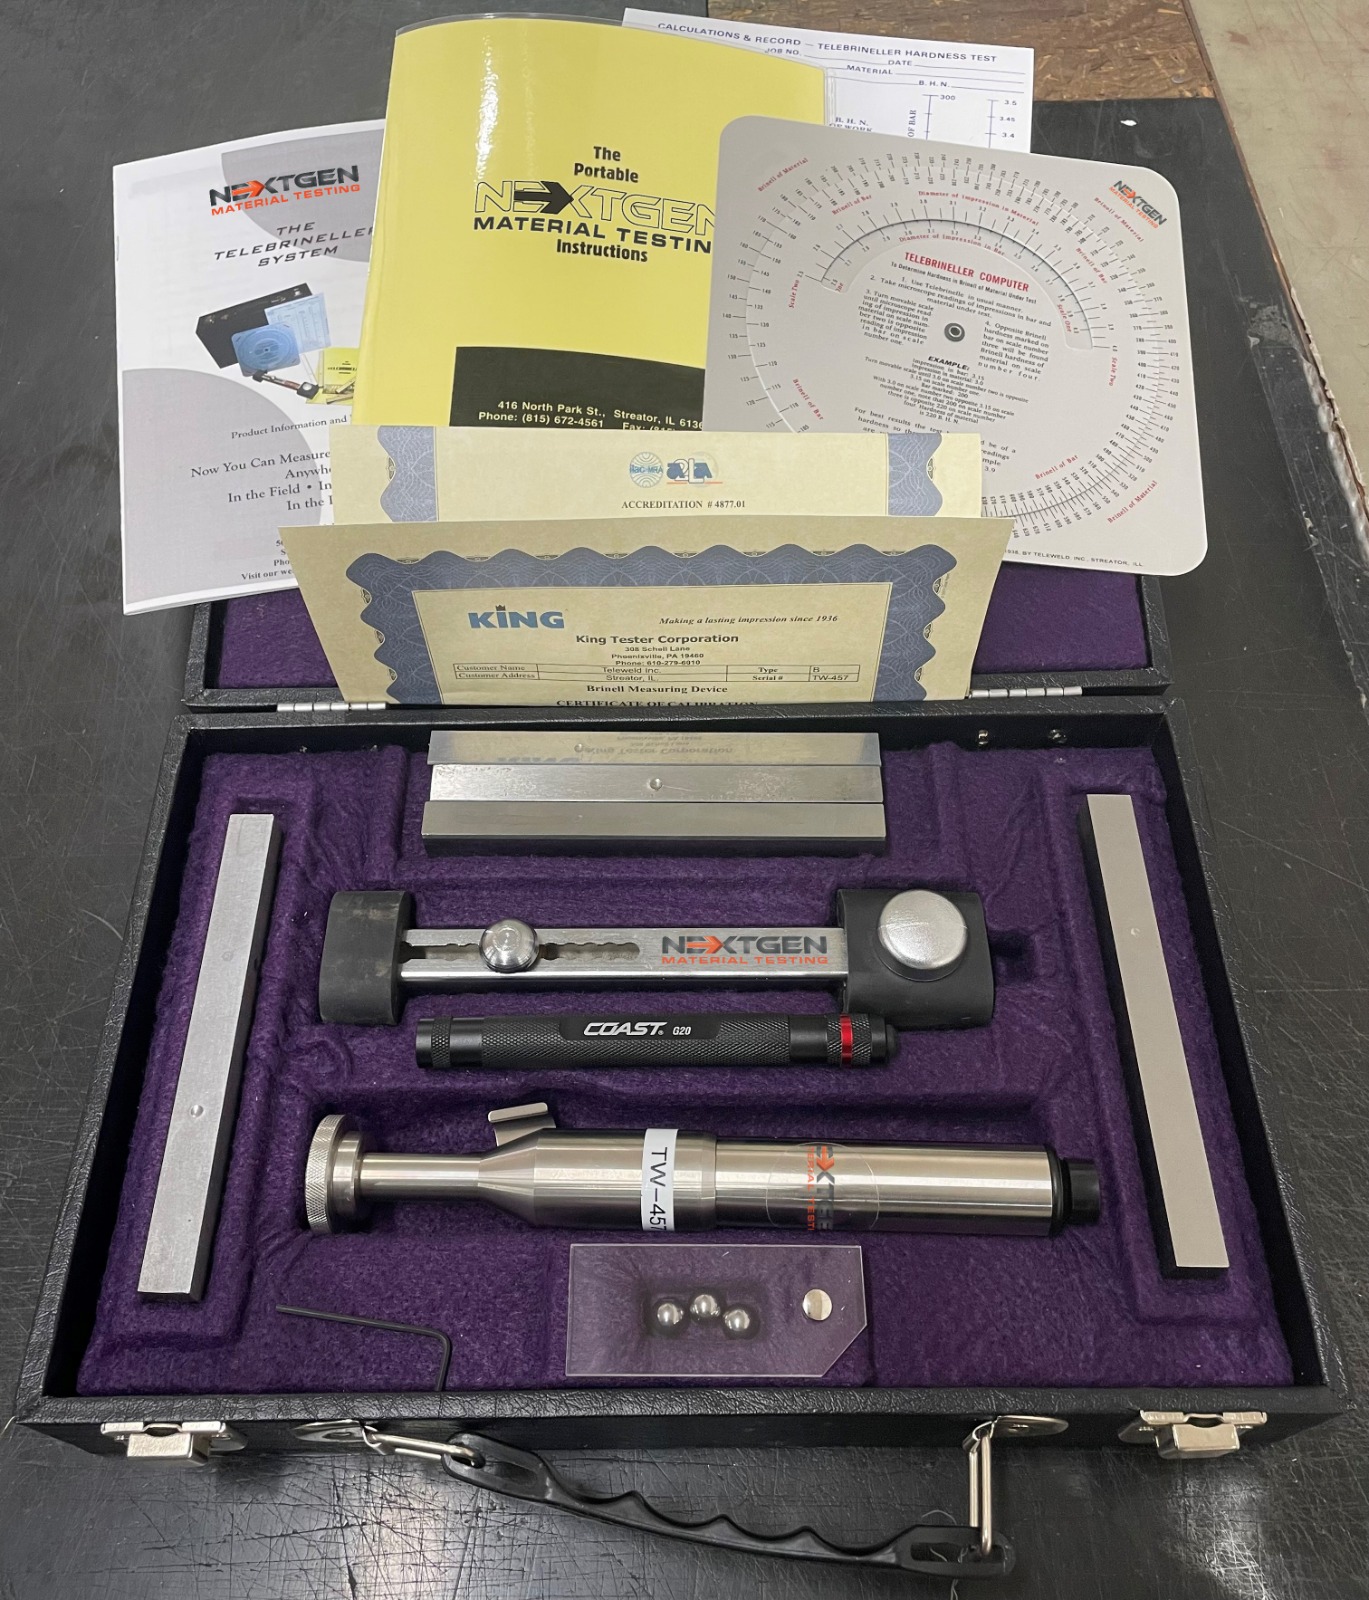
Portable and practical, the entire Telebrineller system, housed in a case, weighs less than ten pounds. It's an ideal choice for Brinell hardness testing in any situation.
Operating the system is straightforward – a single hammer blow, measuring the resulting impressions, and manipulating a basic equation on the included computer. No specialized training required; anyone can quickly and accurately determine BHN in minutes.
Certified for accuracy, the core of the system relies on test bars calibrated within +/- 2% of the labeled BHN. These bars undergo hardness measurement using equipment which complies with the National Standards Institute, allowing for precise readings within .05 millimeters.
Built for field use, the Telebrineller Brinell Hardness Testing System is built with weatherproof design in mind. Rugged, solid components, ensure accurate measurements in all weather conditions and under rough field circumstances. Read more in our MEGA BLOG!
Telebrineller Brinell Hardness Testing System Principle Of Operation
- Select a test bar with a known Brinell Hardness Number (BHN), closely mirroring the expected hardness of the specimen under examination.
- Consistent accuracy is maintained when the test bar BHN is within + or -15% of the specimen BHN and is of the same general material. (For non-ferrous materials tested with carbon steel bars, correct for impact errors by applying designated correction factors to the test results.)
- Insert the chosen test bar into the Telebrineller instrument and position the instrument accurately on the specimen.
The Telebrineller instrument comes complete with essential components: a test bar (1), an anvil (2) encased in a soft molded rubber head (3), which securely rests on the test bar. Both the rubber head and a corresponding resting block (4) ensure a non-skid footing. Positioned below the test bar, a steel impression ball (5), securely embedded in the base of the rubber head, makes contact with both the test bar and the specimen.
Executing the test involves a sharp strike to the anvil using a two to five-pound hammer. The impact, irrespective of force, is uniformly transmitted to both the test bar and the specimen through the impression ball (6), resulting in impressions in both materials. The diameters of these impressions directly correlate with the respective hardness of the test bar and the specimen.
To facilitate each test, a spacing bar (7), operated by a spring catch and button, adjusts the test bar to a clear area, ensuring precision and efficiency in the testing process.
Telebrineller Brinell Hardness Testing System Accuracy
Our Standard Telebrineller Test Bars guarantee uniform hardness within a tight margin of plus or minus 2% of the Brinell Hardness Number (BHN) etched on the bar's end. Crafted from assorted alloys of carbon steel and precision ground to a 9/16” square finish, these bars ensure reliability and consistency.
To determine BHN, the diameters of the resulting impressions are meticulously measured and converted using the King-Scan, a computerized calibration system. The system's accuracy complies with the National Institute of Standards, and the obtained BHN values are rounded to the nearest standard BHN at a .05mm interval, as per Table I of ASTM Standard E10. The finalized BHN is then etched on the end of the bar for clear identification.
The accuracy of Telebrineller tests hinges on the relative hardness of both the test bar and the specimen. When used correctly, a commendable accuracy of +/- 5% is consistently achievable, provided that the BHN of the test bar doesn't deviate by more than 15% from that of the test piece.
Test Bars
The test bars which are the core of this system are calibrated to a uniform hardness of ± 2% of the labeled BHN. Hardness of the bars is measured by equipment whose accuracy is certified traceable to the National Standards Institute. Readings may be made within .05 millimeters.
| Telebrineller Hardness Test Bars (BHN Values) | |||||||||
|---|---|---|---|---|---|---|---|---|---|
| 627 | 477 | 388 | 321 | 269 | 229 | 194 | 160 | 135 | 114 |
| 578 | 461 | 375 | 311 | 262 | 223 | 188 | 156 | 131 | 111 |
| 555 | 444 | 363 | 302 | 255 | 217 | 182 | 151 | 127 | 111 |
| 534 | 429 | 352 | 293 | 248 | 212 | 176 | 147 | 124 | 109 |
| 514 | 415 | 341 | 285 | 241 | 207 | 170 | 142 | 121 | 106 |
| 495 | 401 | 331 | 277 | 235 | 200 | 165 | 138 | 117 | |
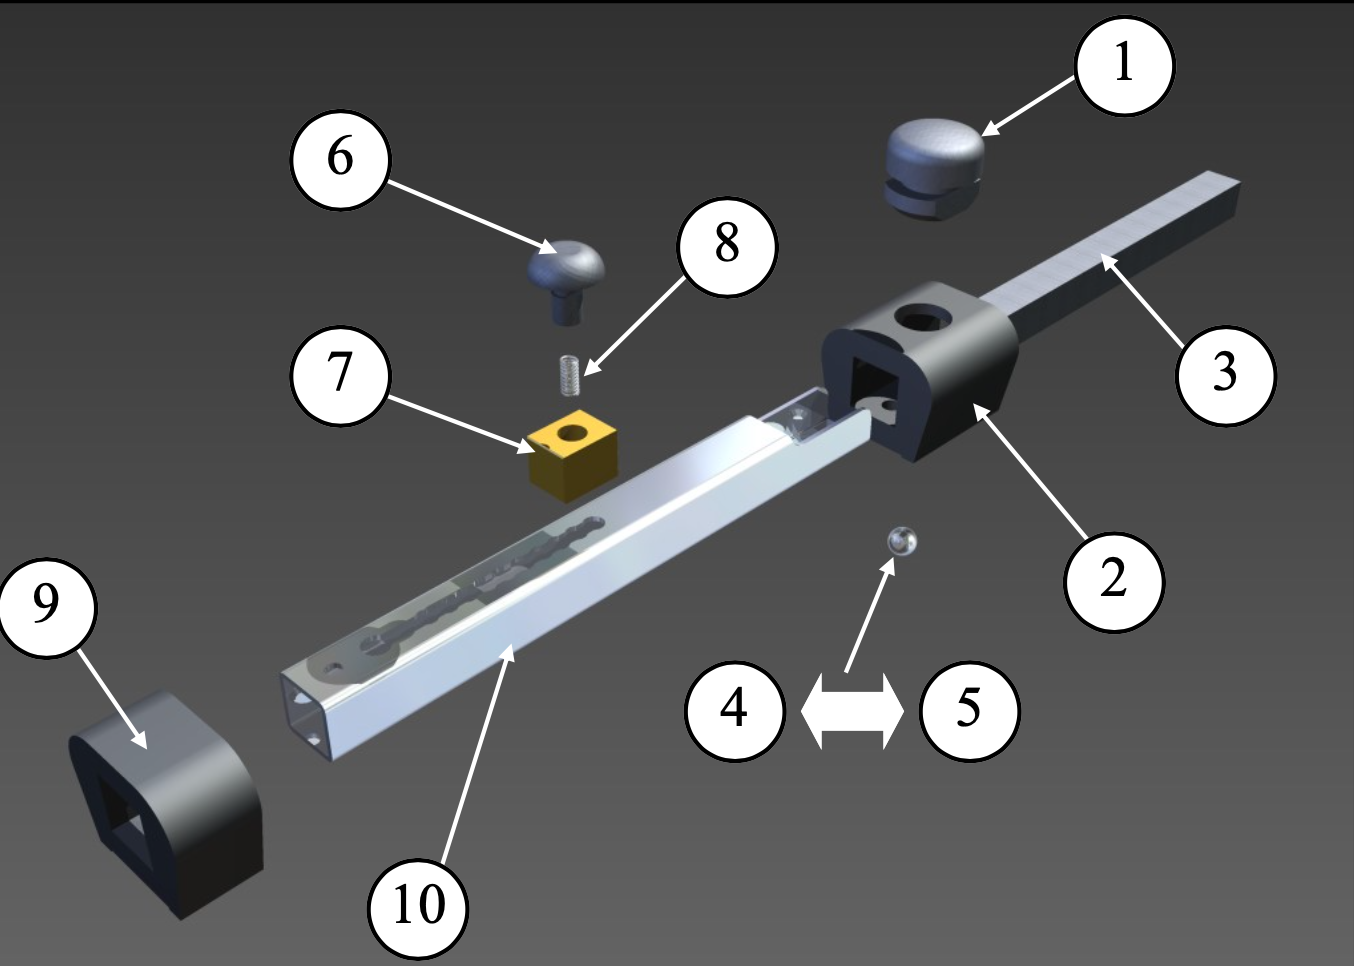
| Item # | Description of Part | Part No. |
|---|---|---|
| Ass'y | Telebrineller Bar Holder Assembly | 239-35 |
| 1 | Anvil | 239-17 |
| 2 | Rubber Front Piece | 239-18 |
| 3 | Test Bar | |
| 4 | Impression Ball - Standard | 239-14 |
| 5 | Impression Ball - Tungsten Carbide | 239-29 |
| 6 | Spacer Button | 239-19 |
| 7 | Spacer Block | 239-10 |
| 8 | Spacer Spring | 239-12 |
| 9 | Rubber Rear Piece | 239-11 |
| 10 | Bar Tube | 239-16 |
| Not Shown | Flashlight (LED) | 239-37 |
| Computer | 239-34 | |
| Calculation & Record Pad (25 Sheets) | 239-33 | |
| Carrying Case | 239-20 | |
| Calibration Disk | 239-31 |
Halteman Filletester
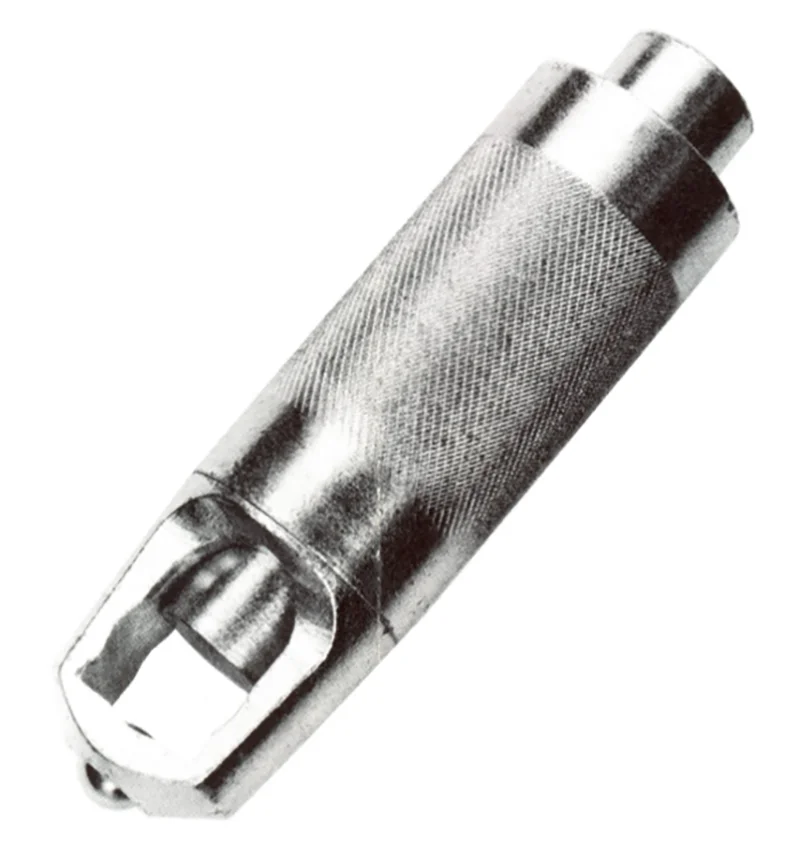
The Halteman Filletester is designed for the Brinell hardness testing of fillet welds and other hard to reach areas. It is used in conjunction with the Telebrineller. For easier handling, it is recommended that the standard Telebrineller Test Bars be cut in half. Impressions can be measured by using the 5/8" diameter end of the microscope nose piece.
Who Can Benefit from a Telebrineller System?
The Telebrineller Brinell Hardness Testing System is a valuable asset for a range of professionals and industries. Welding crews, in particular, will find immense benefit from its user-friendly design. It allows for efficient Brinell hardness testing without the need for specialized training. With its portability and weatherproof build, it's an excellent choice for on-site applications.
Materials testing laboratories, quality control departments, and research facilities can also gain significantly from the Telebrineller System. Its certified accuracy, ease of use, and robust design make it a versatile tool for ensuring the quality and hardness of various materials.
The system's utility extends to industries where the Brinell hardness of materials plays a critical role, such as construction, manufacturing, and engineering. Anyone requiring precise hardness measurements, from metal fabricators to engineers working on structural projects, can benefit from the reliability and portability offered by the Telebrineller System from NextGen Material Testing.
FAQs
A test bar with a known Brinell Hardness Number (BHN), which closely matches the hardness of the specimen being tested, is selected. To ensure the highest consistent accuracy, it is crucial that the BHN of the test bar falls within a range of plus or minus 15% of the BHN of the specimen and that both the test bar and the specimen share similar material characteristics. Kindly note that when testing non-ferrous materials using carbon steel bars, impact errors may occur, necessitating the application of correction factors to the test results to compensate for differences in material properties.
The standard dimensions of the BHN (Brinell Hardness Number) bars are 9/16 sq inches x 6 inches.
Click here to request your personalized quote for NextGen’s Telebrineller Brinell Hardness Testing System.
There are a variety of portable hardness tests available, some of which are better suited for particular applications than others. Depending on what you needed to know and why you would choose the right hardness tester for the job.
Telebrineller testers. These testers compare the indentation left by a steel ball in a standard bar with the indentation left by the test material to determine the hardness. Consumable standardized bars that are close to the test material's hardness should be used. Although the procedure is rather simple, it would have the same restrictions as the rebound testing approach.
To demonstrate a loss in strength in damaged areas of a structure compared with undamaged areas or virgin material, a Barcol hardness tester for use on Al alloys is typically utilized as a comparison tool. Barcol hardness testers are excellent for this type of comparative study and are relatively portable, although the conversion to harder scales is only approximate.
NextGen’s Telebrineller Brinell Hardness Testing System is the most solution on the market for portable hardness testing.
Click here to request your personalized quote.
Alloys or metals that don't include a significant quantity of iron are referred to as non-ferrous metals. Except for iron (Fe), all pure metals are non-ferrous elements.
Non-ferrous metals are often more expensive than ferrous metals, but they are utilized because of their desired qualities, such as corrosion resistance, high conductivity, non-magnetic characteristics, and lightweight (in the case of aluminum and copper) (zinc). The iron and steel industries use a few non-ferrous minerals, like bauxite, which is used as a flux in blast furnaces. Ferrous alloys are created using chromite, pyrolusite, and wolframite, among other non-ferrous metals. Because of their low melting points, several non-ferrous metals are less suited for use in high-temperature applications.
Because ferrous metals contain iron, they vary from non-ferrous metals. Because they contain a lot of carbon, ferrous metals like carbon steel and cast iron are frequently susceptible to rusting when exposed to moisture.
NextGen’s Telebrineller Brinell Hardness Testing System can test non-ferrous materials, however Testing non-ferrous materials with carbon steel bars causes impact errors that must be compensated for by applying correction factors to the test results.
Click here to request your personalized quote.
The depth of plastic deformation of the indentation is used to calculate the carbon steel hardness Rockwell index, and 0.002 mm is utilized as the hardness unit. When performing the Rockwell hardness test, several indenters and test forces are used. These diverse combinations provide different Rockwell hardness scales. Three rulers are frequently employed, and nearly all popular metal materials can be used with them.
The hardness of carbon steel When the sample is too small, or the Brinell hardness (HB) is higher than 450, the Rockwell (HR) test is used to determine the hardness. The test involves pressing a steel ball or a diamond cone with a 120-degree apex angle into the surface of the material to be tested while applying a specific load. The material is then extracted from the depth of the indentation.
NextGen’s Telebrineller Brinell Hardness Testing System Standard Test Bars are made of various alloys of carbon steel and finish ground to 9/16" square.
Click here to request your personalized quote.
Anvils support the test specimen while the principal load is applied during a hardness test, aiding in the accuracy of the test results. The majority of Rockwell hardness testers are compatible with Rockwell anvils. If you have any compatibility issues with your tester, get in touch with our customer service department or your sales representative (s)
Only 0.002mm, or 80 millionths of an inch, or one standard Rockwell hardness number, corresponds to the vertical movement of the penetrator (0.000080 inches) A vertical shift of 40 millionths of an inch is represented by one apparent Rockwell number (0.000040 inches). Only a 0.001-inch vertical displacement of the component being tested will reduce the Rockwell reading by more than ten regular and 20 superficial numbers.
Manufactured in accordance to Rockwell Revision; E18-07.
NextGen’s Telebrineller Brinell Hardness Testing System includes Anvil in its standard package.
Click here to request your personalized quote.
A material's qualities, including strength, ductility, and wear resistance, can be assessed through the use of hardness testing, which enables you to decide whether a material or material treatment is appropriate for the purpose you need.
A test to measure a material's resistance to permanent deformation caused by the penetration of another harder substance is known as a hardness test. Hardness is not a fundamental characteristic of a substance, though.
The microstructure, or homogeneity, of the material under test, together with its kind, size, and condition, should all be taken into consideration while selecting the hardness test.
The material beneath the indent should be representative of the entire microstructure in all hardness tests (unless you are attempting to ascertain the different constituents in the microstructure). As a result, a greater impression is required for a highly coarse and diverse microstructure than for a homogeneous material.
NextGen’s Telebrineller Brinell Hardness Testing System include standard and Tungsten Carbide impression balls.
Click here to request your personalized quote.
The Brinell Hardness Test results are frequently used in industry as a foundation for accepting commercial shipments and usually for quality control purposes. These findings might be related to properties of metals like ductility, tensile strength, wear resistance, etc.
An indentation hardness test called the Brinell Test has two phases. Step one involves bringing the indenter into contact with the test specimen perpendicular to the surface and applying the prescribed test force. After holding for the allotted amount of time, the test force withdrew. Step two, The diameter of the depression is measured in at least two directions perpendicular to each other. Using a mathematical formula created specifically for this purpose, or more usually from a chart based on the formula, the Brinell hardness value is calculated from the mean of the diameter measurements.
NextGen’s Telebrineller Brinell Hardness Testing System supports ASTM-E10 international standard.
Click here to request your personalized quote.
In order to assess the specimen's hardness, a test bar with a known BHN value is chosen. The test bar's BHN must be within 15% of the specimen's BHN and be made of the same basic material in order to maintain consistent accuracy. (Using carbon steel bars to test non-ferrous materials leads to impact errors that need to be corrected for when the test results are applied.) The test bar is put into the Telebrineller apparatus, which is then set upon the specimen.
The instrument's bar is taken off, and the Telebrineller Microscope is placed over the necessary impression. The scale provided by the microscope has divisions of 1/10 millimetres, and it is made to be bright and visible to the observer. The diameter is determined by the division that lies over the opposing tangent and is oriented tangent to the impression. Within.05 millimetres, readings can be done with ease and accuracy. In the same way, the impression in the test metal is measured. It doesn't take long for either measurement.
Click here to request your personalized quote for NextGen’s Telebrineller Brinell Hardness Testing System.
The uniform hardness of Standard Telebrineller Test Bars is guaranteed to be within plus or minus 2% of the BHN inscribed on the end of the bar. They are constructed from different carbon steel alloys and finished ground to a 9/16" square.
Using a Brinell manual or automatic microscope, the diameters of the imprints are then measured and translated to BrinellHardness Numbers. Automated microscopes, like the GenScope, are calibrated, computerized devices whose accuracy can be traced back to the National Institute of Standards. As a result, the Brinell Hardness Numbers are rounded to the nearest standard BHN found in Table I of ASTM Standard E10 at intervals of.05mm, and this BHN is engraved onto the end of the bar.
Please be aware that the relative hardness of the test bar and the test piece affects the accuracy of any test performed with the Telebrineller. When the Telebrineller is used appropriately, accuracy of 5% is consistently achievable, provided that the difference between the test piece's and test bar's BHNs is not greater than 15%.
Click here to request your personalized quote.
Brinell hardness can be measured anywhere, including the field, a facility, or a lab, using Telebrineller technology. It is decided to use a test bar with a known Brinell Hardness Number (BHN) that approximates the specimen's hardness.
Here is the list of available for NextGen’s Telebrineller Brinell Hardness Testing System:
|
Item # |
Description of Part |
Part No. |
|
Ass'y |
Telebrineller Bar Holder Assembly |
239-35 |
|
1 |
Anvil |
239-17 |
|
2 |
Rubber Front Piece |
239-18 |
|
3 |
Test Bar |
|
|
4 |
Impression Ball - Standard |
239-14 |
|
5 |
Impression Ball - Tungsten Carbide |
239-29 |
|
6 |
Spacer Button |
239-19 |
|
7 |
Spacer Block |
239-10 |
|
8 |
Spacer Spring |
239-12 |
|
9 |
Rubber Rear Piece |
239-11 |
|
10 |
Bar Tube |
239-16 |
|
Not Shown |
Flashlight (LED) |
239-37 |
|
Computer |
239-34 |
|
|
Calculation & Record Pad (25 Sheets) |
239-33 |
|
|
Carrying Case |
239-20 |
|
|
Calibration Disk |
239-31 |
Click here to request your personalized quote.
The test bars, the system's essential component, are calibrated to have uniform hardness within 2% of the indicated BHN. Equipment whose accuracy is certified traceable to the National Standards Institute is used to measure the hardness of the bars. The accuracy of the readings is.05 millimetres.
These are the NextGen’s Telebrineller Hardness Test Bars (BHN Values):
|
Telebrineller Hardness Test Bars (BHN Values) |
|||||||||
|
627 |
477 |
388 |
321 |
269 |
229 |
194 |
160 |
135 |
114 |
|
578 |
461 |
375 |
311 |
262 |
223 |
188 |
156 |
131 |
111 |
|
555 |
444 |
363 |
302 |
255 |
217 |
182 |
151 |
127 |
111 |
|
534 |
429 |
352 |
293 |
248 |
212 |
176 |
147 |
124 |
109 |
|
514 |
415 |
341 |
285 |
241 |
207 |
170 |
142 |
121 |
106 |
|
495 |
401 |
331 |
277 |
235 |
200 |
165 |
138 |
117 |
|
Click here to request your personalized quote.
The 10-mm-diameter hardened steel or carbide ball used in the Brinell hardness lab test indentations the test material while being loaded with a 3000 kg load. To prevent excessive indentation on softer materials, the weight can be decreased to 1500 kg or 500 kg. The Brinell hardness tester utilized was a mobile, field-friendly hammer strike device. Using a portable, low-powered microscope, the diameter of the indentation left in the test material is measured. To determine the Brinell hardness number (BHN), divide the applied load by the indentation's surface area.
To determine the BHN at this test site, this measurement of the indentation diameter will be compared to a table. In order to evaluate how well the PWHT process worked, the results of the base metal test, weld metal test, and weld heat-affected zone test will be compared.
NextGen’s Telebrineller Brinell Hardness Testing System uses Telebrineller Hardness Test Bars to determine BNH Values.
Click here to request your personalized quote.
Here are the standard accessories in NextGen’s Telebrineller Brinell Hardness Testing System:
The test bar (1), anvil (2), and soft moulded rubber head (3) are all included with the Telebrineller instrument, which is placed on top of the test bar. Non-slip footing is provided by the rubber head and a comparable resting block (4). A steel impression ball (5), fixed in the rubber head's base, is in contact with the specimen and the test bar beneath it. Sharp blows are made to the anvil with a two to five-pound hammer.
Regardless of force, the impact is equally transferred to the test bar and the specimen metal (6) through the impression ball, leaving impressions in both. The sizes of the impressions that are produced are directly proportional to the specimen's and the test bar's relative hardness. The test bar is adjusted to clear space for each test using a spacing bar (7) that is controlled by a spring catch and button.
Click here to request your personalized quote.
Components for various applications need to have great wear resistance in addition to high strength. Usually, this is true whenever two or more components are in motion-related contact with one another. Examples of these include gears, shafts, bolts, pins, etc.
In order to prevent damage from occurring when the surface comes into touch with neighbouring components and reduce wear, high wear resistance eventually entails a hard surface. Because of this, characteristic values are necessary to describe a material's hardness.
This definition states that the fundamental basis of all hardness assessment techniques is the same. With a specific amount of force, an indenter (such as a ball, cone, pyramid, etc.) is pressed into the material surface being evaluated. The indentation that is left behind is used to calculate the indentation hardness value.
The Halteman File tester is made for measuring the Brinell hardness of fillet welds and other challenging-to-access places. It works in tandem with the Telebrineller. It is advised to cut the typical Telebrineller Test Bars in half for easy handling.
The 5/8" diameter end of the microscope nose piece can be used to measure impressions in NextGen’s Telebrineller Brinell Hardness Testing System.
Click here to request your personalized quote.
The Brinell scale measures how deeply an indenter penetrates a piece of material used as a test piece to determine the substance's hardness. Hardness can be defined in a number of different ways in the field of materials science.
When stating the Brinell hardness number (BHN, or more frequently, HB), it is important to include the test circumstances that were utilised to arrive at the result. The "HBW 10/3000" example shows how tests should be specified using the recommended format. The designation "HBW" denotes the use of a tungsten carbide ball indenter as opposed to "HBS," which denotes the use of a hardened steel ball. In millimetres, the "10" represents the ball's diameter. The number "3000" represents the force in kilograms.
For measuring the Brinell hardness of fillet welds and other difficult-to-reach locations, the Halteman File tester is created. In conjunction with the Telebrineller, it is used. The regular Telebrineller Test Bars should be chopped in half for easy handling.
Click here to request your personalized quote.
The ASTM E10 test technique evaluates a metal's hardness by determining how long it can sustain a weight without denting. The Brinell hardness number, which correlates to tensile strength, wear resistance, ductility, or other physical properties of metals, is determined using this test. The data produced from this test can be utilized for quality assurance and material selection.
In accordance with ASTM E10, the Brinell hardness is assessed by pressing a hardened steel or carbide ball with a known diameter and a known force into a surface, then using a microscope to measure the diameter of the indentation. The load, measured in kilograms, is divided by the indentation's spherical area, measured in square millimetres; this area depends on the indentation's depth and ball diameter. This yields the Brinell hardness number.
NextGen Telebrineller Brinell Hardness Testing System supports ASTM E10 Standard
Click here to request your personalized quote.
Yes! There are five bars included of your selected hardness. Simply inform us of your desired hardness values upon ordering your main unit and we will be happy to include them with your purchase!
Each certified test bar typically allows 20 test indentations per side - giving you a total of 80 tests per bar. The spring loaded mechanism will adjust your test bar to a new location after you perform a test. This ensures your cheap telebrineller hardness tester is ready for its next test right away!
The use of the telebrineller hardness testing system is quite simple. The principle is to use a test bar of known hardness that is plus or minus 15% of your expected hardness value. The test bar is inserted into the cost effective portable hardness tester and the unit is placed on your specimen. Below the test bar sits an impression ball. The operator will strike the anvil with a hammer to indent both the specimen and the test bar. Using the microscope, you can then measure the diameter of indentation left on your specimen and compare it on the included chart to find your BHN brinell hardness value.
The standard telebrineller test bars are guaranteed to have a uniform hardness within plus or minus 2% of the BHN etched on the end of the bar. By following the National Institute of Standards (NIST), we ensure every brinell steel test bar is prepared to provide only the most accurate results on your portable brinell hardness testing.
Absolutely! If you accompany your portable Brinell tester with the halteman filletester, you will be able to test fillet welds and other hard to reach areas.
If you plan to perform a lot of tests, we strongly recommend purchasing additional impression balls. Over time, the ball can deform and cause out of round impressions. The calibration disc for checking your microscope is also a key component to making sure your telebrineller Brinell portable hardness tester is functioning accurately.
We strongly recommend to purchase our calibration disc for checking the calibration of your microscope. Your telebrineller hardness testing system does not require calibration itself.
Related Products
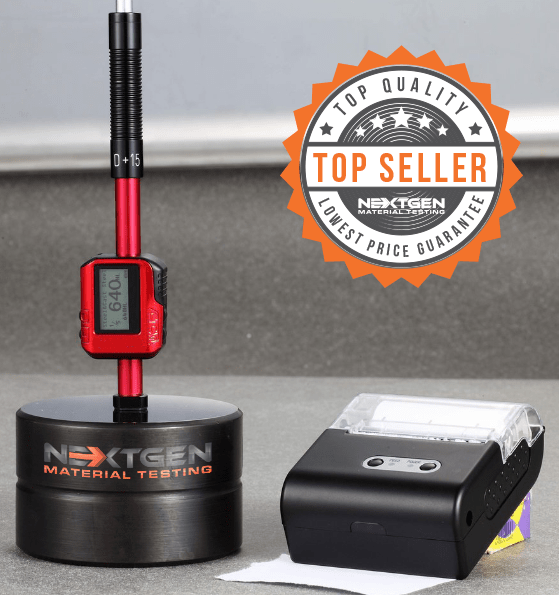
NG - LeebGen 3000 - Leeb Rebound Portable Hardness Tester
LeebGen3000 is a non-destructive precision metal hardness tester developed according to the latest industry standards. LeebGen 3000 is equipped with features which provide the instrument with a combination of a user-friendly interface and exceptional test result accuracy. This in turn allows for ease of operation and an accurate conversion display of virtually any metal hardness testing value.
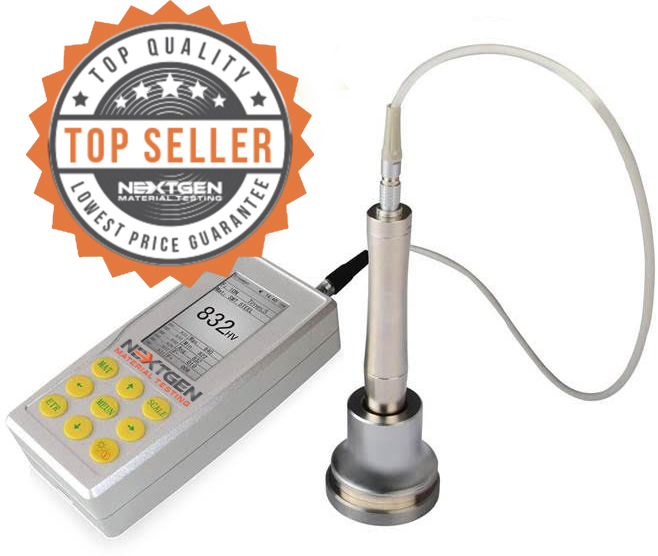
Ultrasonic Contact Impedance Hardness Tester - UH200
Welcome to our most advanced and cost-effective Ultrasonic Hardness Testing System. This portable machine is all you need and more!
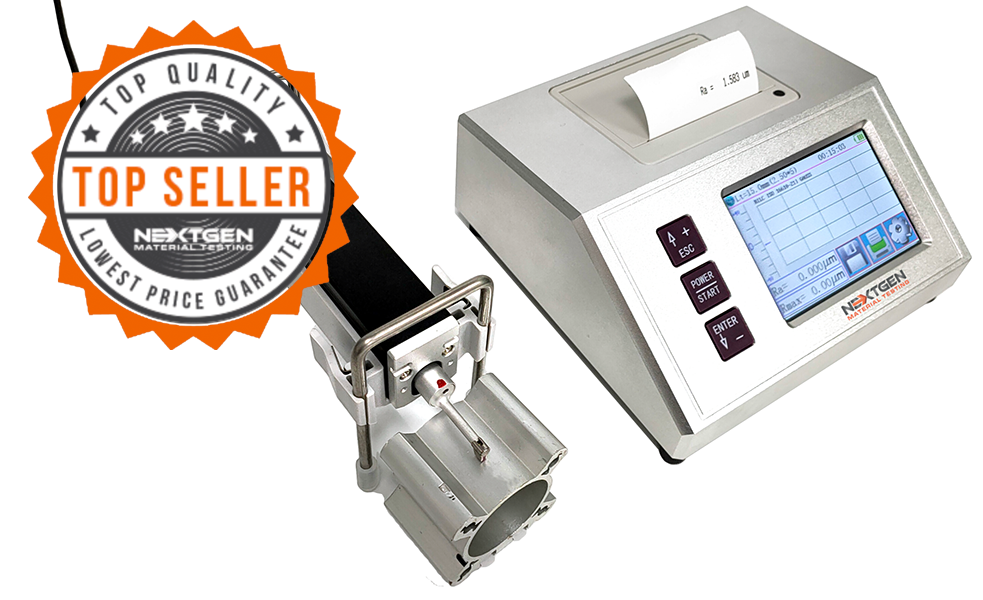
Surface Roughness Testers
High accuracy surface roughness testing systems for material surface analysis and statistical processing of data. Multiple model variations to help fit your technical and budgetary expectations.
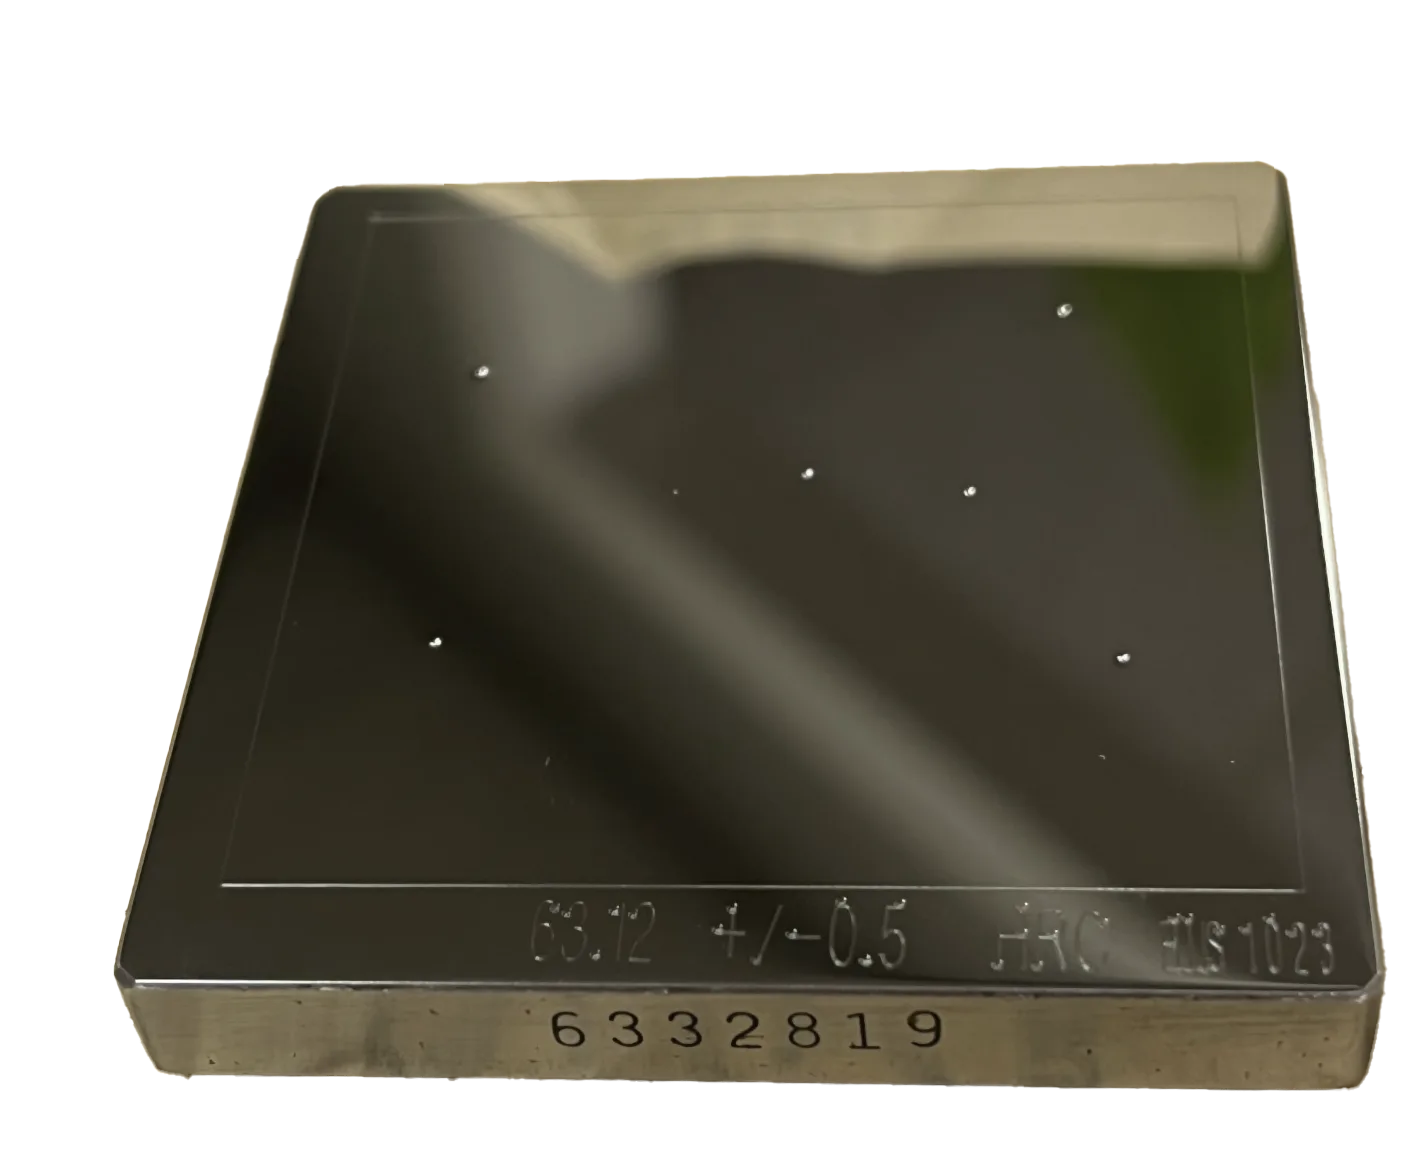
Hardness Test Blocks, Indenters and Hardness Testing Accessories
Certified Test Blocks are a requirement as a reference material for any type of hardness testing. At NextGen, we understand the importance of a Test Block to ensure the accuracy of your hardness testing procedures.
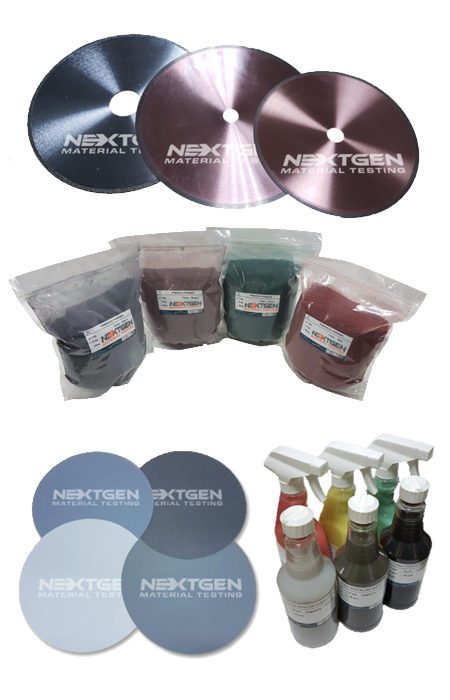
Metallography Consumables
Learn about the full scope of NextGen's cutting, polishing & grinding, mounting and etching metallography consumables. Our consumables are compatible with virtually all global brands, offering a rare combination of exceptional quality, longevity and affordability.
