Metal Testing Equipment


Description
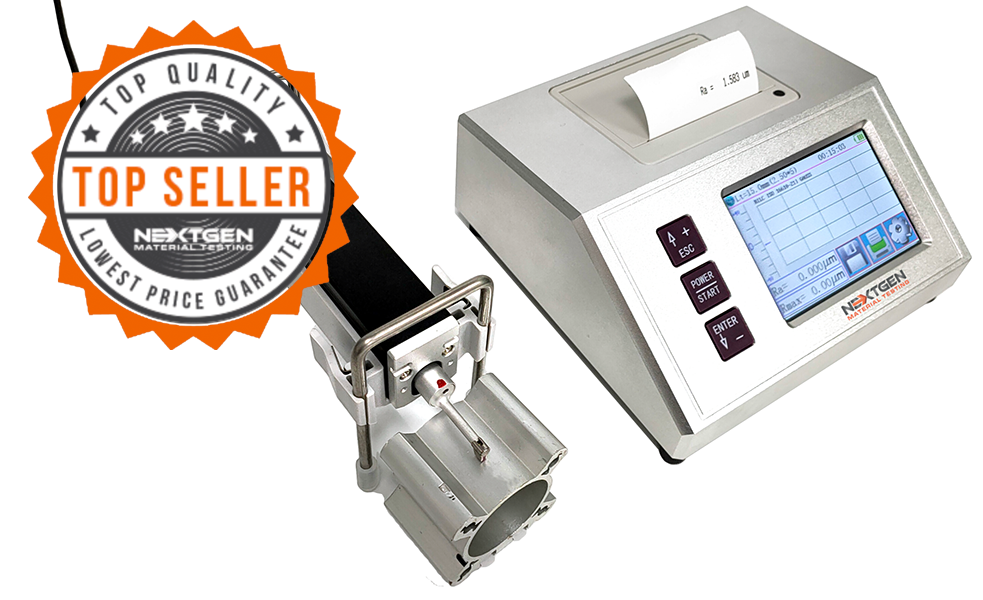
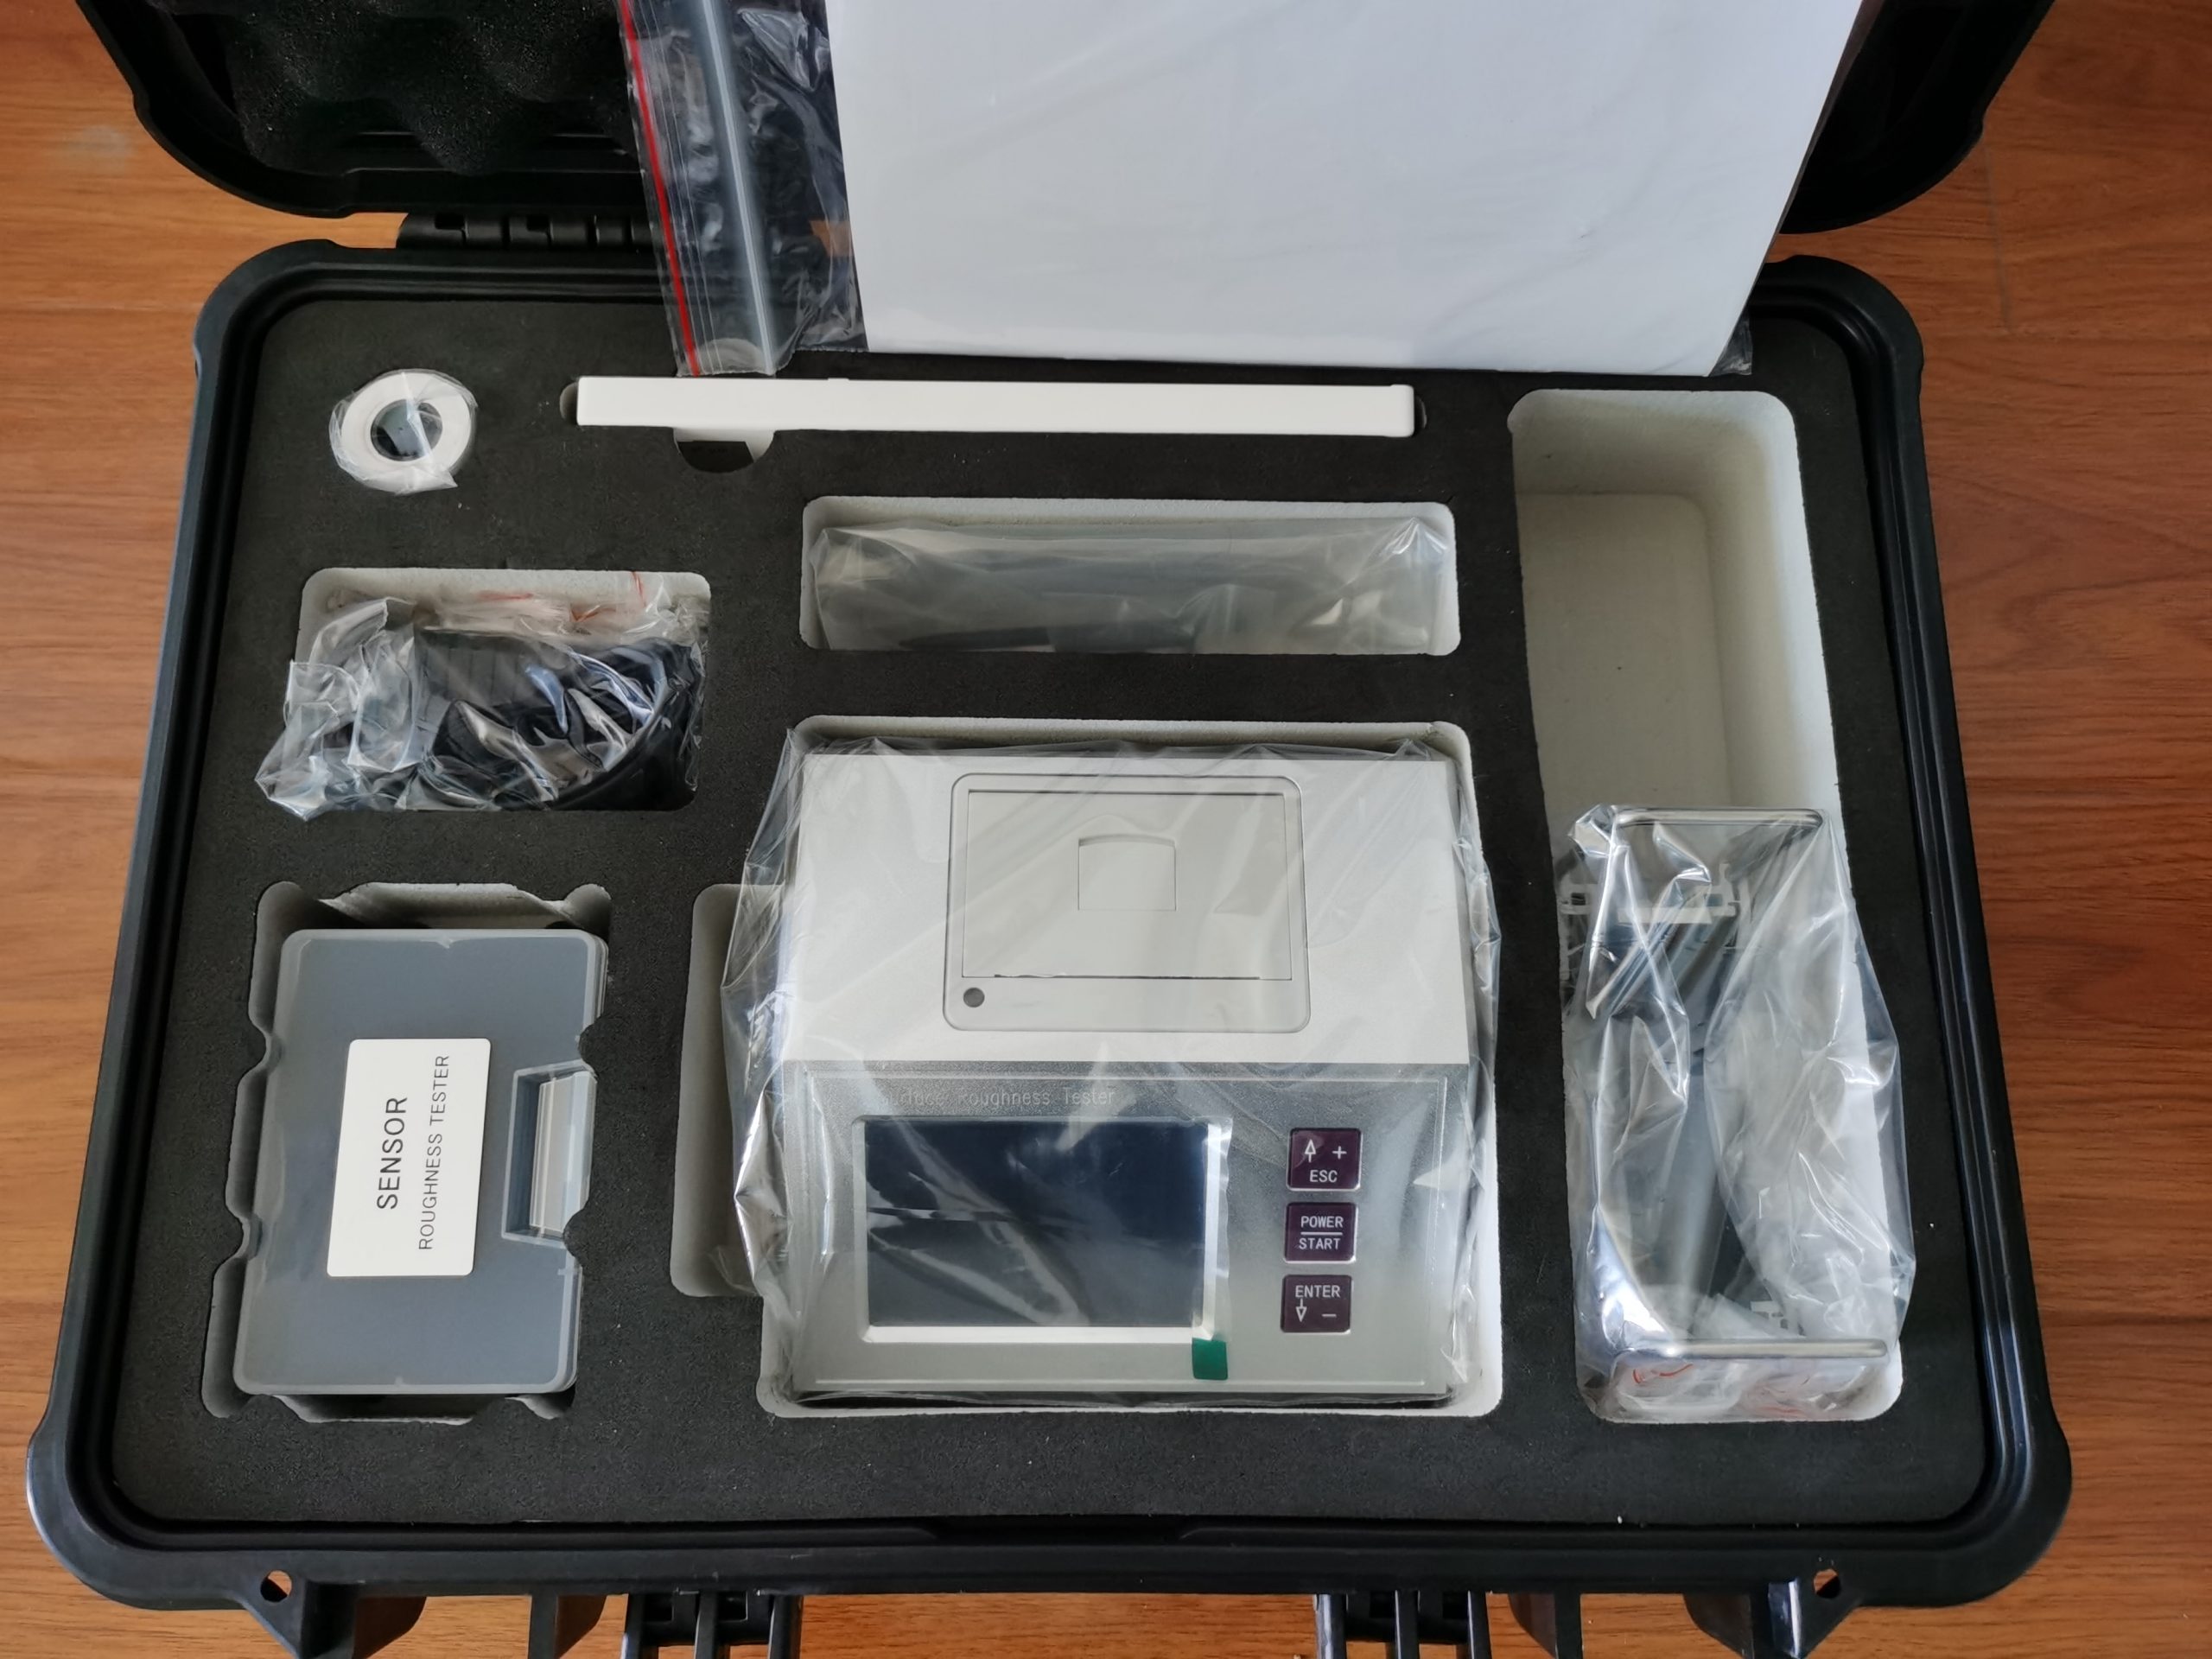
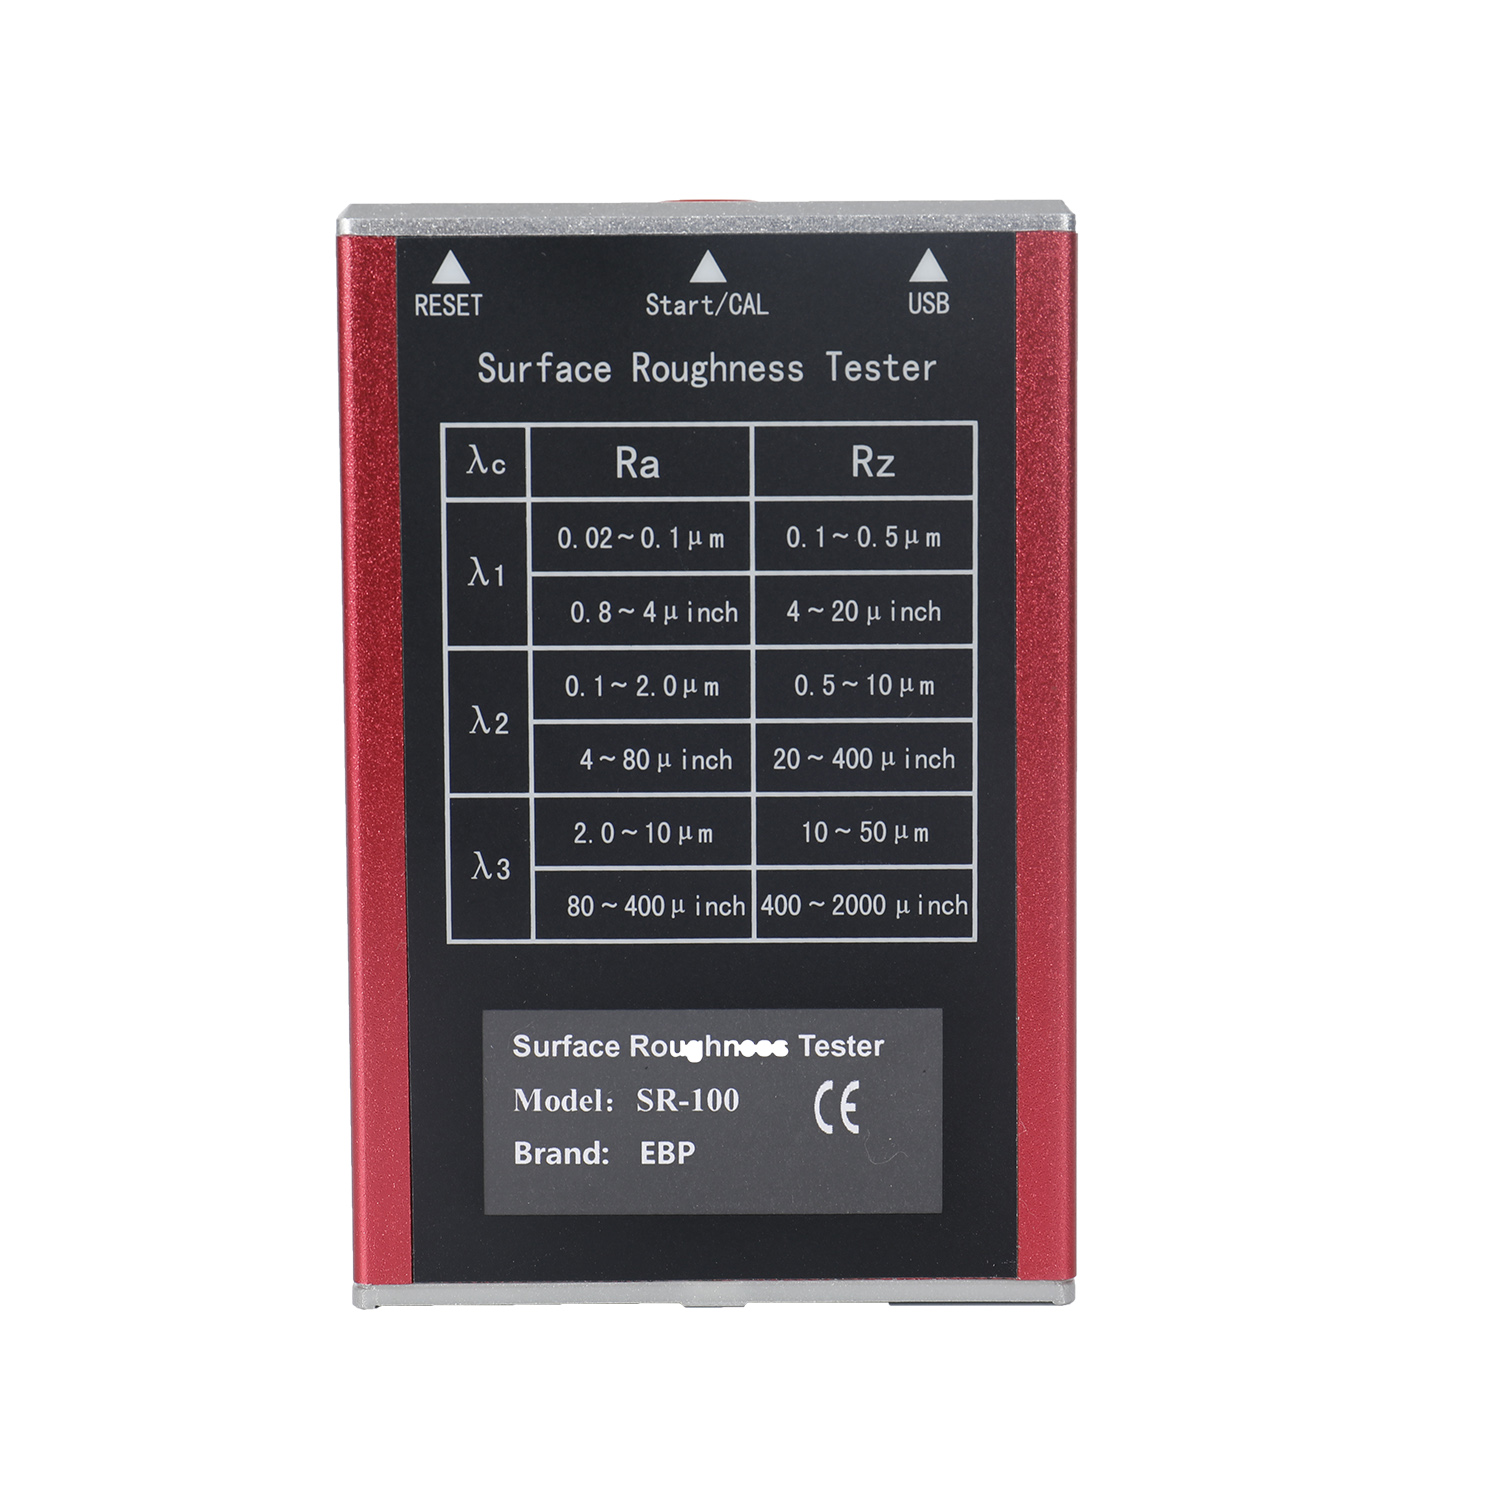
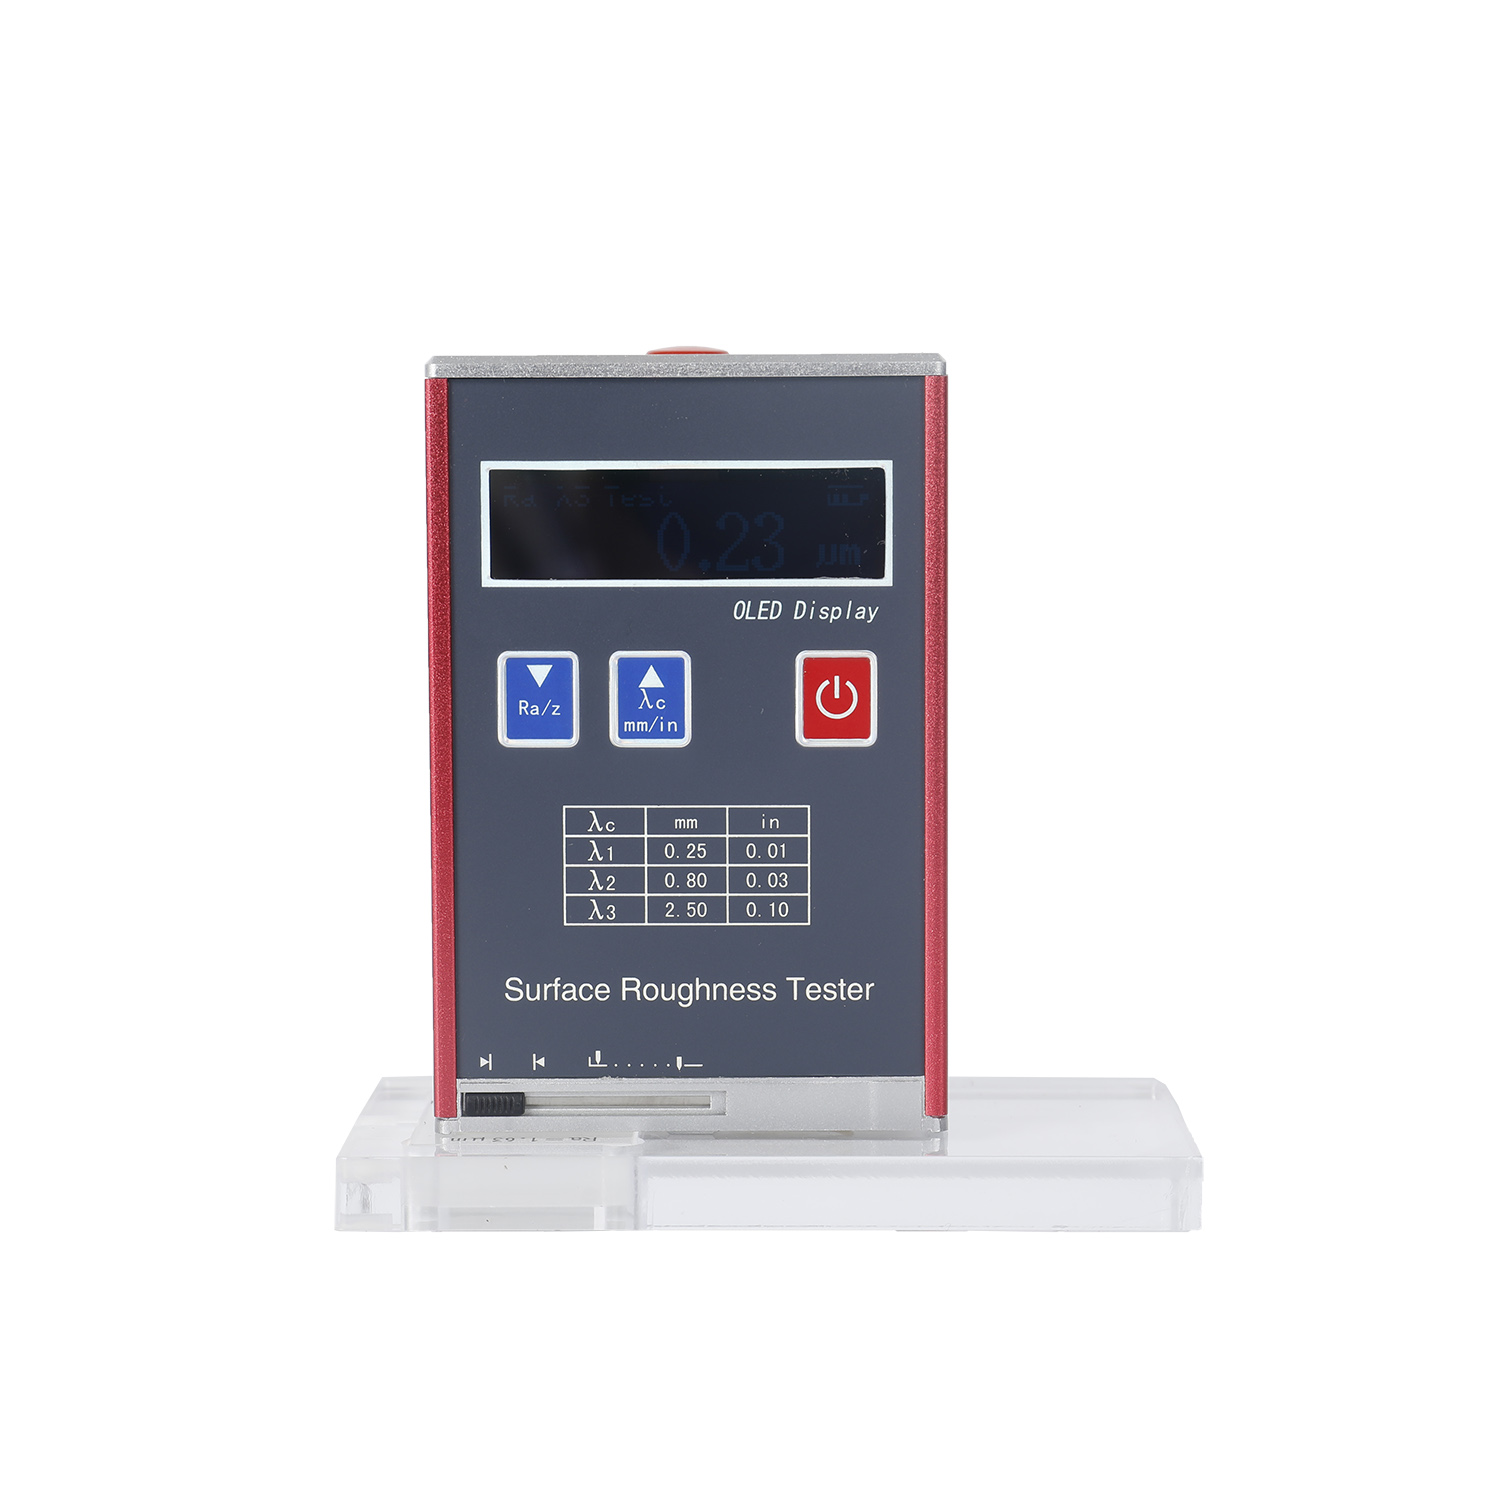
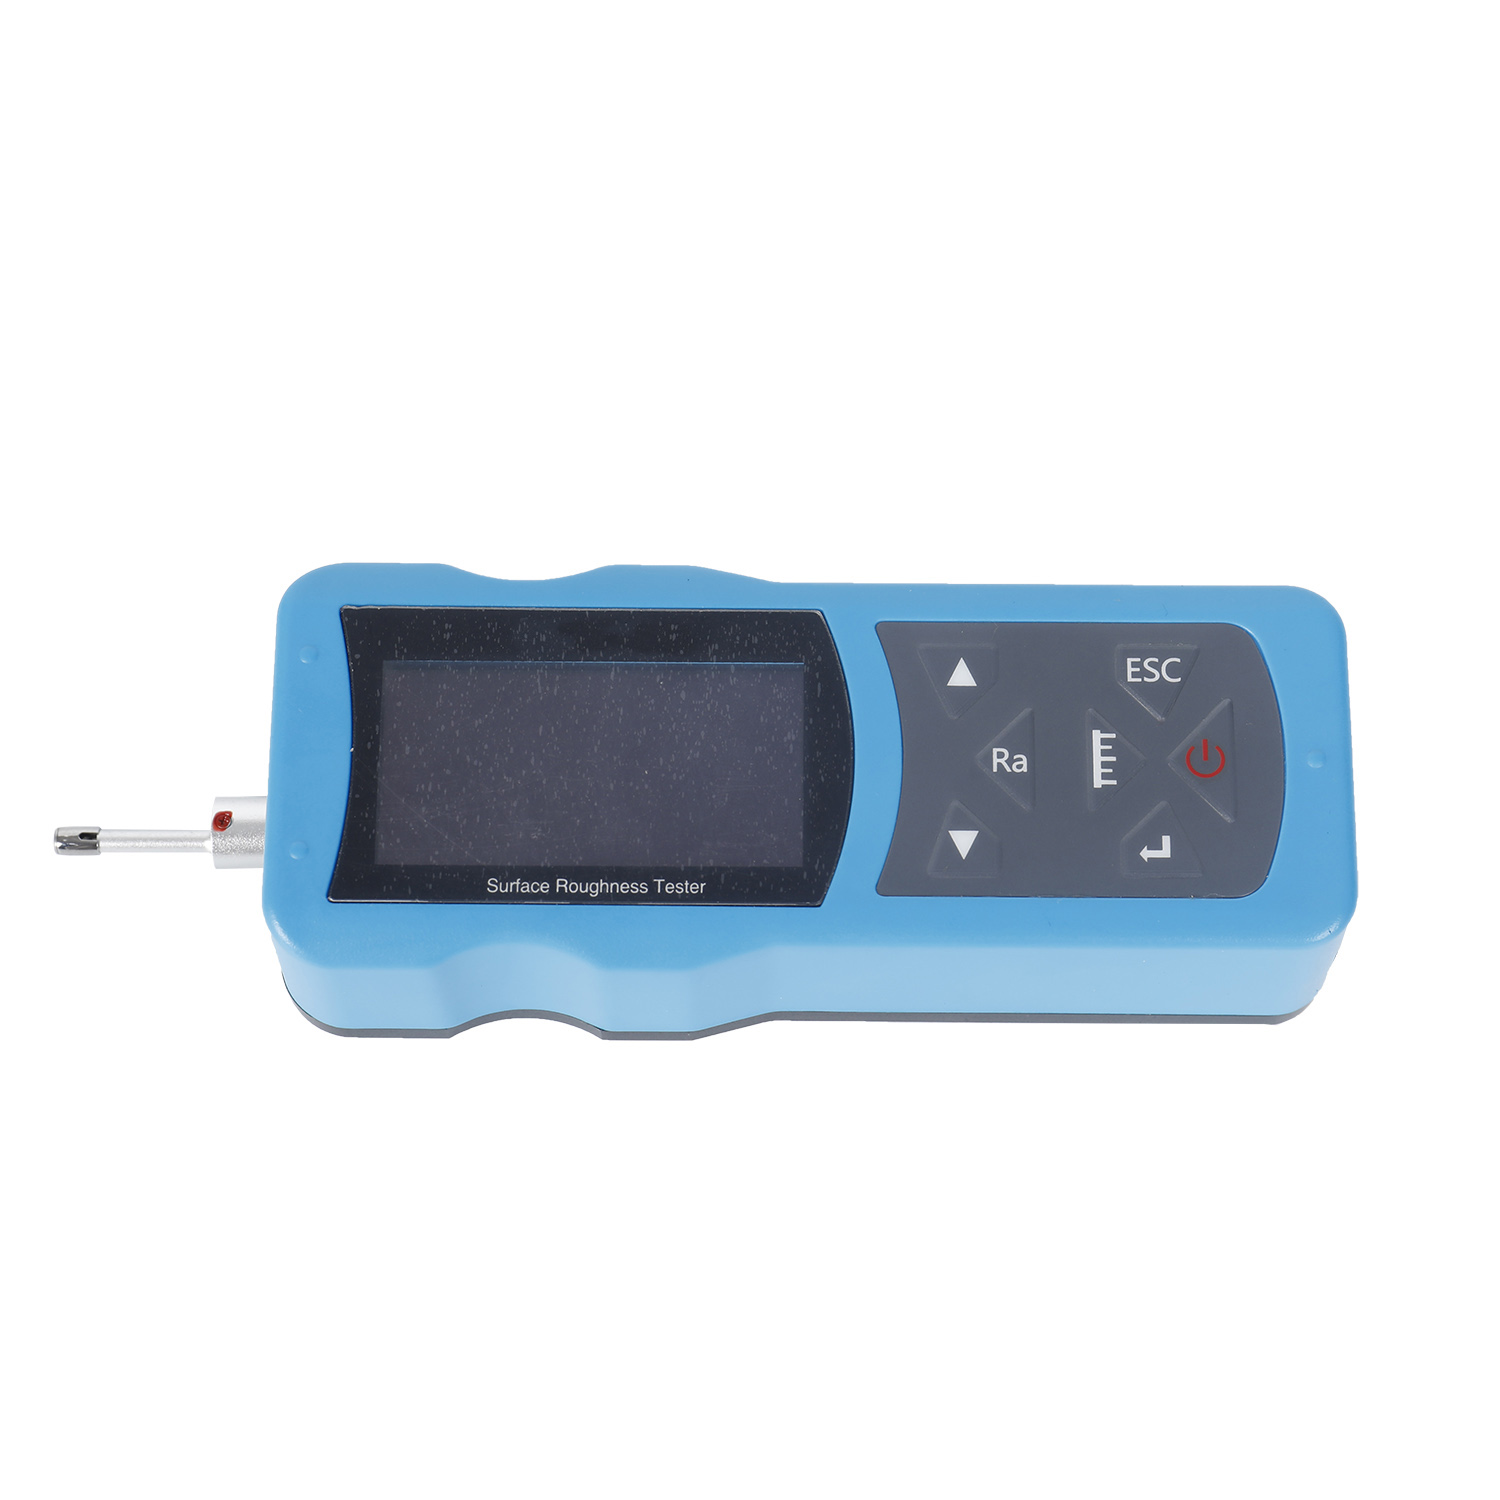
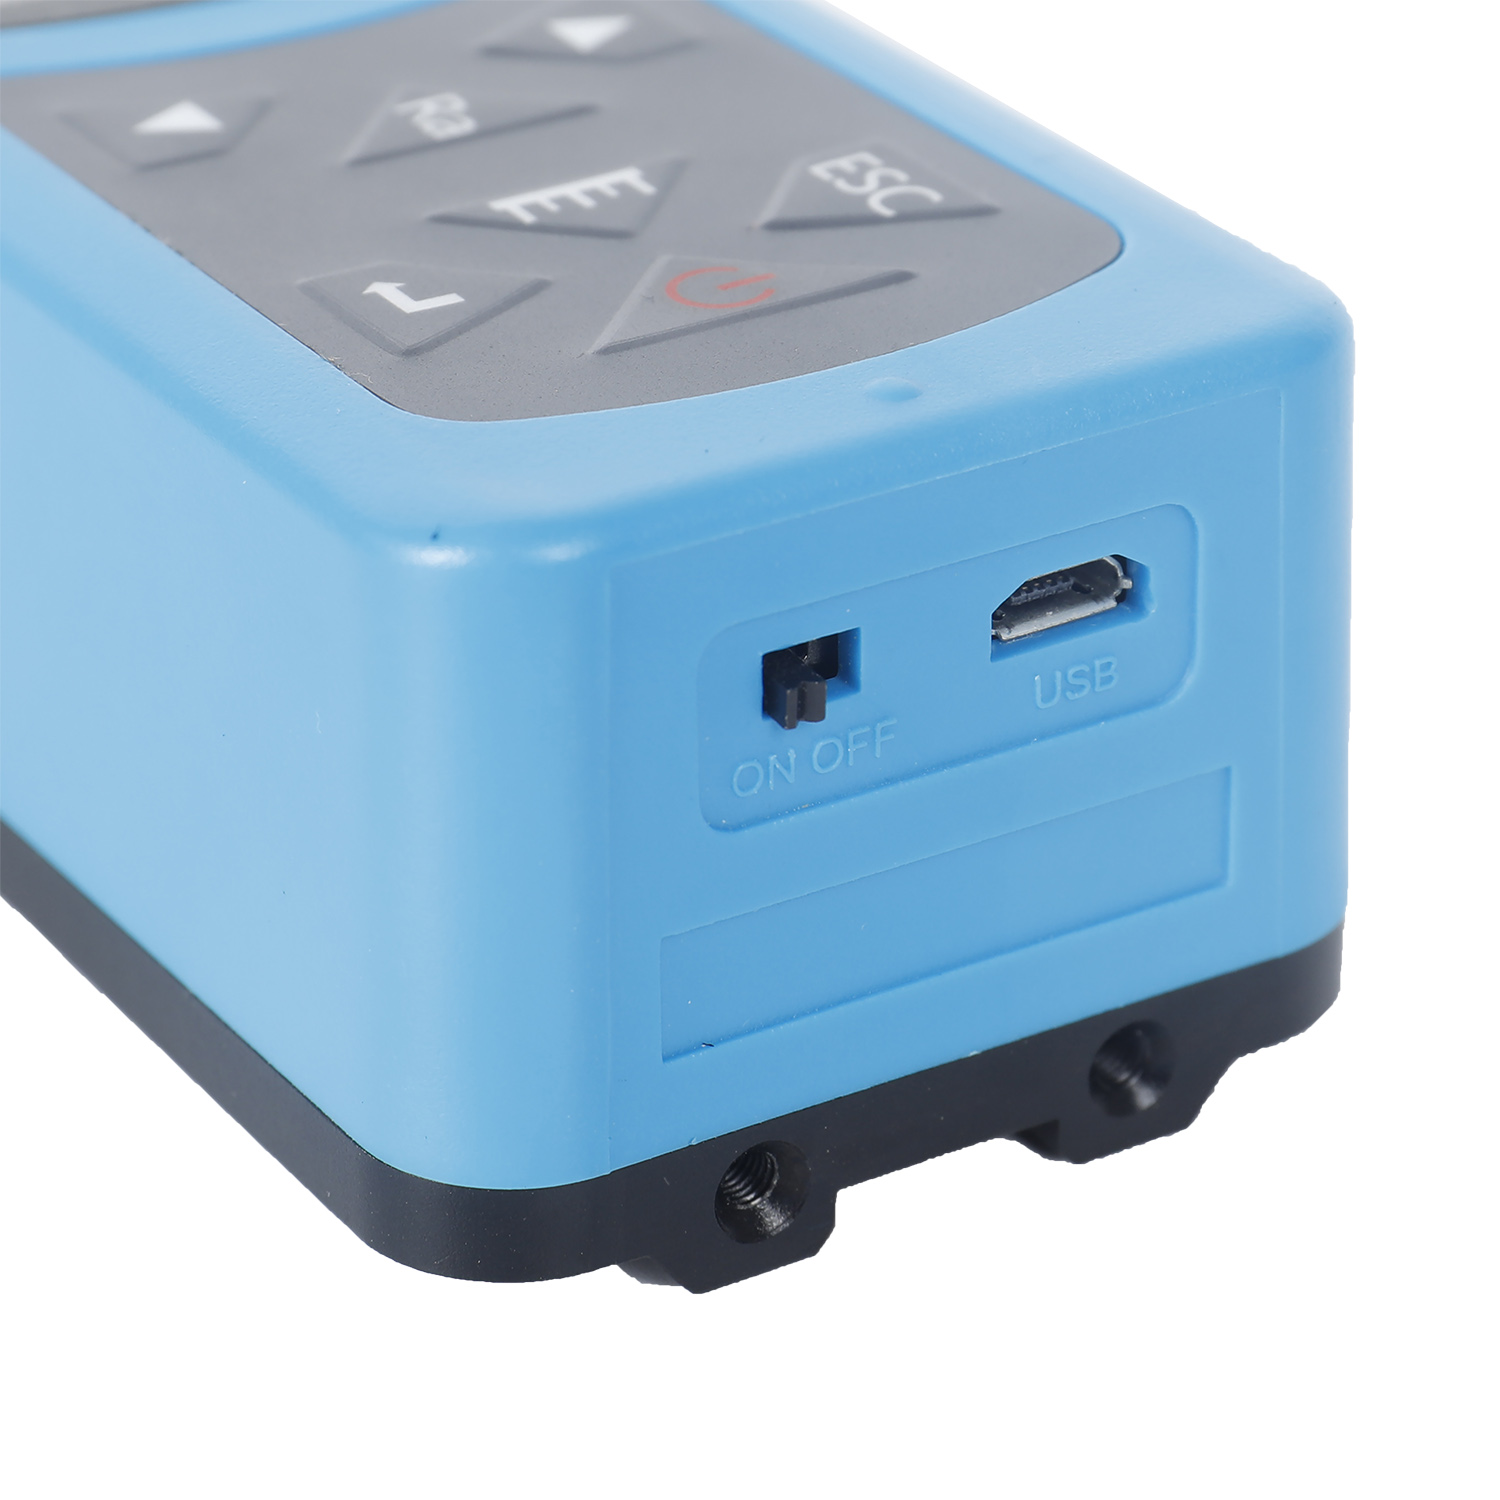
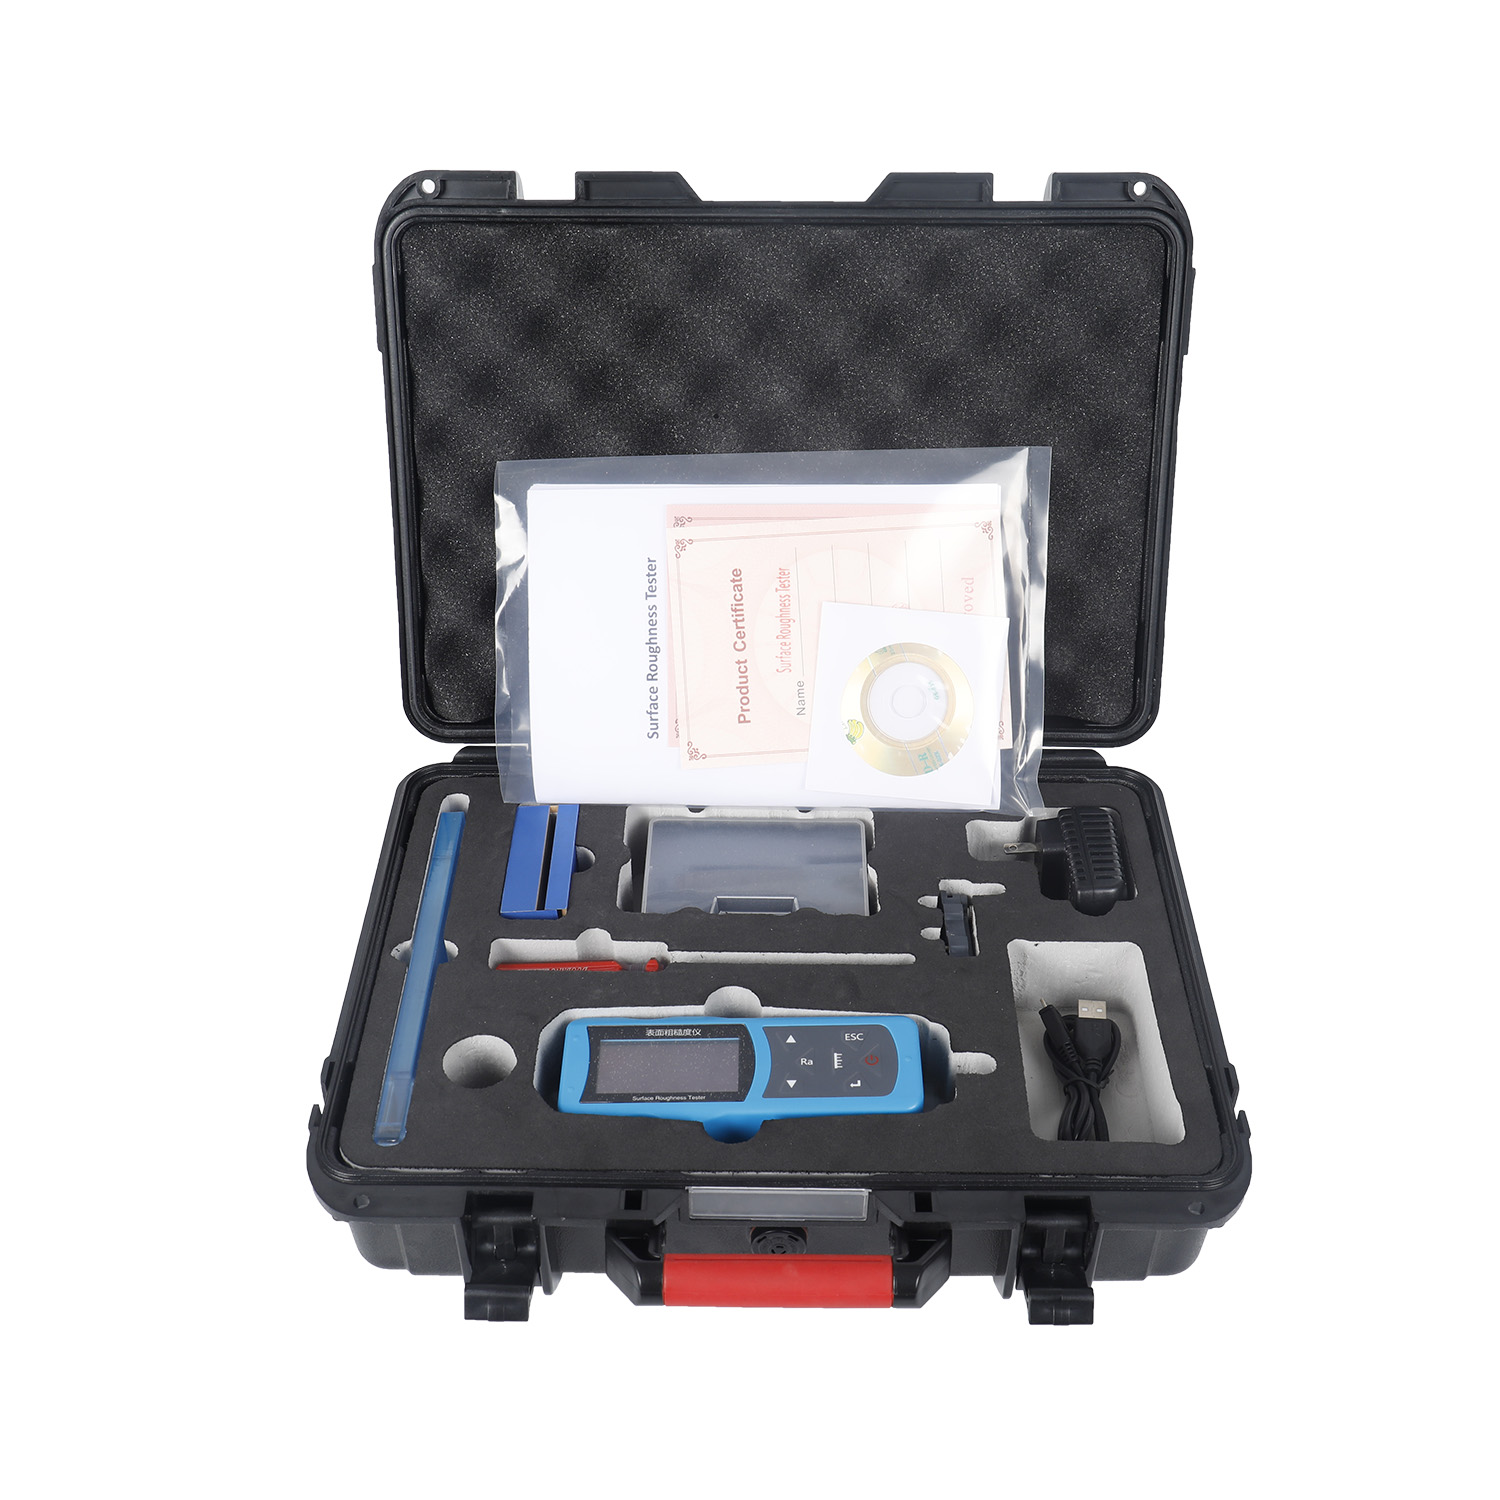
The surfaces roughness tester is a small handheld instrument, for shop floor use and mobile measure, it operation simple, function overall, measure fast, accuracy stability, take convenience. This tester applies to production site and can be used to measure surface roughness of various machinery-processed parts. This tester is capable of evaluating surface textures with a variety of parameters according to various international standard. The measurement results are displayed digital/graphically on the color graphic LCD display, And output to the printer.
Features by Model
NG-SR100-T System
- Portable & economical
- Large measuring range suitable for surface roughness testing of metal and non-metallic materials
- Robust and durable design with anti-electromagnetic interference ability
- High-speed DSP processor for maximum speed of data processing and calculation
- LCD with wide temperature ranges using OLED color display, high brightness and no visual angle interference, making the system suitable for various occasions.
- Long-life lithium ion rechargeable battery can work for a long time with no impact on memory data loss.
- Dedicated charger or computer USB port for charging
- Real-time monitoring of lithium battery power and display with alert function for operator
- Automatic shutdown function and low power design of software and hardware of the instrument designed for in-field long-lasting use.
- Optimized electric circuit design with transducer structure-design.
- The system can test ex-circle, flat surface, conical surface and also test groove larger than 80x30mm
NG-SR200-T and NG-SR300-T System
- Electromechanical integration design allowing for a compact, light weight system with extremely user-friendly
- Using DSP chip to control and process data with high speed and low power consumption
- 128 x 64 mm OLED dot matrix display with digital / graphic display
- Intuitive and rich display of all required parameters and graphics
- Compatible with ISO, DIN, ANSI, JIS national standards;
- Continuous work time of over 20 hours.
- Real-time clock settings and display with convenient data recording and storage.
- Automatic sleep mode and automatic shutdown and power saving mode
- Can be connected to a computer and printer;
- Optional sensor upgrades, measuring platforms, mini printer, extension rods and other accessories.
- Plastic shell, inspired by “TRANSFORMERS” with stylish and compact design, with extreme high reliability.
- Bluetooth function
- APP data acquisition and management option
NG-SR400-T System
- Mechatronics design with embedded printer can directly print out measurement results and graphics
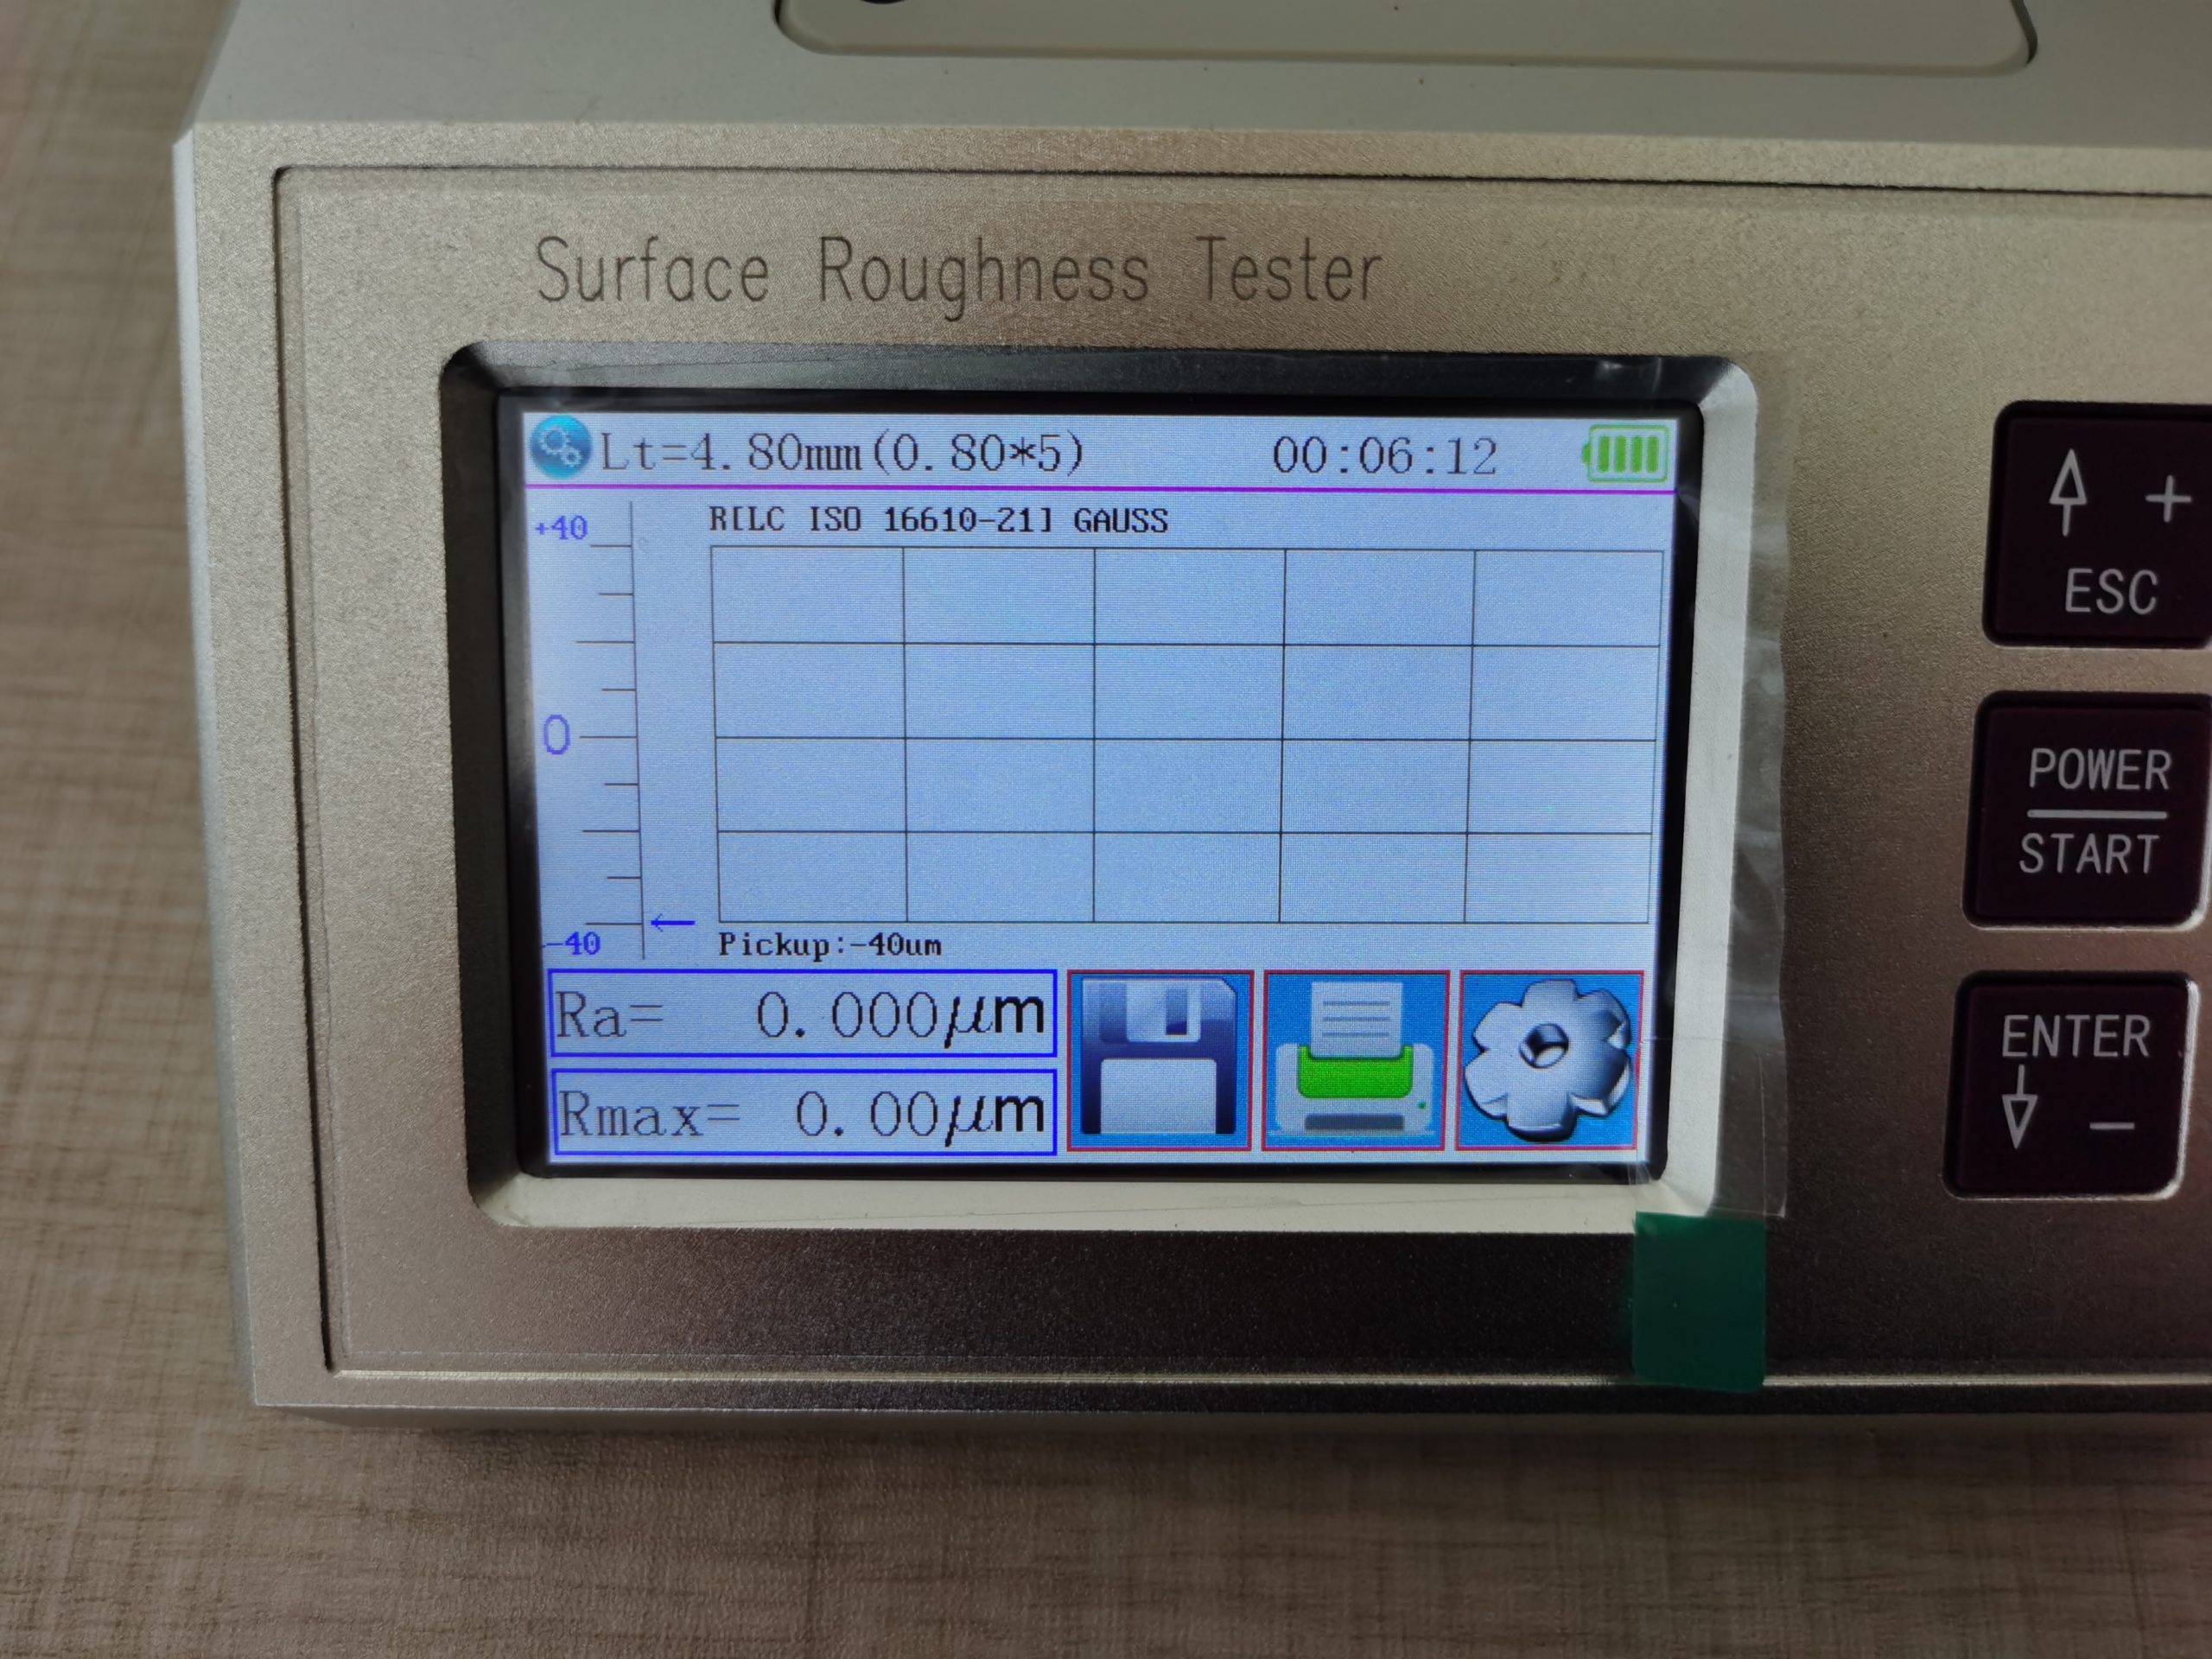
- 320μm large measuring range (upgrade to 640μm, optional) inches color graphic LCD touch screen with backlight provide high brightness and wide viewing angle
- Easy button and touch screen dual operation
- The display information is rich, intuitive, and displays all parameters and graphics
- Compatible with ISO, DIN, ANSI, JIS and many national standards
- Built-in lithium-ion rechargeable battery, charging control circuit, high capacity, no memory effect
- Includes charge indicator, charging hint
- Continuous working time is more than 50 hours
- Large internal memory: 100 groups of original data and waveform can be stored
- Real-time clock setting and display, convenient for data recording and storage.
- Comes standard with automatic sleep, automatic shutdown and other power-saving functions
- Reliable circuit and software design to prevent the motor for getting stuck
- External drive unit allows more flexible measurement on side, upper, and other measurement orientations.
Measuring Principle

Surface roughness testers offers a linear roughness measurement. This is done by tracing a mechanical tip along a surface to measure roughness along an arbitrary line. As the equipment evolves in sophistication, manual contact methods may be replaced by last, optic and other testing processes for faster and more user-friendly results. Contact our quality consultants today to help identify which surface roughness testing system would be the optimal solution for your testing needs.
The surface roughness values are normally displayed in Ra, which is the average absolute deviation from a central line of a surface. Additional values include the Rq, which is the root mean square of the deviation. There is a vast number of other testing scales depending on your specific requirements. A more advanced surface roughness tester may offer more testing scale options.
After the test, the data collection system is processed with digital filtering and parameter calculation system via a DSP chip and the measuring result can be read on LCD screen or simply printed through printer and communicated with PC.
Optional Sensors
| NG-SR55 | Extension rod. Used to extend length of sensor when testing deep hole (55mm) |
 |
|
| NG-SR90 | Right angle measuring mechanism. |
 |
|
| NG-SR100 | Standard sensor, plane & shaft & inner surface of hole>6mm, depth <22mm |
 |
|
| NG-SR120 | Small hole sensor, cylindrical& plane &inner surface of hole>2 mm, depth <9mm |
 |
|
| NG-SR110 | Sensor for curved surface & plane, cylindrical, curvature radius>3 mm |
 |
|
| NG-SR131 | Sensor for deep groove, cylindrical & plane & groove width>3 mm, depth<10mm |
 |
|
| NR-S520 | Metal Working Platform Designed for elevating, and stability during the testing procedure |
 |
|
| NG-SR620 | Marble Substrate Working Platform, elevating, V groove, high accuracy to test tiny work piece. |
 |
|
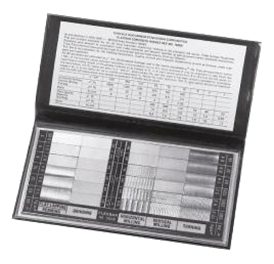
| NR-SRB-GEN | Roughness comparison block High quality comparison block of surface roughness with anti-rust treatment. 30 comparison block/set |
 |
Technical Specifications
Other Testing Systems Available Upon Request ***
| NG-SR400T | |||
| Measuring rang | The Z axis (vertical) | 320μm (-160μm-160μm), 12600μin (-6300μin-+6300μin) | |
| The X axis (Transverse) | 17.5mm(0.69 inch) | ||
| Resolution | the Z axis (vertical) | 0.002μm/±20μm | 0.004μm/±40μm |
| 0.008μm/±80μm | 0.02μm/±160μm | ||
| Display | Parameter | Ra Rz, Rq Rt, Rc Rp Rv R3z R3y Rz(JIS) Ry Rs Rsk Rku Rmax Rsm Rmr RPc Rk Rpk Rvk Mr1 Mr2 | |
| Assessed Graphic | Rmr curve, Roughness curve, Primary Profile, Filter waveform | ||
| Standard | ISO4287, ANSI b46.1, DIN4768, JISb601 | ||
| Filter | RC,PC-RC,Gauss,D-P | ||
| Cut off length(lr) | 0.25,0.8,2.5mm | ||
| Assessment length (ln) | Ln= lr×n n=1-5 | ||
| Sensor | Measuring principle | Differential Inductance | |
| Stylus tip | Diamond, 90°/ cone angle/5μmR | ||
| Force | Measuring force<4mN, Skid force<400mN | ||
| Guide parts | hard alloy, skid radius of curvature: 40mm | ||
| Measuring speed | lr=0.25, Vt=0.135mm/s lr=0.8, Vt=0. 5mm/s | ||
| Accurate to | 0.001μm | ||
| Tolerance | ±(5nm+0.1A) A=Ra standard value of precise specimen | ||
| Repeatability | ≤3% | ||
| Residual Profile | ≤ 0.010μm | ||
| Power supply | Built-in Lithium ion battery 3600mAh | ||
| Main unit dimension | 155×145×58mm | ||
| Drive unit dimension | 23×27×115mm | ||
| Zoom of height adapter | 40mm | ||
| Weight | Around 1000g | ||
| Working Environment | Temperature: - 20℃ ~ 40℃ Humidity: < 90% RH | ||
| Store and Transportation | Temperature: - 20℃ ~ 40℃ Humidity: < 90% RH | ||
| Standard sensor | Groove sensor | ||
| Optional accessory | Magnetic stand, height gauge and related adapter, curved sensor, small hole sensor, deep groove sensor, very small hole sensor, Extending Rod, Right Angle Rod, mini printer, 200mm platform, 300mm marble platform, software, mobile APP | ||
FAQs
The small-scale fluctuations in the height of a physical surface are measured as surface roughness. Contrast this with larger scale differences like shape and waviness, which are often a feature of the surface's geometry.
The significance of surface texture has come to light recently in a variety of sectors. In fields as diverse as tribology, surface coatings, microfluidics, and biocompatibility, surface roughness plays a significant role in determining a workpiece's ability to operate satisfactorily.
The measurement of surface roughness can be described using quantitative or qualitative techniques. Optical characteristics, such as a surface's reflectivity or the strength of the machining grain, as well as using a thumbnail as a primitive touch sensor, are examples of qualitative approaches.
The store & transportation environment temperature for NextGen’s Surface Roughness Testers is - 20℃ ~ 40℃ Humidity: < 90% RH.
Click here to obtain a personalized quote!
How a genuine object will interact with its surroundings is significantly influenced by its roughness. In tribology, rough surfaces often have greater friction coefficients and wear more quickly than smooth surfaces. Since surface irregularities may serve as initiation locations for cracks or corrosion, roughness is frequently a reliable indicator of how well a mechanical component will operate. Roughness, on the other hand, might encourage adherence. In general, cross-scale descriptors like surface fractality offer more accurate predictions of mechanical interactions at surfaces, such as contact stiffness and static friction, than scale-specific descriptors.
High roughness values are frequently undesirable, yet they can be challenging and expensive to regulate in manufacturing. For fused deposition modelling (FDM) made parts, it is difficult and expensive to manage surface roughness. A surface's production cost often increases as its roughness decreases. This frequently leads to a trade-off between a component's manufacturing cost and its application performance.
NextGen’s Surface Roughness Testers Working Environment Temperature is - 20℃ ~ 40℃ Humidity: < 90% RH.
Click here to obtain a personalized quote!
The mechanical behaviour displayed at the interface between two solid objects as they approach and move from non-contact to complete contact is known as contact mechanics, and it is largely governed by surface structure. In particular, asperity structures (roughness, surface slope, and fractality) and material qualities dominate the regulation of normal contact stiffness.
Roughness is thought to be detrimental to part performance on engineering surfaces. As a result, the majority of production prints only specify a roughness upper limit. Cylinder bores are an exception because oil is retained in the surface profile and a minimal level of roughness is necessary.
Surface friction and wear characteristics are frequently closely correlated with surface structure. Generally speaking, a surface with a larger fractal dimension, a high Ra value, or a positive Rsk will have a little more friction and wear down more quickly. The locations of contact aren't necessarily the peaks in the roughness profile. It's also important to take into account the shape and waviness, or both amplitude and frequency.
NextGen’s NG-SR200-T and NG-SR300-T System Surface Roughness Testers can work continuously for over 20 hours.
Click here to obtain a personalized quote!
Applying and interpreting these factors requires significant attention because they boil down all of the data in a profile to a single number. The estimated value can be significantly influenced by small adjustments to the physics of the measurement, the mean line calculation, and the raw profile data filtering. The scan can be examined to verify sure there are no evident errors that skew the values using sophisticated digital technology.
A simulation tool enables a user to alter important parameters and visualize how surfaces that are visibly distinct to the human eye are differentiated by the measurements. This is helpful because it may not be evident to many users what each of the measures really signify. Ra, for instance, is unable to tell the difference between two surfaces, one of which is made up of peaks on an otherwise smooth surface and the other of which is made up of troughs with the same amplitude. These utilities are available as apps.
NextGen’s SR200-T & NG-SR300-T Roughness Testers have large internal memory: 100 groups of original data and waveform can be stored & real-time clock setting and display, convenient for data recording and storage.
Click here to obtain a personalized quote!
Surface finish includes surface roughness, sometimes known as roughness (surface texture). It is measured by how far an actual surface deviates from its ideal form in the direction of the normal vector. The surface is characterized as rough if these variations are considerable and smooth if they are minimal. Roughness is frequently regarded in surface metrology as the high-frequency, short-wavelength component of a measured surface. In order to make sure that a surface is suitable for a purpose, it is frequently required in practice to know both the amplitude and frequency.
How a genuine object will interact with its surroundings is significantly influenced by its roughness. In tribology, rough surfaces often have greater friction coefficients and wear more quickly than smooth surfaces. Since surface irregularities may serve as initiation locations for cracks or corrosion, roughness is frequently a reliable indicator of how well a mechanical component will operate.
You can determine the roughness of a surface or a profile (line) (area). More often used parameters include the profile roughness parameter (display style Ra, Rq, etc.). More relevant values are provided by the area roughness parameters.
NextGen’s Surface Roughness Tester can continuously work for over 50 hours.
Click here to obtain a personalized quote!
Even while the surface of each workpiece initially seems smooth and polished, it actually contains many geometric components. Numerous factors (such as the manufacturing method, human factor, and the technology utilized) interfere with the manufacture of components in their optimal shape during the manufacturing process. As a result, produced goods may deviate from the ideal geometry. Verification of such deviations is carried out in accordance with GPS standards and is substantial in terms of functionality and interchangeability (Geometrical specifications and product verifications). The results of the verification are only informative if these standards are not followed.
Since features of slip, wear resistance, adherence to protective coatings like varnishes, corrosion resistance, and fatigue resistance, among others, are connected to roughness parameters, the quality of manufactured surfaces can be evaluated by their surface roughness. It is necessary to have an objective method of evaluation and a roughness or quality parameter in order to evaluate surfaces accurately.
NextGen’s NG-SR400T Surface Roughness Tester can assess the following graphic on its display: Rmr curve, Roughness curve, Primary Profile, Filter waveform.
Click here to obtain a personalized quote!
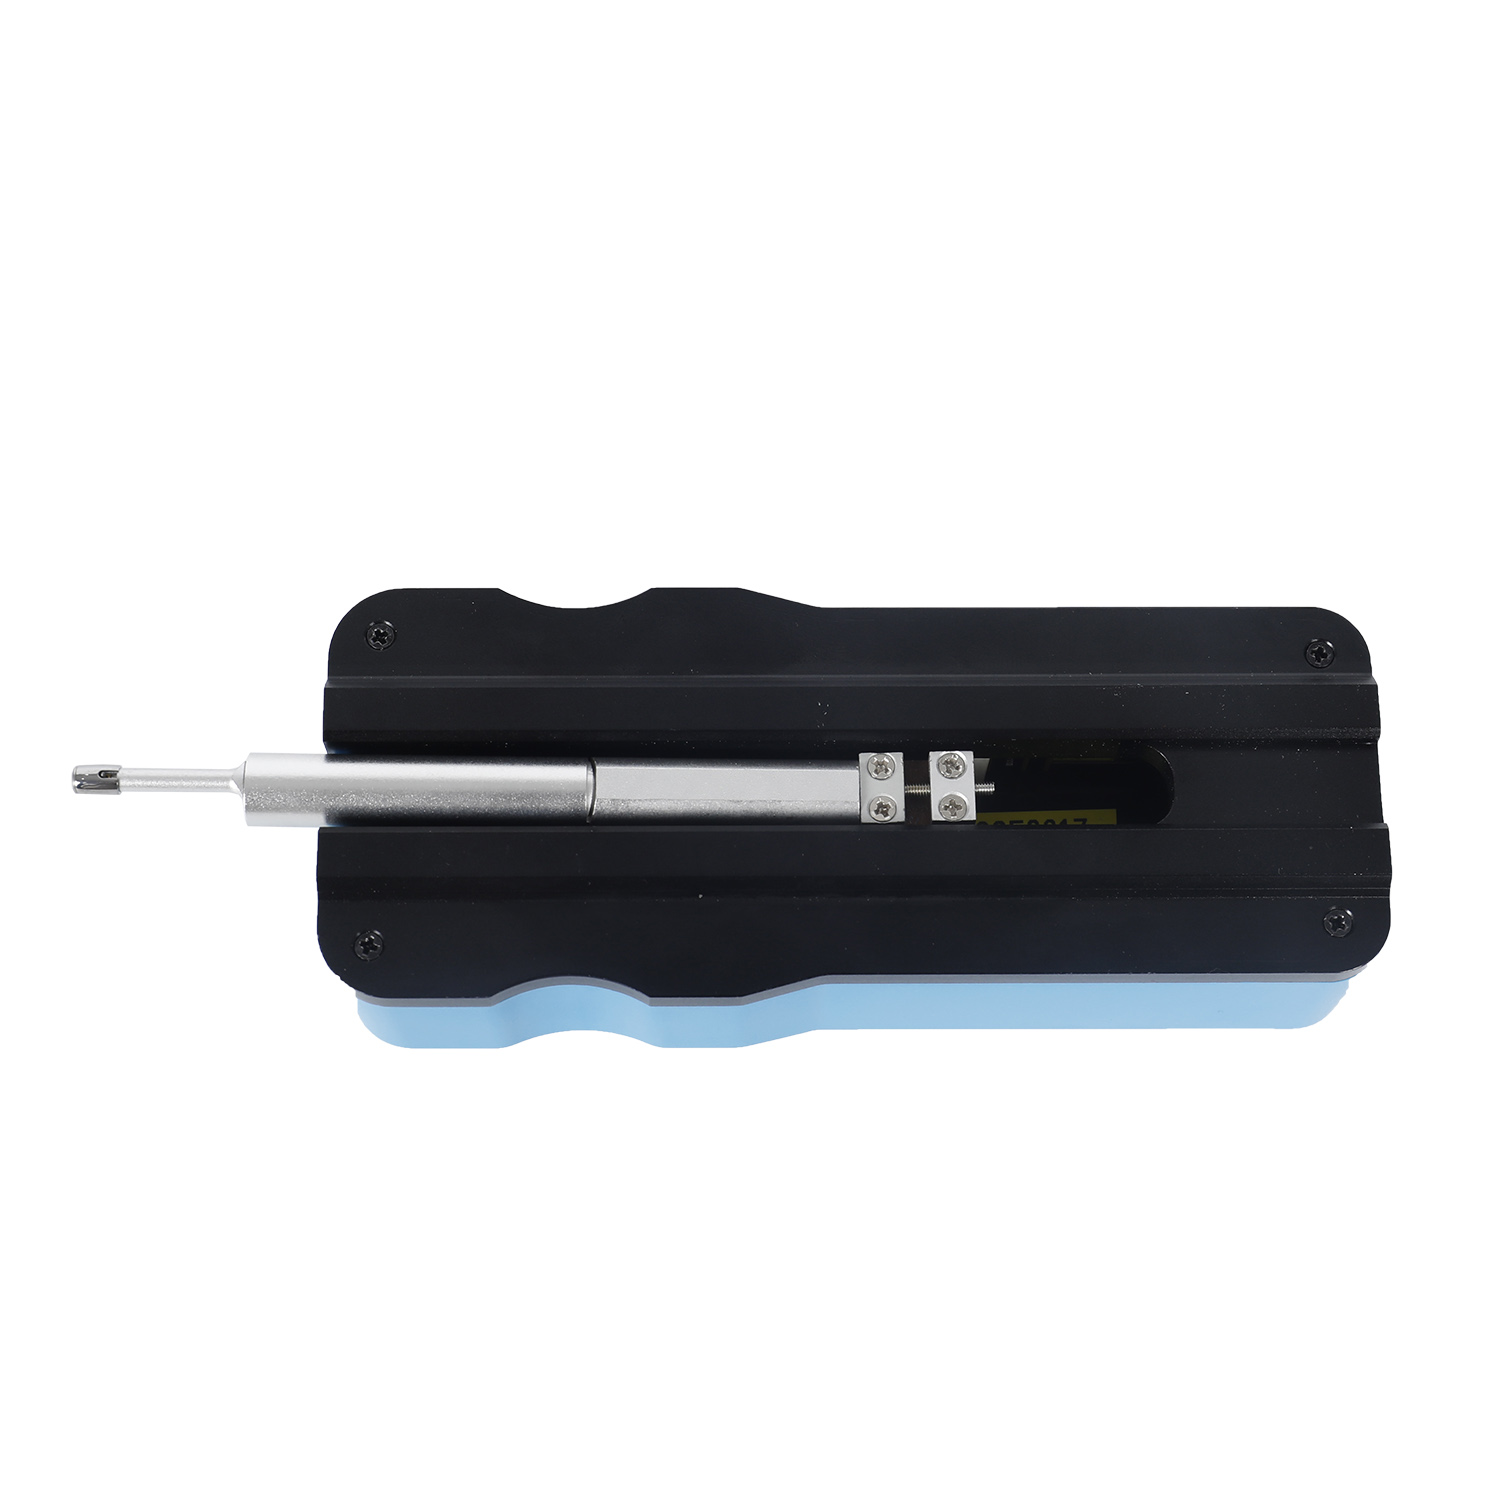
A stylus tip directly contacts a sample's surface when using contact-type surface roughness instruments. The detector tip has a stylus tip that tracks the sample's surface and electronically detects the stylus's vertical motion.
In order to be recorded, electrical impulses are amplified and converted to digital form.
The radius of the stylus tip must be as narrow as feasible with light contact pressure in order to correctly measure fine forms and roughness with a contact-type surface roughness tester.
Styluses typically have a tip radius of 10 m (0.39 mil) or less and are composed of sapphire or diamond. For a stylus, a conical form with a ballpoint tip is excellent.
Because they immediately touch the sample, contact-type surface roughness testers offer accurate measurements.
NextGen’s NG-SR400T Surface Roughness Tester has the following sensor stylus tip: Diamond, 90°/ cone angle/5μmR.
Click here to obtain a personalized quote!
Surface finish includes surface roughness, sometimes known as roughness (surface texture). It is measured by how far an actual surface deviates from its ideal form in the direction of the normal vector. The surface is characterized as rough if these variations are considerable and smooth if they are minimal. Roughness is frequently regarded in surface metrology as the high-frequency, short-wavelength component of a measured surface. In order to make sure that a surface is suitable for a purpose, it is frequently required in practice to know both the amplitude and frequency.
How a genuine object will interact with its surroundings is significantly influenced by its roughness. In tribology, rough surfaces often have greater friction coefficients and wear more quickly than smooth surfaces. Since surface irregularities may serve as initiation locations for cracks or corrosion, roughness is frequently a reliable indicator of how well a mechanical component will operate.
NextGen’s NG-SR400T Surface Roughness Tester offers the following optional accessory: magnetic stand, height gauge and related adapter, curved sensor, small hole sensor, deep groove sensor, very small hole sensor, Extending Rod, Right Angle Rod, mini printer, 200mm platform, 300mm marble platform, software, mobile APP.
Click here to obtain a personalized quote!
The examination of surface texture requires filtering for a number of reasons. An outliers removal filter could be required to clean up data obtained with an optical probe, whereas a morphological filter is frequently used to rectify the stylus tip effect on raw data. In some circumstances, a smoothing filter, like a s or S-Filter, is necessary to compare data obtained using various instrumentation techniques. However, the primary function of a filter is to distinguish between long and short-scale components, or waviness and roughness, and to calculate parameters in accordance with the specification.
The profile that contemporary profilometers measure is known as the Extracted profile. It is a digitized and sampled abstraction of the actual surface (several filtering effects are introduced by the probe and the bandwidth of the instrument). When measured with a stylus, a mechanical surface (boundary) or an electromagnetic surface (which simulates the surface envelope detected by an optical probe) models the real surface.
The following filtration techniques are available for NextGen’s NG-SR400T Surface Roughness Tester: RC,PC-RC,Gauss,D-P.
Click here to obtain a personalized quote!
The surface roughness tester is a compact portable device for shop floor use and mobile measurement. Its operation is straightforward, and it performs well overall. This tester is applicable to the manufacturing floor and can be used to gauge the surface roughness of various parts that have undergone machine processing.
NextGen’s NG-SR400T Surface Roughness Tester has the following optional sensors:
- NG-SR55 - Extension rod. Used to extend length of sensor when testing deep hole (55mm)
- NG-SR90 - Right angle measuring mechanism.
- NG-SR100 - Standard sensor, plane & shaft & inner surface of hole>6mm, depth <22mm
- NG-SR120 - Small hole sensor, cylindrical& plane &inner surface of hole>2 mm, depth <9mm
- NG-SR110 - Sensor for curved surface & plane, cylindrical, curvature radius>3 mm
- NG-SR131 - Sensor for deep groove, cylindrical & plane & groove width>3 mm, depth<10mm
- NR-S520 - Metal Working Platform Designed for elevating, and stability during the testing procedure
- NG-SR620 - Marble Substrate Working Platform, elevating, V groove, high accuracy to test tiny work piece.
- NR-SRB-GEN - Roughness comparison block High quality comparison block of surface roughness with anti-rust treatment. 30 comparison block/set
Click here to obtain a personalized quote!
AFM is one of the few instruments that can quantitatively measure the lateral (x and y) and height dimensions of a surface (z). AFM uses mechanical contact between a tip and sample rather than other high-resolution microscopic characterization techniques that rely on electron interactions with a material to determine sample topography and surface texture. AFM is a potent measurement tool for quantitative measurements of a surface with a resolution of 5–10 nm laterally and sub-nanometer vertically.
There are no prerequisites for a sample to be able to be measured by AFM other than that it fits inside the device. This potent quantitative measurement is coupled with flexibility in the sample surface. Important metrological metrics like the roughness profile, identifying surface imperfections, and more complex measurements like skewness and kurtosis are all made possible by quantitative assessments of the sample topography.
The Z axis (vertical) measuring range for NextGen’s NG-SR400T Surface Roughness Tester is 320μm (-160μm-160μm), 12600μin (-6300μin-+6300μin).
Click here to obtain a personalized quote!
Due to its ability to precisely measure the x, y, and z directions with nanoscale resolution, atomic force microscopy is one of the most widely used methods for metrology measures such as surface roughness.
Surface roughness measurements using atomic force microscopy can be done in a variety of ways, depending on the type of contact. Contact mode, in which the tip is "dragged" across the surface at a constant cantilever deflection, is the simplest mode. To choose a heavier load for rigid, tough materials and a smaller load for softer materials, the user specifies the load at which the tip is "dragged" across the surface. The cantilever deflection is then maintained throughout the image by a feedback loop on the instrument's z piezo. The z piezo motion transmits topographic information.
NextGen’s NG-SR400T Surface Roughness Tester has the following sensor force: Measuring force<4mN, Skid force<400mN.
Click here to obtain a personalized quote!
The inherent abnormalities in the production process are referred to as surface roughness or roughness. (For instance, a cutting tool or grit). Roughness It is measured by how far an actual surface deviates from its ideal form in the direction of the normal vector. The surface is characterized as rough if these variations are considerable and smooth if they are minimal.
Considering that a surface roughness measuring tool is necessary since the individual roughness imperfections are too small to be seen with the unaided eye. A short distance is covered by a tiny stylus moving at a fixed pace. To create a significantly increased vertical magnification, an electrical signal is obtained and amplified.
This signal, along with numerical values that describe the surface texture, may be shown on both graph and screen outputs.
A 60° or 90° conical stylus with a spherical tip and a 2 m radius is the ISO standard for measuring surface roughness. To effectively utilize this stylus, which is fairly delicate, you will need a device with outstanding mechanical qualities.
The sensor measuring speed of NextGen’s NG-SR400T Surface Roughness Tester is lr=0.25, Vt=0.135mm/s lr=0.8, Vt=0. 5mm/s.
Click here to obtain a personalized quote!
The intersection of the workpiece surface with a plane normal to that surface and in a direction that maximizes the surface roughness value—typically at a right angle to the lay of the machining marks—results in the actual profile.
The profile that is measured is the one that is obtained from scanning the real profile with a probe that mechanically filters it based on the radius of the tip of the probe (Rtip) and, if used, the skid of the probe system. Surface flaws like cracks, scratches, and dents do not belong in the profile and are not appropriate to record. Tolerances in accordance with DIN EN ISO 8785 may be established for them, if necessary.
The roughness profile (R-profile) is the principal profile that has been electronically highpass filtered with a cut-off wavelength of λ c. As seen in Figure 2, this procedure eliminates the longer wavelength components. The evaluation length ln, which typically consists of five sampling lengths lr, is where the parameters with the designation R are evaluated. The profile filter's cut-off wavelength, λ c, and sampling length are related.
NextGen’s NG-SR400T Surface Roughness Tester tolerance is ±(5nm+0.1A) A=Ra standard value of precise specimen.
Click here to obtain a personalized quote!
One element that significantly affects the general quality of machine parts is surface roughness. This is the main justification for why accurate surface roughness measurements are so crucial in contemporary production technology. These days, portable profilometers are a typical tool for usage in industrial settings. Numerous factors, including changes in the environment and operator error, might influence measurements made with this equipment. The issue of evaluating the measurement accuracy of portable profilometers is covered in this essay. Additionally, it provides an evaluation process description and experimental test results.
Surface texture's key element, surface roughness, profoundly affects the practical qualities of machine parts. This is the main justification for why accurate roughness measurements are so crucial in contemporary manufacturing processes. An analysis of this issue might include looking into how measuring tips affect measurement outcomes, for instance. The impact of cutting tools on the roughness of machined surfaces is a topic of other discussed issues.
NextGen’s NG-SR400T Surface Roughness Tester has accuracy the level of up to 0.001μm.
Click here to obtain a personalized quote!
Rmr, or material ratio at a particular depth. This parameter indicates the proportion of material removed from the top of the profile at a specific depth. The centre line or another reference height may likewise be used as a source of reference (c0).
Rdc, the height of the profile section between two material ratios. If there are outliers on the surface, Rdc(2%-98%) can be used to assess a steady roughness height value. The tallest peaks that will be eroded down and the deepest valleys that will be filled in are not included in this computation. In the automotive sector, Rdc(1%-33%) and Rdc(25%-99%) can be used to measure the material height lost during running-in and the void volume used for lubrication pockets, respectively.
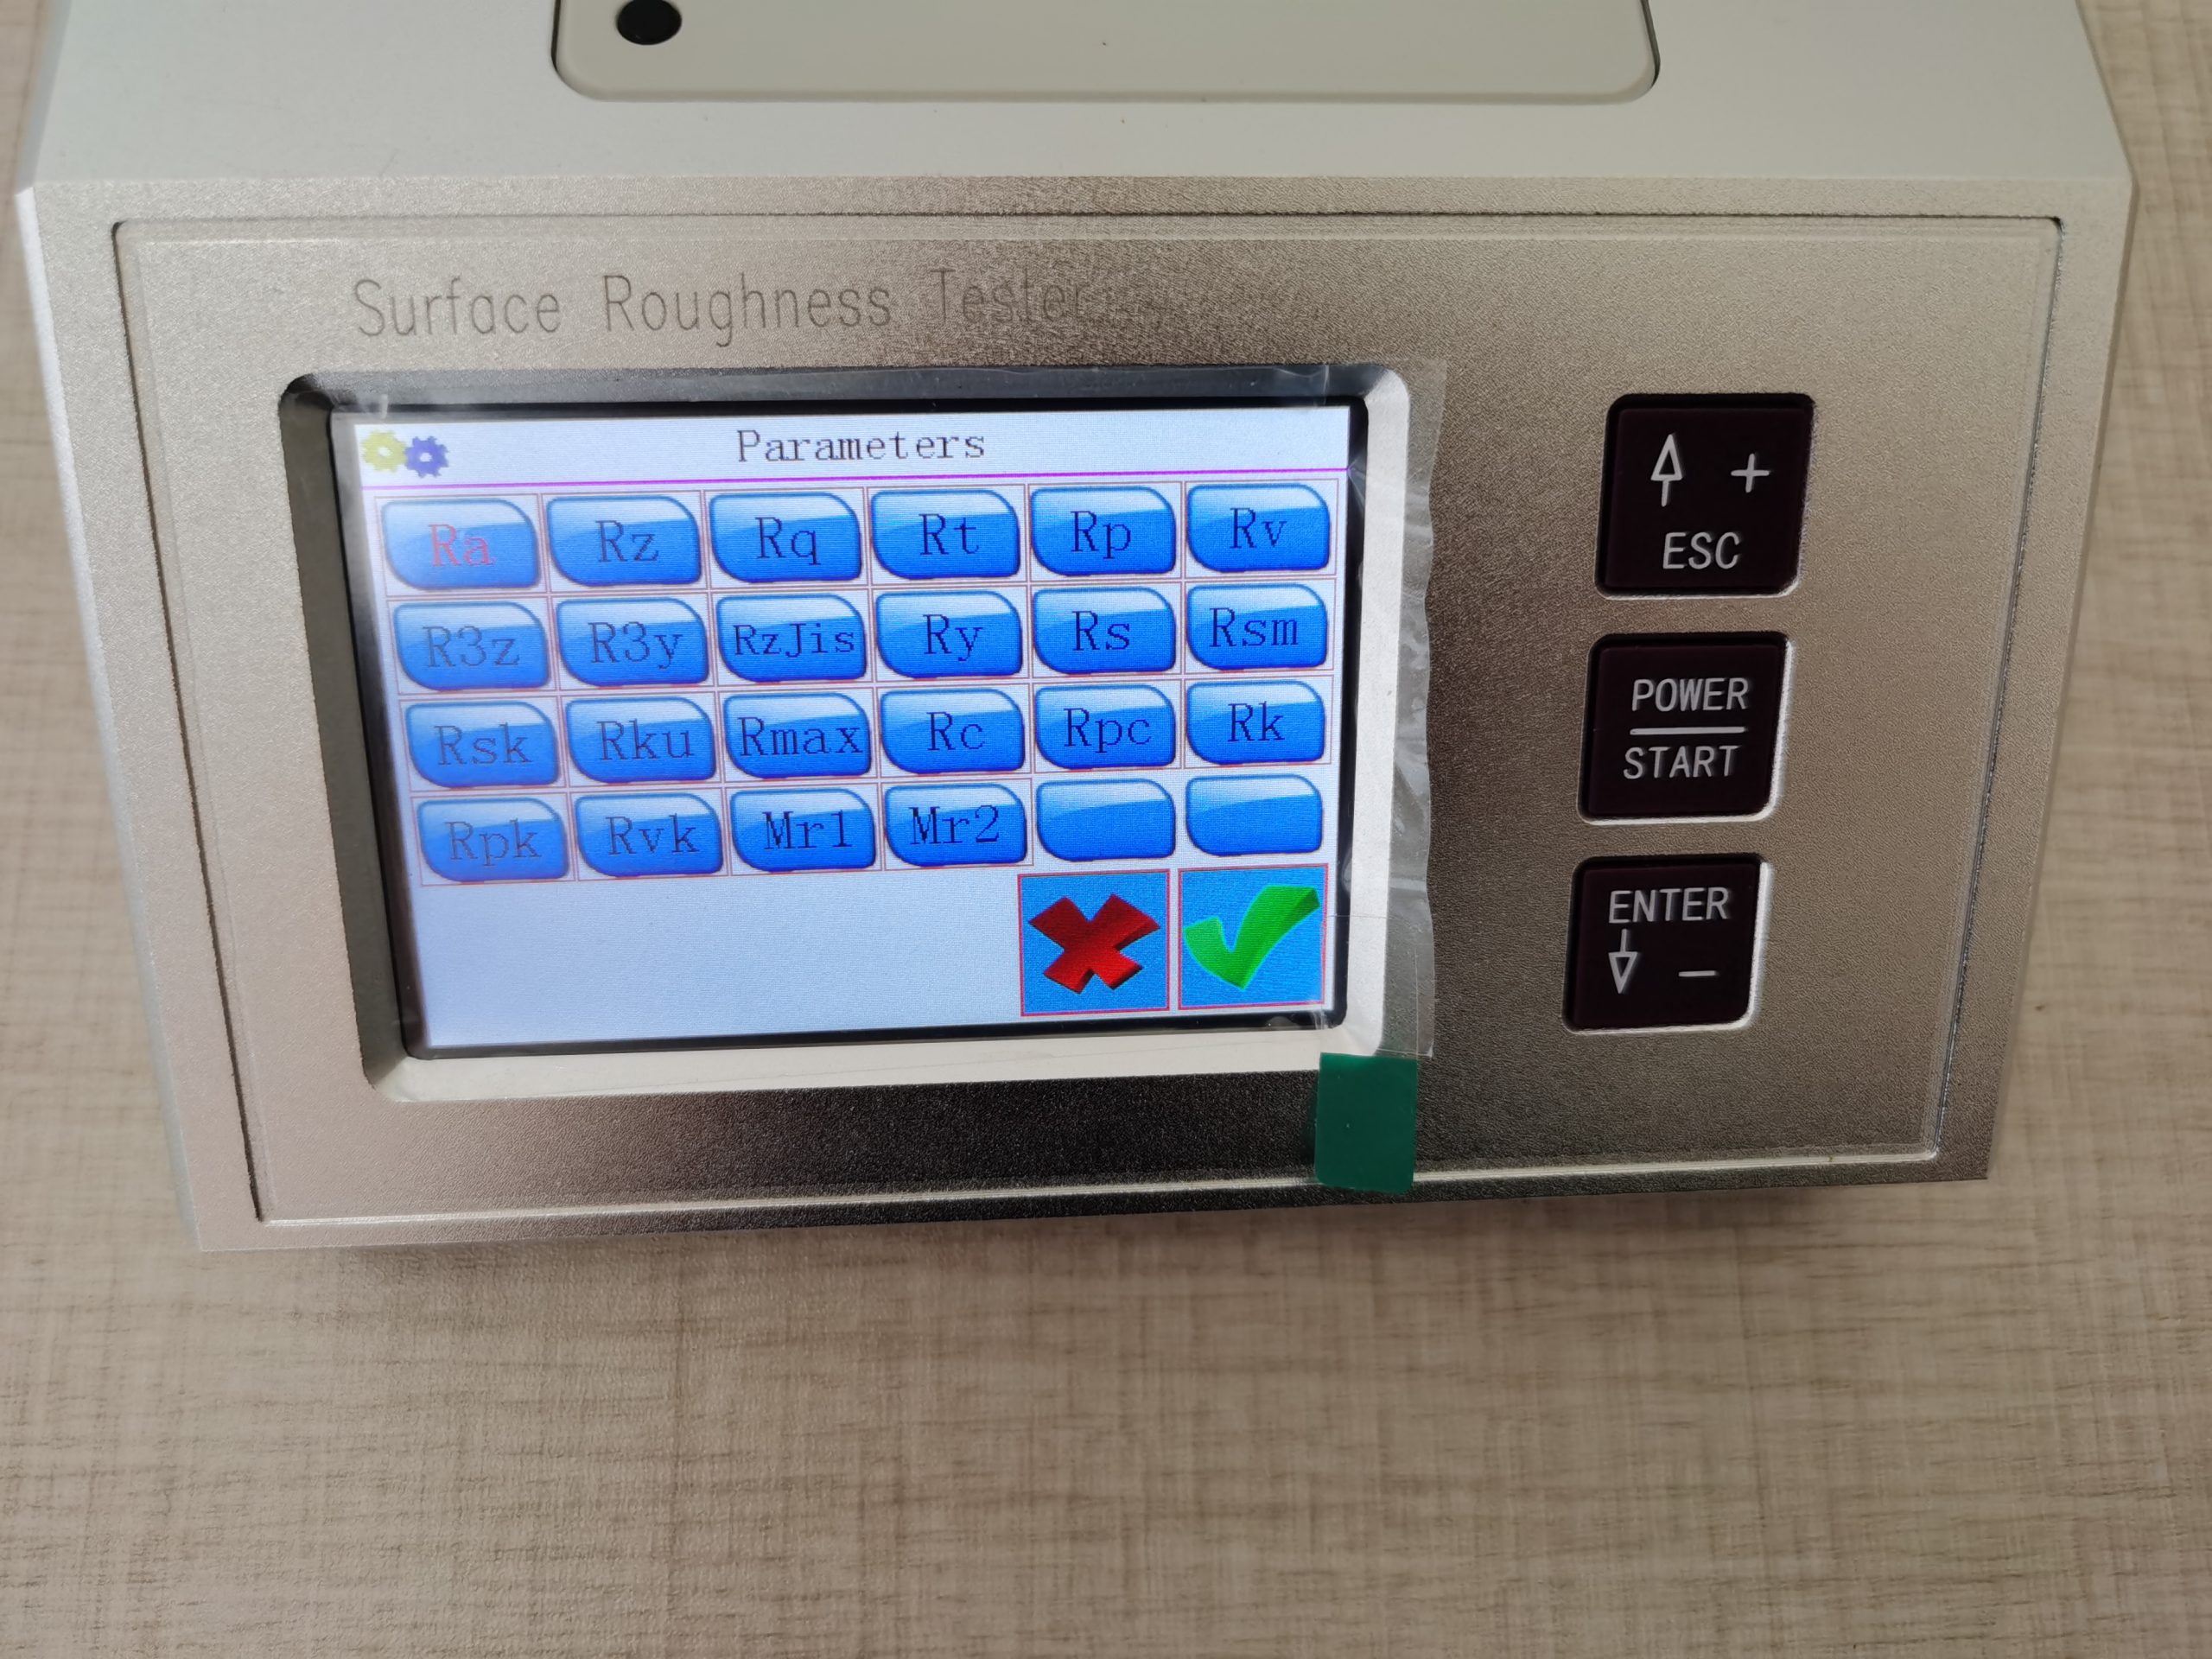
Overall NextGen’s NG-SR400-T System Surface Roughness Tester can display Ra Rz, Rq Rt, Rc Rp Rv R3z R3y Rz(JIS) Ry Rs Rsk Rku Rmax Rsm Rmr RPc Rk Rpk Rvk Mr1 Mr2 Parameters.
Click here to obtain a personalized quote!
The evaluation length is used to define RSm, the mean spacing of profile elements. On surfaces with periodic or pseudo-periodic themes, such as turned or structured surfaces, this parameter is interesting. In such situations, RSm will roughly estimate their spacing. On a random surface texture, RSm is useless. It was originally calculated using the sample length, but it is now advised to use the evaluation length.
Rdq, the assessed profile's root mean square slope, is determined by the sampling size. Rdq is a starting point for tackling surface complexity. Smooth surfaces have a low value, whereas surfaces with microroughness are rougher and have higher values.
Peak count number, or RPc. Appeared in Amendment 1. gives the peak density per unit of length.
In summary, NextGen’s NG-SR400-T System Surface Roughness Tester can display Spatial and Hybrid Parameters.
Click here to obtain a personalized quote!
Can NextGen’s NG-SR400-T System Surface Roughness Tester display Rsk, Rku & Rc Amplitude Parameters?
Asymmetry in the height distribution is specified by the sampling length and is referred to as Rsk, or skewness of the assessed profile. As it provides details on the morphology of the surface texture, this parameter is significant. Positive values are obtained on surfaces with pores and scratches, while negative values are found on surfaces with high peaks spread out on a regular surface (distribution skewed towards the bottom) (distribution skewed towards the top). Therefore, when contact or lubrication functions are required, it is fascinating. Contrary to Ra, this property does not provide any information regarding the profile's exact height.
Rku, or kurtosis, refers to the sharpness of the height distribution as determined by the sampling length for the evaluated profile.
Rc, the mean height of the profile elements, is based on the evaluation length. The surface with texture cells or grains can be used to determine this parameter. Given that it resembles the motif parameter R mentioned in ISO 12085, it should be regarded as a feature parameter (see ISO 25178).
To sum up NextGen’s NG-SR400-T System Surface Roughness Tester can display Rsk, Rku & Rc Amplitude Parameters.
Click here to obtain a personalized quote!
NextGen’s NG-SR400-T System Surface Roughness Tester can display the following Amplitude Parameters:
Rt, or the total height of the profile, is the distance measured along the evaluation length between the highest peak and the darkest valley.
Maximum profile peak height, or Rp, is the height of the peak that deviates the most from the mean line.
Maximum profile valley depth, or Rv, is the distance from the mean line that the deepest valley can be, as determined by the sampling length.
Rz, the maximum height of the profile, is usually used to determine whether the profile contains projecting peaks that could impact the function of static or sliding contacts. Its definition is based on the sampling length.
Ra, is the assessed profile's arithmetic mean deviation determined by the sampling period. Ra is used to assess the roughness amplitude on a profile globally. It makes no mention of the profile's form or the anomalies' spatial frequency. Ra is significant for stochastic random surface roughness when it is machined using non-destructive methods, including sandblasting, milling, and polishing.
The standard deviation of the height distribution, based on the sampling duration, is represented by Rq, the root means square deviation of the evaluated profile. Rq offers the same details that Ra does.
Click here to obtain a personalized quote!
Does NextGen’s NG-SR200-T and NG-SR300-T System Surface Roughness Testers comply with ISO standards?
The International Organization for Standardization (ISO), a global nongovernmental organization made up of national standards bodies, creates and disseminates a wide range of proprietary, industrial, and commercial standards. Its members are representatives from different national standards organizations.
The ISO creates and disseminates standards for a wide variety of goods, components, and procedures. In the ISO Standards database, which is divided into several categories like healthcare technology, railway engineering, jewellery, clothes, metallurgy, weapons, paint, civil engineering, agriculture, and aircraft, the organization now has around 24,362 standards. The ISO also publishes technical reports, technical specifications, publicly available specifications, technical corrigenda, and guides in addition to standards.
These requirements guarantee that certified items meet the minimum international standards for the end-user and consumer.
Experts in related subjects from around the world have agreed on the ISO standards. These are individuals—manufacturers, sellers, purchasers, customers, trade groups, users, or regulators—who are aware of the needs of their respective sectors.
NextGen’s NG-SR200-T and NG-SR300-T System Surface Roughness Testers comply with ISO 4287 Standard.
Click here to obtain a personalized quote!
With stylus profilometers, which typically record profiles with lengths of several millimetres, methods for broad surface texture evaluation are provided in this framework of ISO standards. Of course, the mathematics also apply to profiles captured by other techniques and to profiles of any length. It is crucial to detail exactly how the analysis was set up in any reporting when applying the ISO 4287 standard in a "nonstandard" manner.
The length in the X direction utilized to identify the abnormalities defining the profile under review is referred to as the sampling length in the ISO 4287 standard. Or, to put it another way, it is the distance necessary to be able to incorporate enough minor deviations for a pertinent evaluation without including irrelevant long-wavelength components. In fact, the Primary Profile, the Waviness Profile, and the Roughness Profile all have different sampling lengths as per the ISO 4287 standard. Most parameters are averaged over the number of Sampling Lengths after being determined for one Sampling Length at a time (number of cut-offs).
NextGen’s NG-SR400-T System Roughness Tester complies with ISO 4287 standard.
Click here to obtain a personalized quote!
A linear roughness measurement is available via surface roughness testers. To do this, a mechanical tip is used to quantify the roughness of a surface along an arbitrary line. Manual touch procedures may be substituted by last, photonic, and other testing processes as equipment becomes more sophisticated for quicker and more streamlined results. To determine which surface roughness testing system would be the best choice for your testing requirements, get in touch with one of our qualified consultants right away.
Ra, the average absolute deviation from a surface's centre line, is the standard unit used to express surface roughness values. The Rq, which is the mean root square of the deviation, is one of the additional values. Depending on your unique needs, there are a plethora of alternative testing scales. More testing scale options might be available with a more sophisticated surface roughness tester.
After the test, the data gathering system is processed using digital filtering, and a DSP chip is used to calculate the parameters. The parameter results can then be read on an LCD screen or simply printed out and sent to a PC.
Click here to obtain a personalized quote on your NextGen’s Surface Roughness Tester!
Here are the main features of NextGen’s NG-SR400-T System Roughness Tester:
- Measurement results and graphics can be printed out immediately using a mechatronics design with an inbuilt printer.
- High brightness and a broad viewing angle are provided by the 320 m large measurement range (upgrade to 640 m, optional) inches colour graphic LCD touch screen.
- Dual operation using simple buttons and a touch screen.
- All metrics and images are displayed, and the display information is comprehensive and user-friendly.
- Compatible with several national standards, including ISO, DIN, ANSI, and JIS.
- High-capacity lithium-ion rechargeable battery built-in, memory-free charging control circuit.
- Includes charging hint and charge indicator.
- Can work nonstop for more than 50 hours.
- One hundred groups of the original data and waveform can be kept in the system's large internal memory.
- Setting and displaying a real-time clock is helpful for data recording and storage.
- Includes power-saving features including automated shutdown, sleep, and other features out of the box.
- Dependable software and circuit design to stop the motor from becoming stuck.
- Greater measuring flexibility is possible when using an external drive unit in side, higher, and other measurement orientations.
Click here to obtain a personalized quote!
Here are the main features of NextGen’s NG-SR200-T and NG-SR300-T System Surface Roughness Testers:
- A small, lightweight system with excellent usability is possible with an electromechanical integration design.
- Using a DSP chip to control and process data quickly and efficiently.
- OLED dot matrix display measuring 128 by 64 mm with digital and graphic display.
- All necessary parameters and graphics are displayed in a clear and detailed manner.
- Compatible with national standards such as ISO, DIN, ANSI, and JIS.
- Over 20 hours each day of nonstop work.
- Setting and displaying a clock in real-time while providing easy data collection and storage.
- Automated shutdown, power-saving mode, and sleep mode.
- Can be linked to a printer and computer.
- Additional attachments include extension rods, small printers, measuring platforms, and optional sensor upgrades.
- Plastic body with a "Transformers"-inspired elegant, compact design and incredibly excellent reliability.
- Bluetooth capability.
- APP data acquisition and management option
Click here to obtain a personalized quote!
A tiny portable instrument for shop floor use and mobile measurement, the surface roughness tester is easy to use, performs well overall, and measures quickly, accurately, and conveniently.
- Economical and transportable.
- For assessing the surface roughness of both metallic and non-metallic materials, a wide measuring range is suitable.
- Strong and long-lasting construction with anti-electromagnetic interference capabilities.
- High-speed DSP processor for data processing and calculation that happens as quickly as possible.
- The system is appropriate for a variety of situations thanks to its LCD with wide temperature ranges, OLED colour display, high brightness, and no visual angle interference.
- The lengthy life of a lithium-ion rechargeable battery has no effect on memory data loss.
- Dedicated charging station or USB port on PC.
- Lithium battery power is being monitored in real-time, and the display has an alert feature for the operator.
- The instrument's software and hardware were created with an automatic shutdown feature and minimal power consumption for long-term operation in the field.
- A transducer construction that has been designed with an optimized electric circuit.
- The system is capable of testing a conical surface, a flat surface, and a groove that is greater than 80x30mm.
Click here to obtain a personalized quote!
Related Products
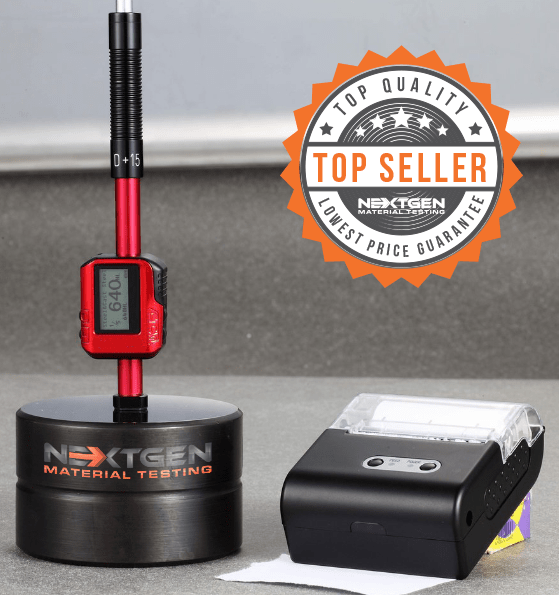
NG - LeebGen 3000 - Leeb Rebound Portable Hardness Tester
LeebGen3000 is a non-destructive precision metal hardness tester developed according to the latest industry standards. LeebGen 3000 is equipped with features which provide the instrument with a combination of a user-friendly interface and exceptional test result accuracy. This in turn allows for ease of operation and an accurate conversion display of virtually any metal hardness testing value.
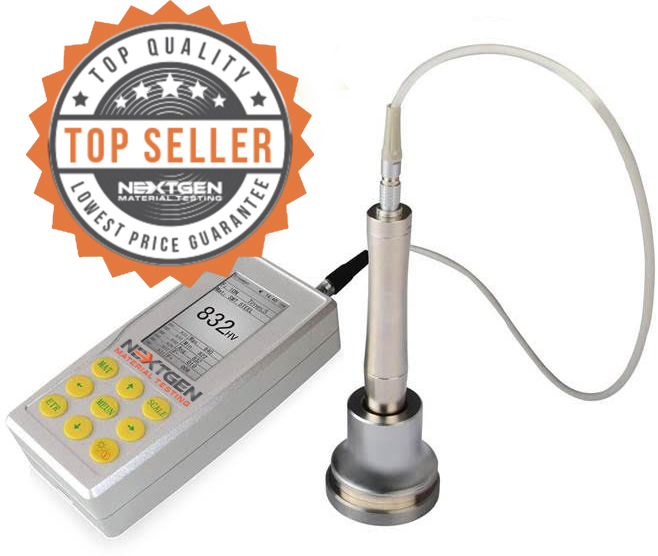
Ultrasonic Contact Impedance Hardness Tester - UH200
Welcome to our most advanced and cost-effective Ultrasonic Hardness Testing System. This portable machine is all you need and more!
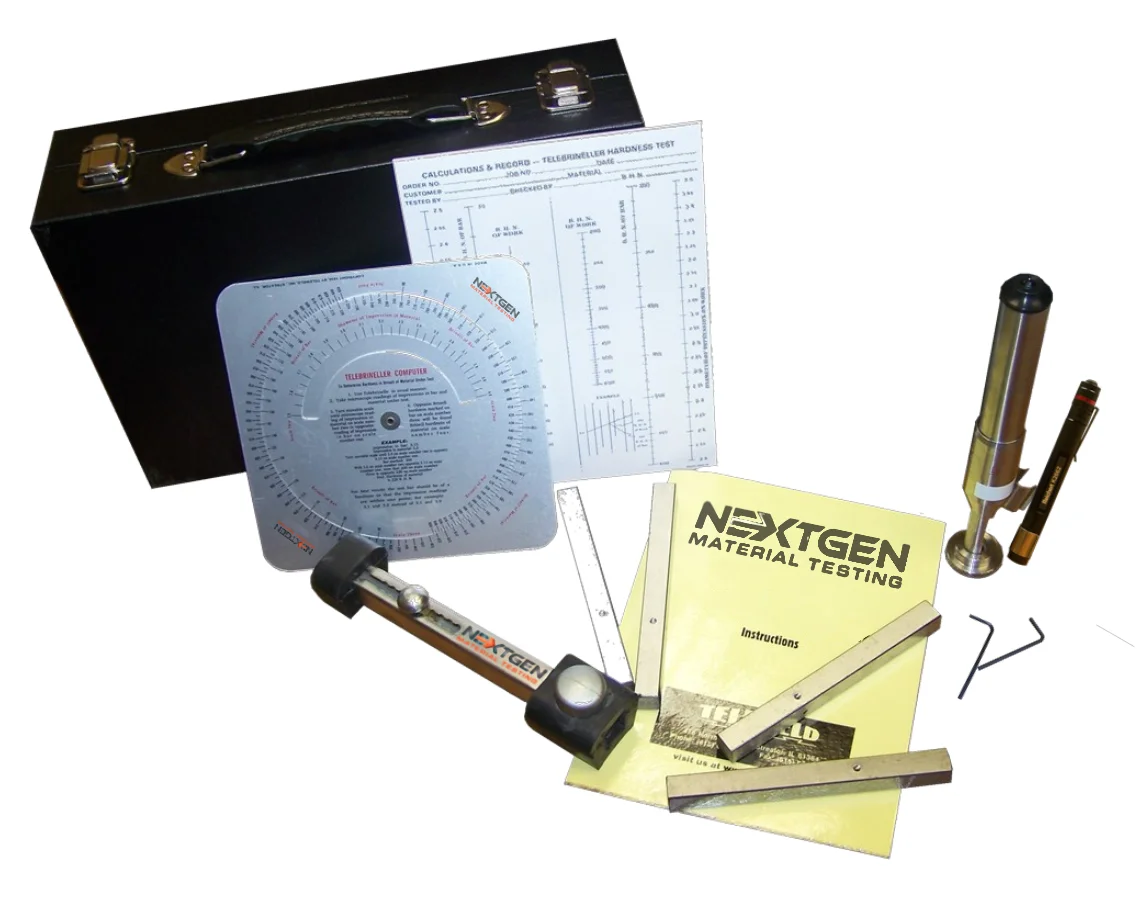
NextGen Telebrineller Brinell Hardness Testing System
The Telebrineller Brinell Hardness Testing System stands out as the best QA solution for ensuring top-notch quality. Developed specifically for welding crews, Telebrineller draws on over fifty years of field experience and solid metallurgical knowledge. Portable and practical, the entire Telebrineller system, housed in a case, weighs less than ten pounds. It's an ideal choice for Brinell hardness testing in any situation.
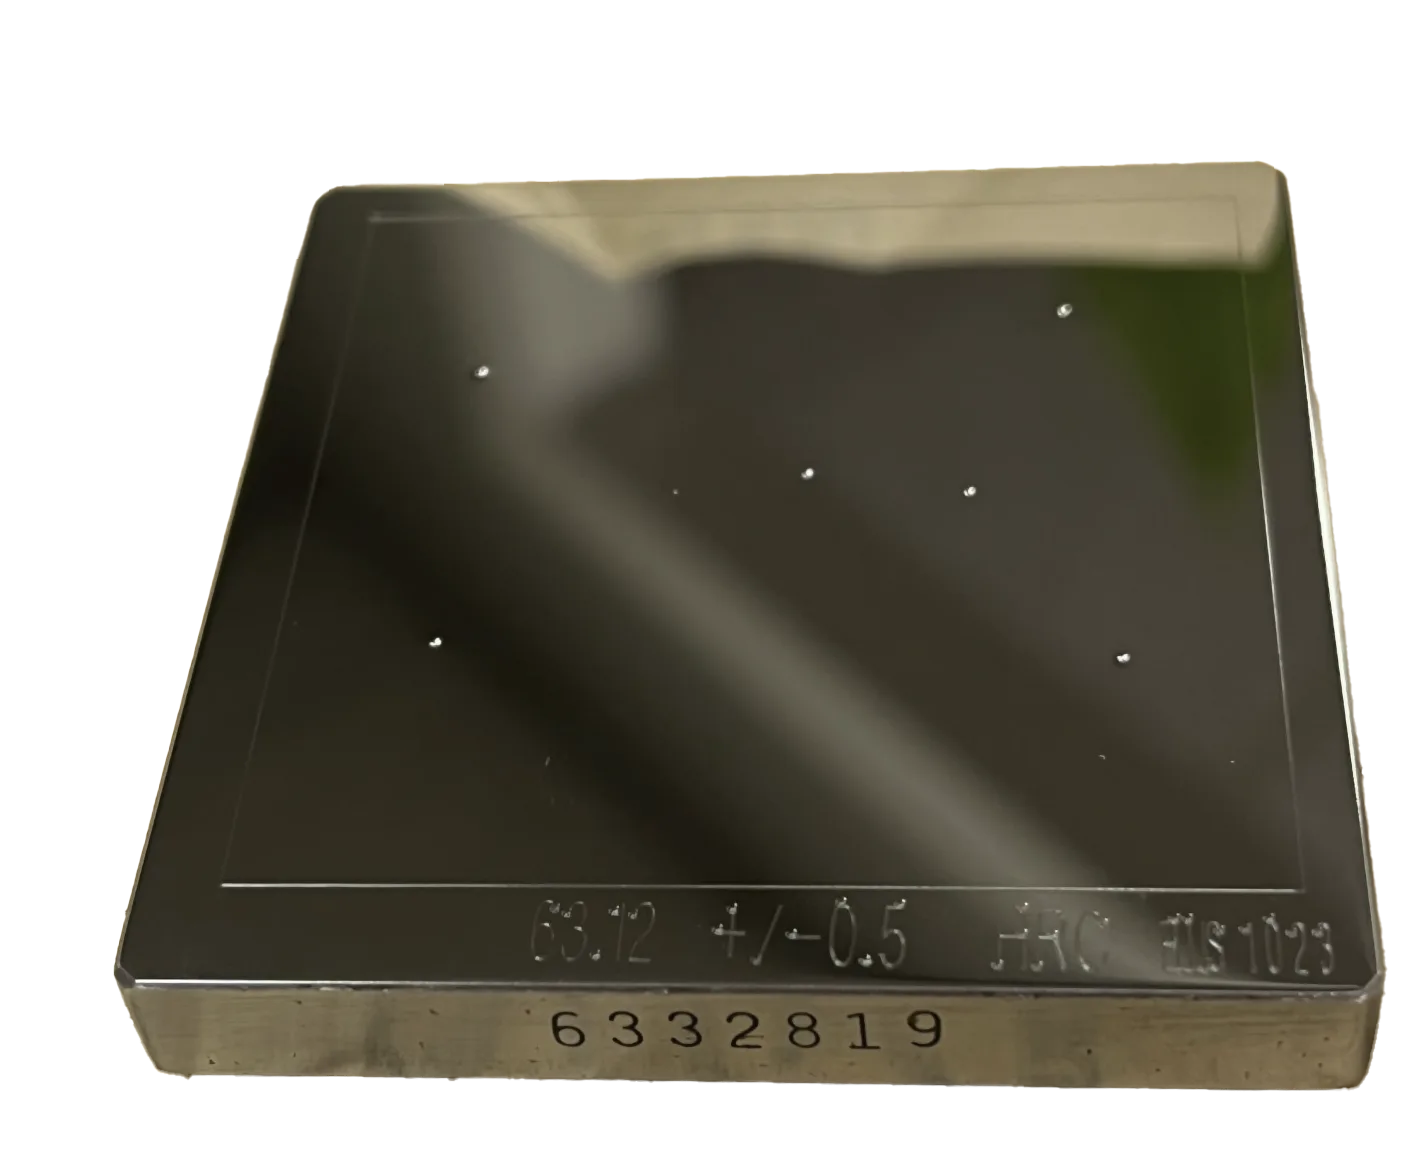
Hardness Test Blocks, Indenters and Hardness Testing Accessories
Certified Test Blocks are a requirement as a reference material for any type of hardness testing. At NextGen, we understand the importance of a Test Block to ensure the accuracy of your hardness testing procedures.
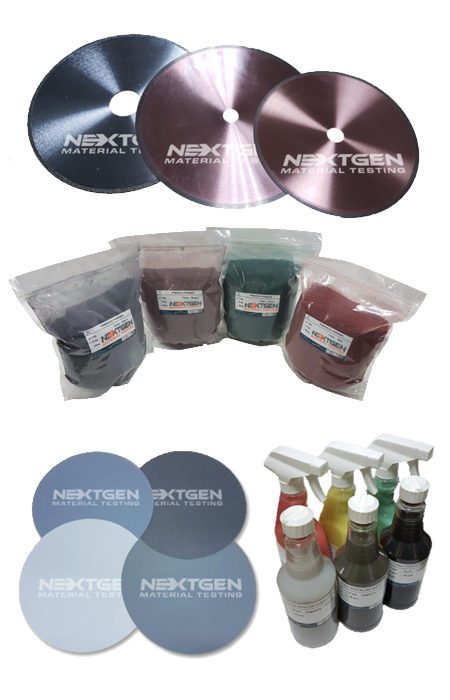
Metallography Consumables
Learn about the full scope of NextGen's cutting, polishing & grinding, mounting and etching metallography consumables. Our consumables are compatible with virtually all global brands, offering a rare combination of exceptional quality, longevity and affordability.
