The Vickers method stands out for its capacity to preserve a consistent hardness value regardless of the applied load. Therefore, it is optimal for comparing results in a number of materials and test conditions. The hardness value is typically denoted by HV (Vickers Hardness Value) or DPH (Diamond Pyramid Hardness). On the other hand, the Knoop test, which was developed by the National Bureau of Standards (now NIST), is the preferred method for brittle materials and very small test areas. This test provides minimal surface deformation through the use of ultra-low test forces.
Micro vs. Macro Testing: Understanding the Load Range and Applications
Vickers testing is divided into two distinct categories: Micro Vickers and Macro Vickers. Each category is designed to cater to specific applications, as determined by the necessary test force and sample characteristics. Typically, micro Vickers testing applies loads ranging from 1 gf to 1000 gf, making it suitable for microstructures, thin coatings, and small parts. It’s commonly used in research, electronics, and medical component testing. Macro Vickers, on the other hand, is well-suited for materials that are harder or thicker, such as steel, alloys, and treated components, and it applies loads range from 1 kgf to 100 kgf.
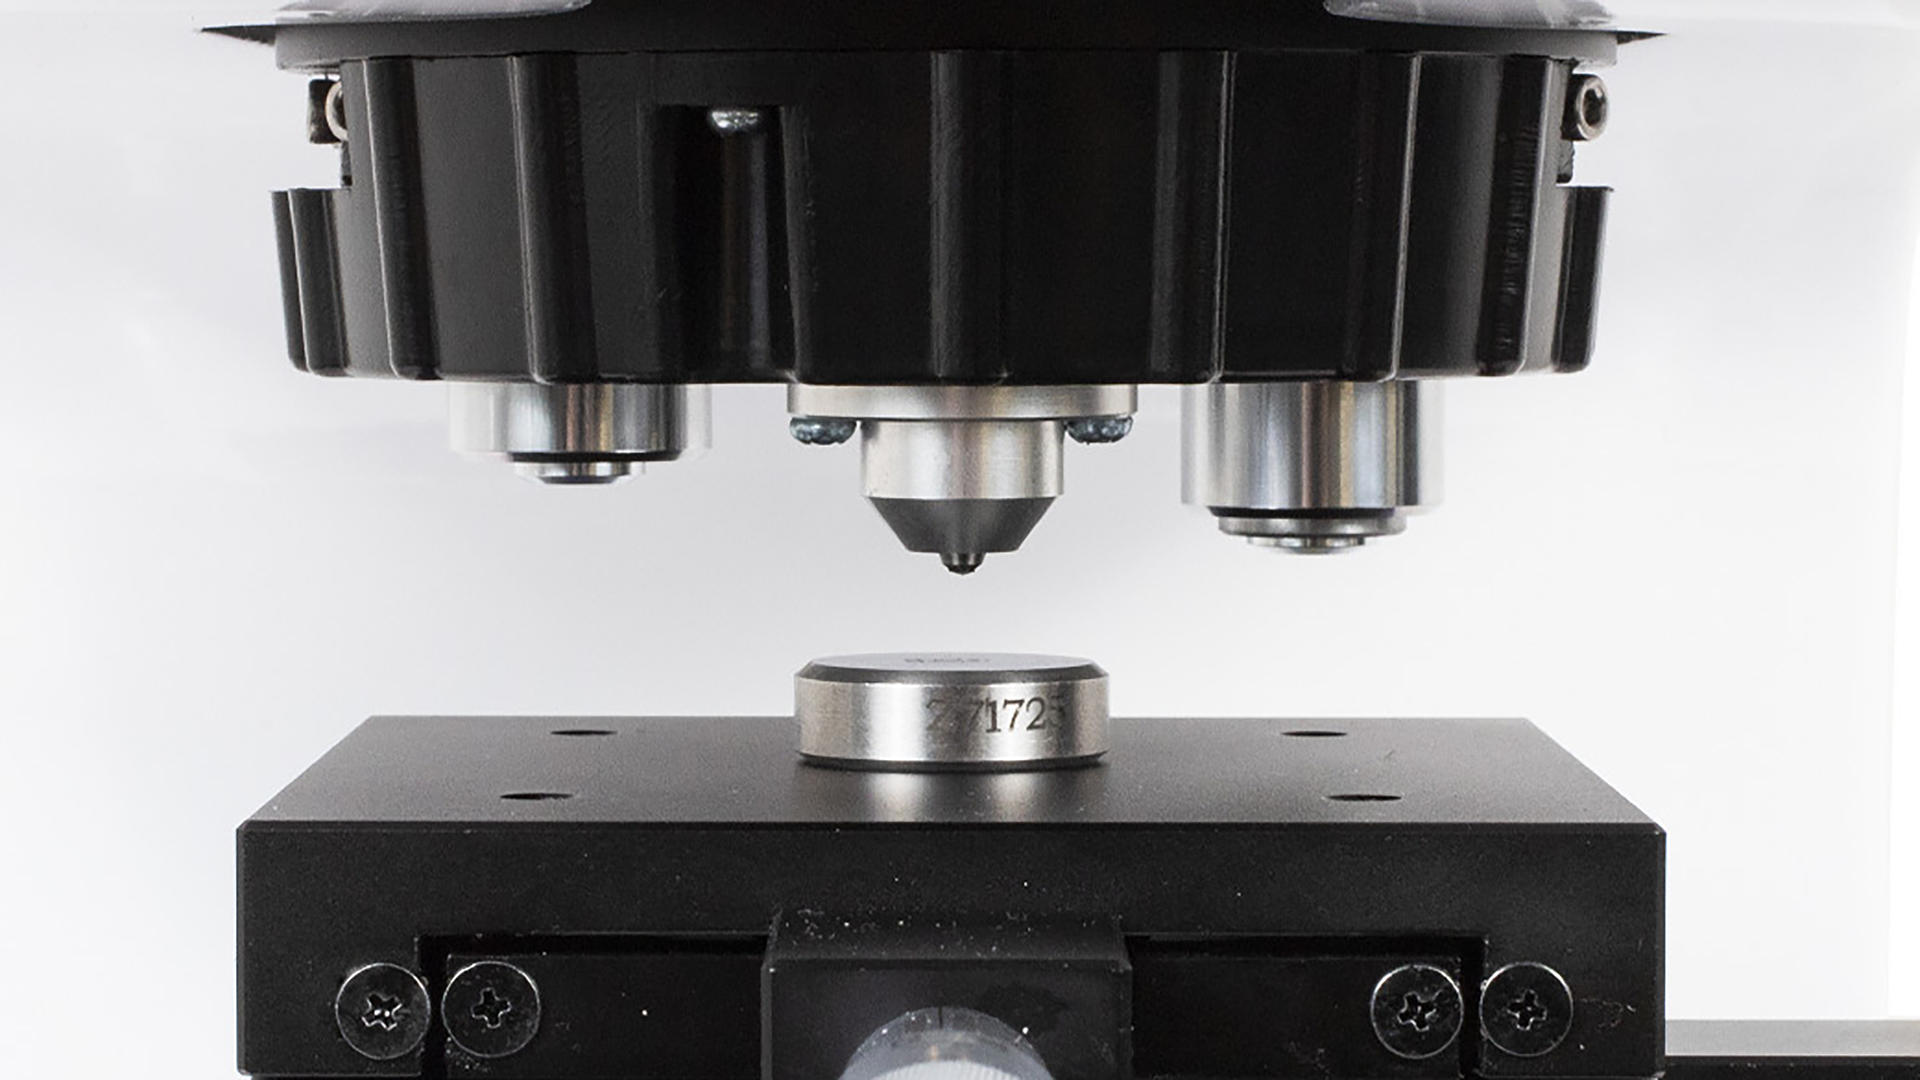
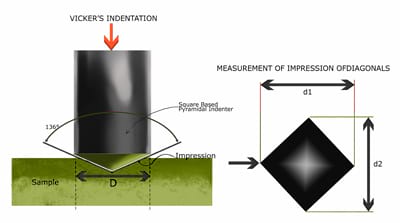
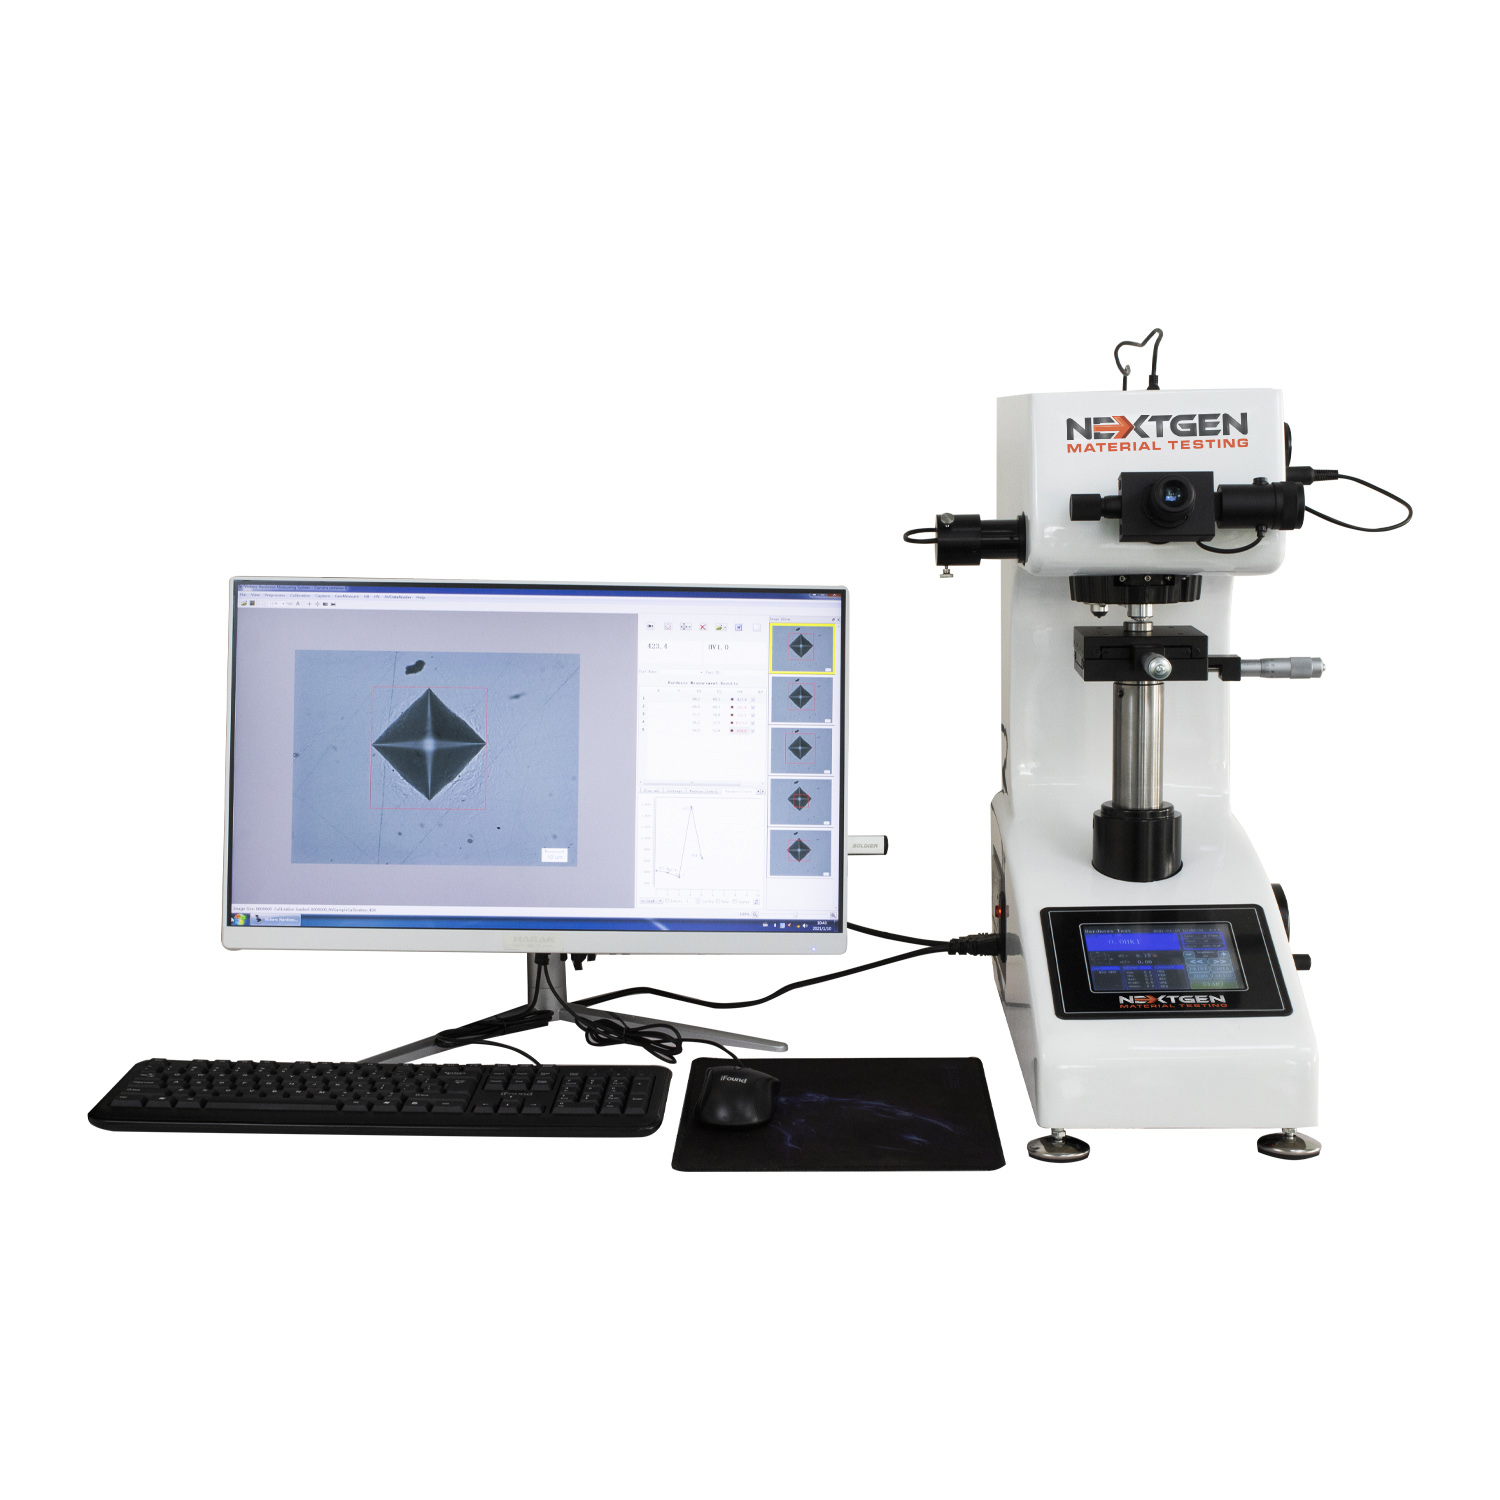
The Micro and Macro Vickers methods apply a diamond pyramid indenter with a precise 136° angle that is square-based. Throughout the testing process, the indenter is required to press into the sample for a predetermined duration. Frequently, the hardness value is determined by measuring the resulting indentation, which is often recorded using an advanced CCD camera or optical system. The Knoop method, which uses a rhombus-shaped diamond tip, is particularly effective for testing thin surface layers or delicate samples and is capable of withstanding extremely low loads (typically 10 gf to 1000 gf). Knoop indentation enables precise surface analysis in situations where other methods fall short, due to its 7:1 long-to-short axis ratio.
Our Vickers and Knoop Hardness Testing Equipment
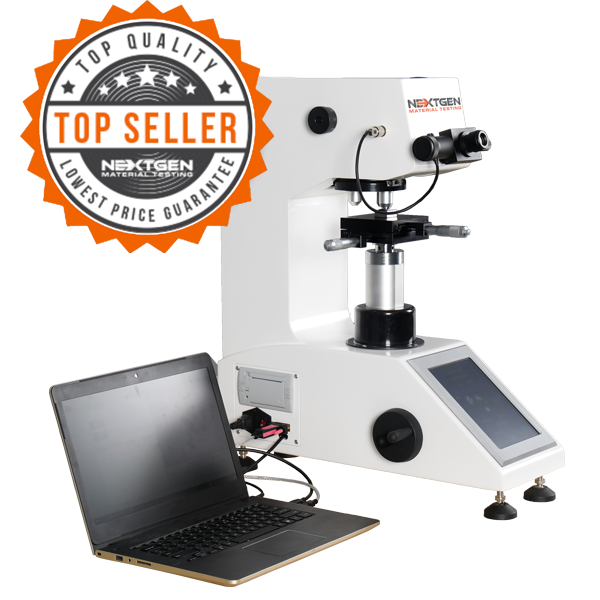
At NextGen Material Testing, we provide an extensive list of Vickers and Knoop hardness testing systems that meet the requirements of both micro- and macro-scale testing. Our equipment offers long-term reliability, efficiency, and accuracy, whether you require a compact benchtop tester for laboratory analysis or a robust solution for industrial quality control.

Micro Vickers and Knoop Hardness Testers – NG-1000 Series
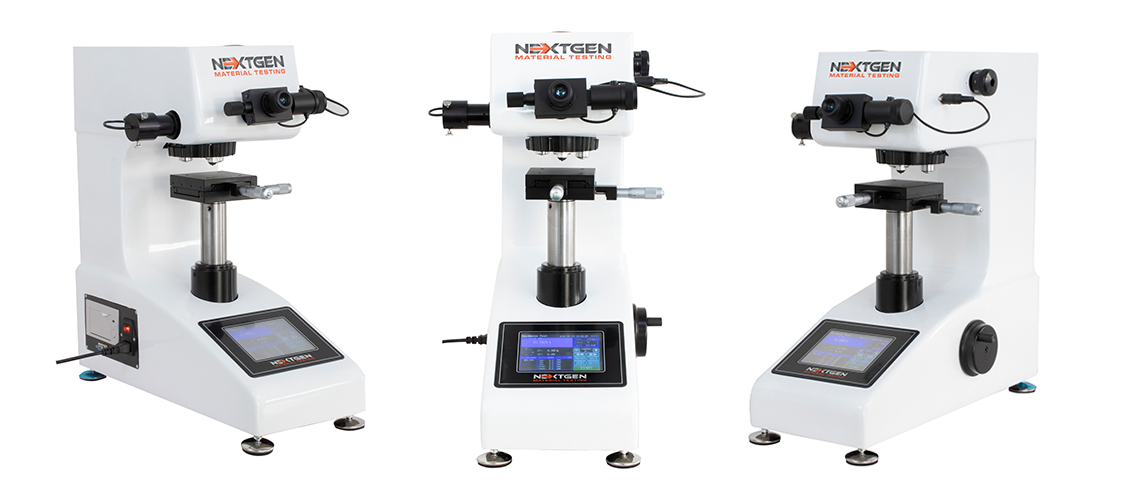
Designed for low-force applications (10 gf to 1 kgf), the NG-1000 series covers a wide range of micro hardness testing needs. These systems are ideal for delicate materials, coatings, and metallographic case depth studies. Models are available in Standard Digital or Digital with CCD Optical Analysis Software, offering fast, automated indentation measurement for enhanced productivity and accuracy. These testers are compliant with ASTM E384, ISO 6507, and ISO 4545-2 standards.
Macro Vickers Hardness Testers – NG-5000 Series
The NG-5000 Series delivers dependable macro hardness testing with available loads from 5 kgf to 50 kgf. Built for evaluating tougher materials and thicker components, these testers are perfect for production environments requiring high test repeatability. Available in Standard Digital, Digital with CCD, and fully automated versions, the NG-5000 Series adheres to ASTM E92, ASTM E384, and ISO 6507 testing methods.

Hardness Test Blocks, Indenters, and Accessories
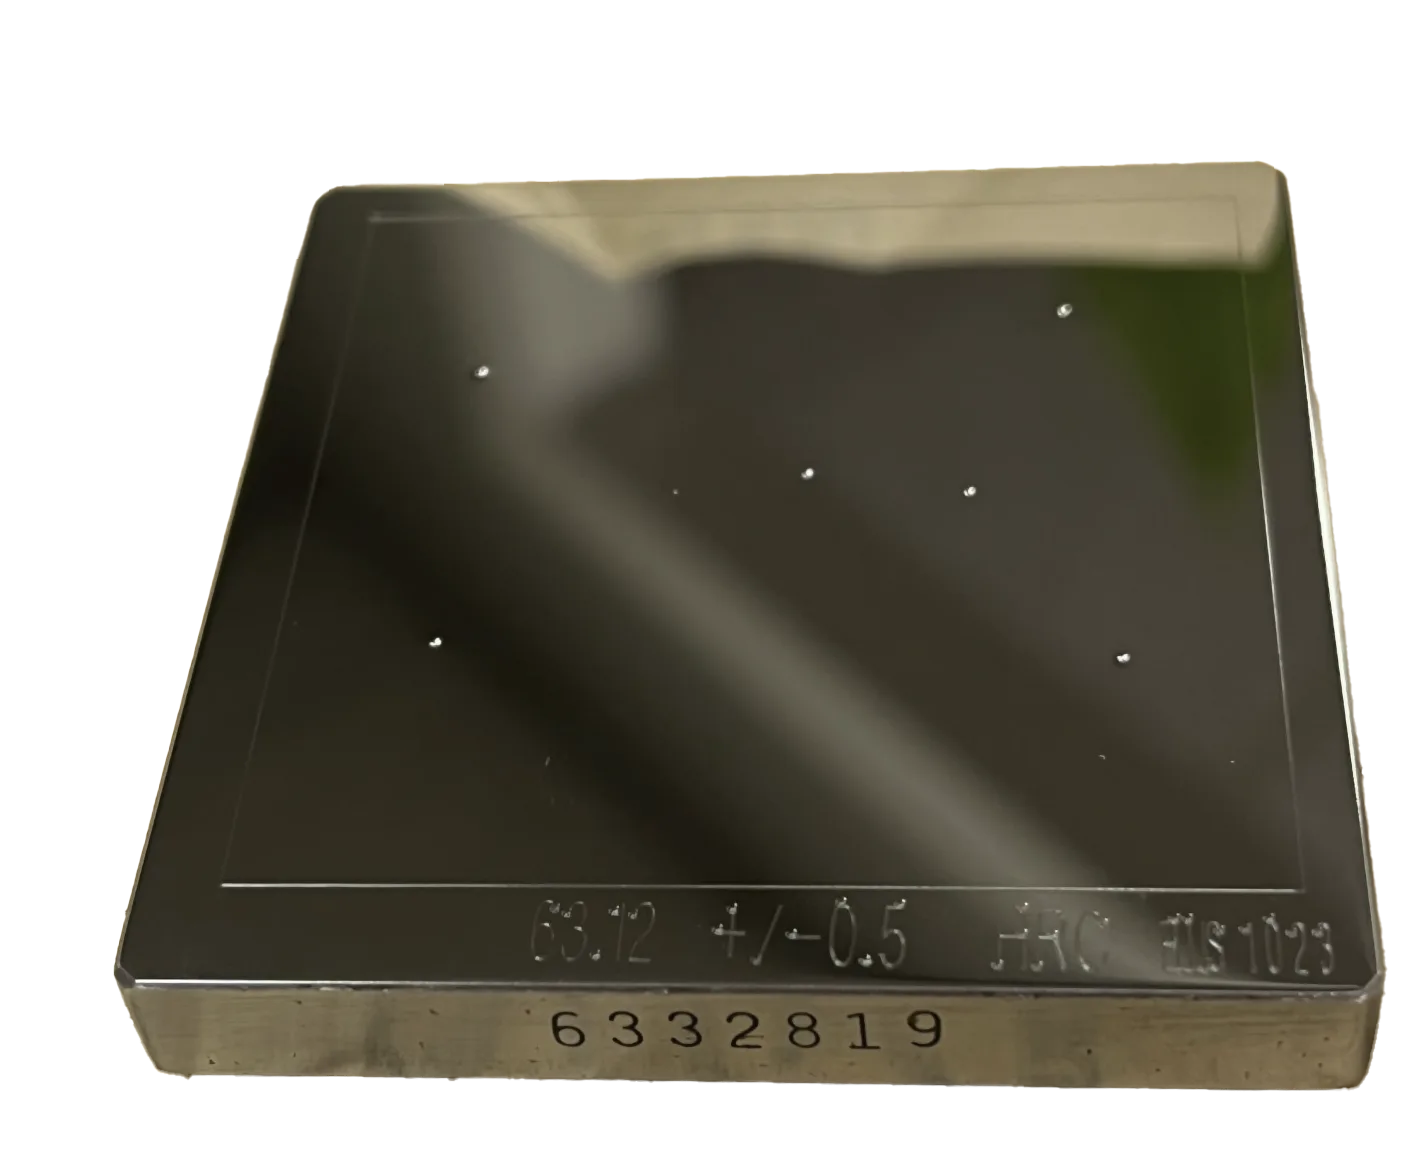
To support all Vickers and Knoop testing procedures, we offer certified test blocks and diamond indenters that meet international calibration standards. These accessories ensure the long-term accuracy and traceability of your testing processes. All blocks are certified and traceable to NIST or equivalent national standards.
Metallography Consumables
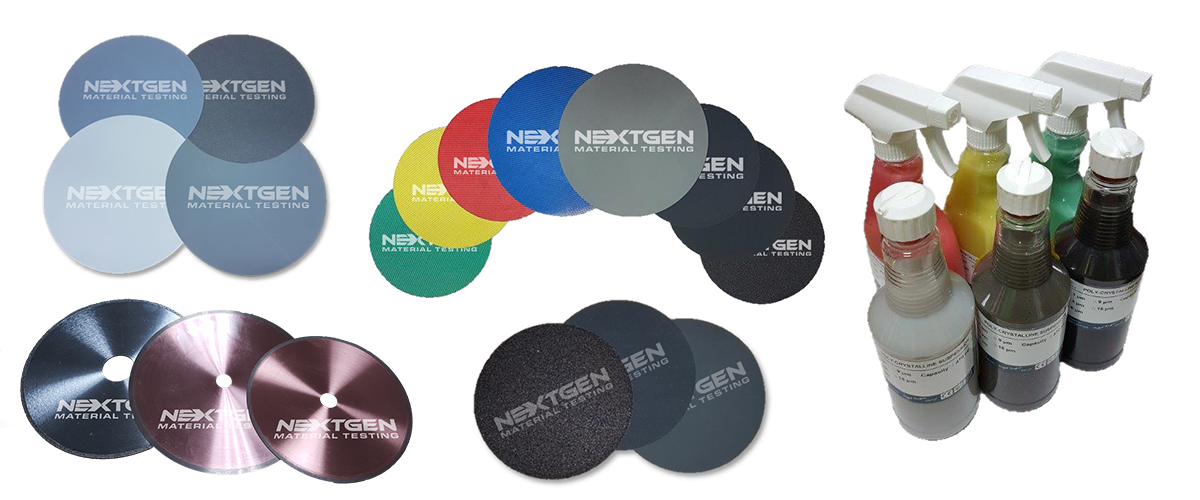
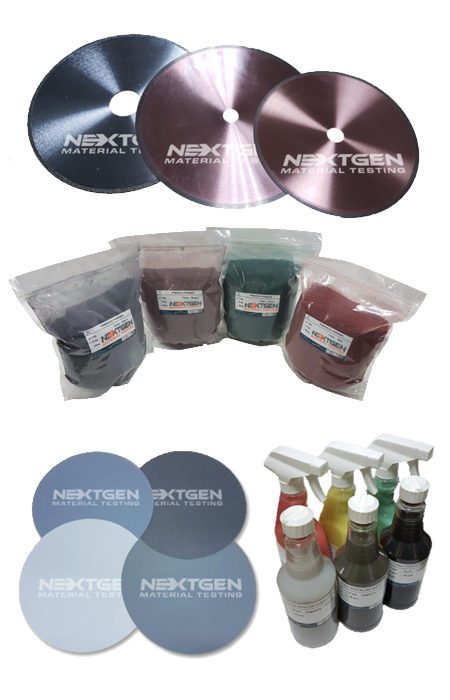
Complete your lab setup with our full line of metallographic consumables, including cutting discs, polishing cloths, mounting resins, and etching solutions. Our consumables are compatible with major equipment brands and support high-precision surface preparation for hardness testing.
Testing Standards We Support
 The Vickers and Knoop hardness testers that NextGen provides are engineered to comply with the most stringent international standards, guaranteeing that the results are traceable, reliable, and consistent. These standards specify the requirements for performance, calibration methods, and testing procedures that are indispensable in laboratory and industrial testing environments.
ASTM E384 – Microindentation Testing Standard
ASTM E384 outlines the procedures for microhardness testing using both Vickers and Knoop methods. It governs the use of low-force loads (from 1 gf to 1000 gf), ideal for thin materials, coatings, and fine microstructures. The standard also details requirements for dwell time, optical measurement accuracy, and calibration protocols.
ASTM E92 – Macro Vickers Testing
ASTM E92 is still widely referenced for macro Vickers testing in many industrial settings. It describes the methodology for higher load ranges (typically 1 kgf to 100 kgf) and covers proper use of indenters, testing forces, and acceptable tolerances.
ISO 6507 – Vickers Hardness Testing International Standard
ISO 6507 provides comprehensive guidance on conducting Vickers hardness tests, covering everything from equipment configuration to result interpretation. This standard is divided into multiple parts, with Part 2 focusing specifically on the verification and calibration of the testing machine.
ISO 4545-2 – Knoop Hardness Tester Verification
ISO 4545-2 defines the calibration and performance verification requirements for Knoop hardness testing systems. It is essential for ensuring the accuracy of Knoop results, especially when testing delicate surfaces or small features. The standard includes tolerances, reference block requirements, and optical measurement guidelines tailored to Knoop's unique indenter geometry.
Industries and Applications for Vickers and Knoop Hardness Testing
Knoop and Vickers hardness testers find use in a number of industries that necessitate precise surface and case-depth hardness evaluations. These systems are appropriate for a selection of components, including large, heat-treated parts and delicate components. Below are the key industries and specific applications that benefit from this type of testing equipment:
Automotive and Aerospace
Vickers and Knoop testing methods are commonly used in the automotive and aerospace industries to verify surface treatments, case depths, and heat treatment quality.
- Measurement of case depth in gears, shafts, and camshafts
- Verification of hardness distribution in carburized or nitrided components
- Evaluation of core and surface hardness in bearings and structural parts
Metallurgy and Tooling
In metallurgical labs and tooling production, hardness testing plays a central role in quality control and process verification.
- Macro hardness evaluation of forgings, castings, and heavy-duty components
- Micro hardness analysis in weld zones and heat-affected areas
- Inspection of cutting tools and molds to ensure wear resistance
Electronics and Semiconductors
Knoop hardness testing is particularly suited to this sector due to its ability to analyze very thin coatings and brittle materials without damaging the surface.
- Hardness testing of thin metallic and ceramic coatings
- Analysis of small semiconductor components and circuit board layers
- Evaluation of fragile surfaces like glass, ceramics, and composite materials
Medical Devices and Precision Components
For manufacturers of medical implants and small precision parts, hardness testing ensures compliance with strict industry requirements.
- Surface hardness measurement on dental tools, surgical implants, and micro-sized devices
- Inspection of thin-walled, high-precision components for structural integrity
- Testing of powder metallurgy parts used in biomedical applications
Research and Education
Vickers and Knoop systems are widely used in academic and research institutions for advanced material studies and training.
- Microstructure analysis through hardness mapping of multi-phase alloys
- Validation of new material treatments and coatings
- Educational demonstrations in materials science and mechanical engineering programs
Oil & Gas, Energy, and Heavy Industries
These industries rely on accurate macro and micro hardness data to monitor the performance and durability of equipment operating in extreme environments.
- Hardness profiling in drill bits, turbine blades, and valves
- Surface treatment verification for corrosion-resistant coatings
- Quality control of large welded structures and components
Packaging, Appliances, and Consumer Goods
Hardness testing is also used to assess the quality of coated and thin-gauge materials in commercial and consumer manufacturing.
- Evaluation of surface hardness in packaging foils, cans, and laminates
- Testing of appliance components with metallic coatings or surface finishes
- Inspection of wear-resistant decorative and functional coatings



 The Vickers and Knoop hardness testers that NextGen provides are engineered to comply with the most stringent international standards, guaranteeing that the results are traceable, reliable, and consistent. These standards specify the requirements for performance, calibration methods, and testing procedures that are indispensable in laboratory and industrial testing environments.