Metal Testing Equipment


General
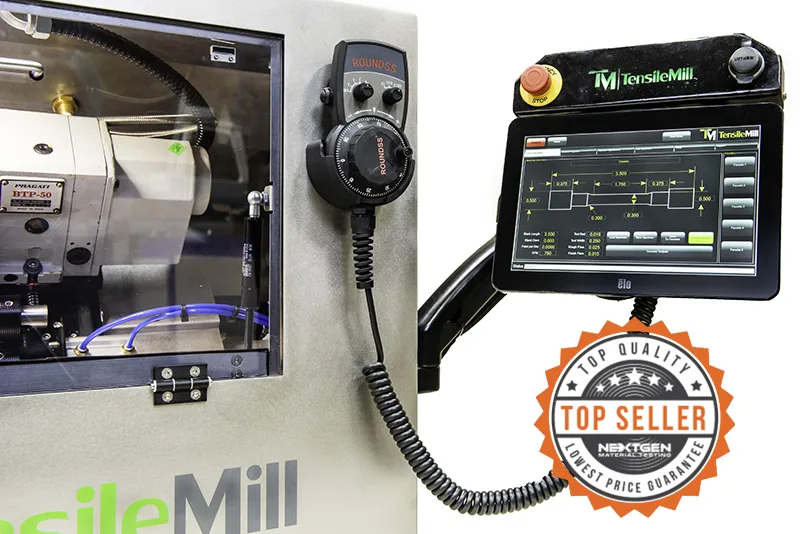
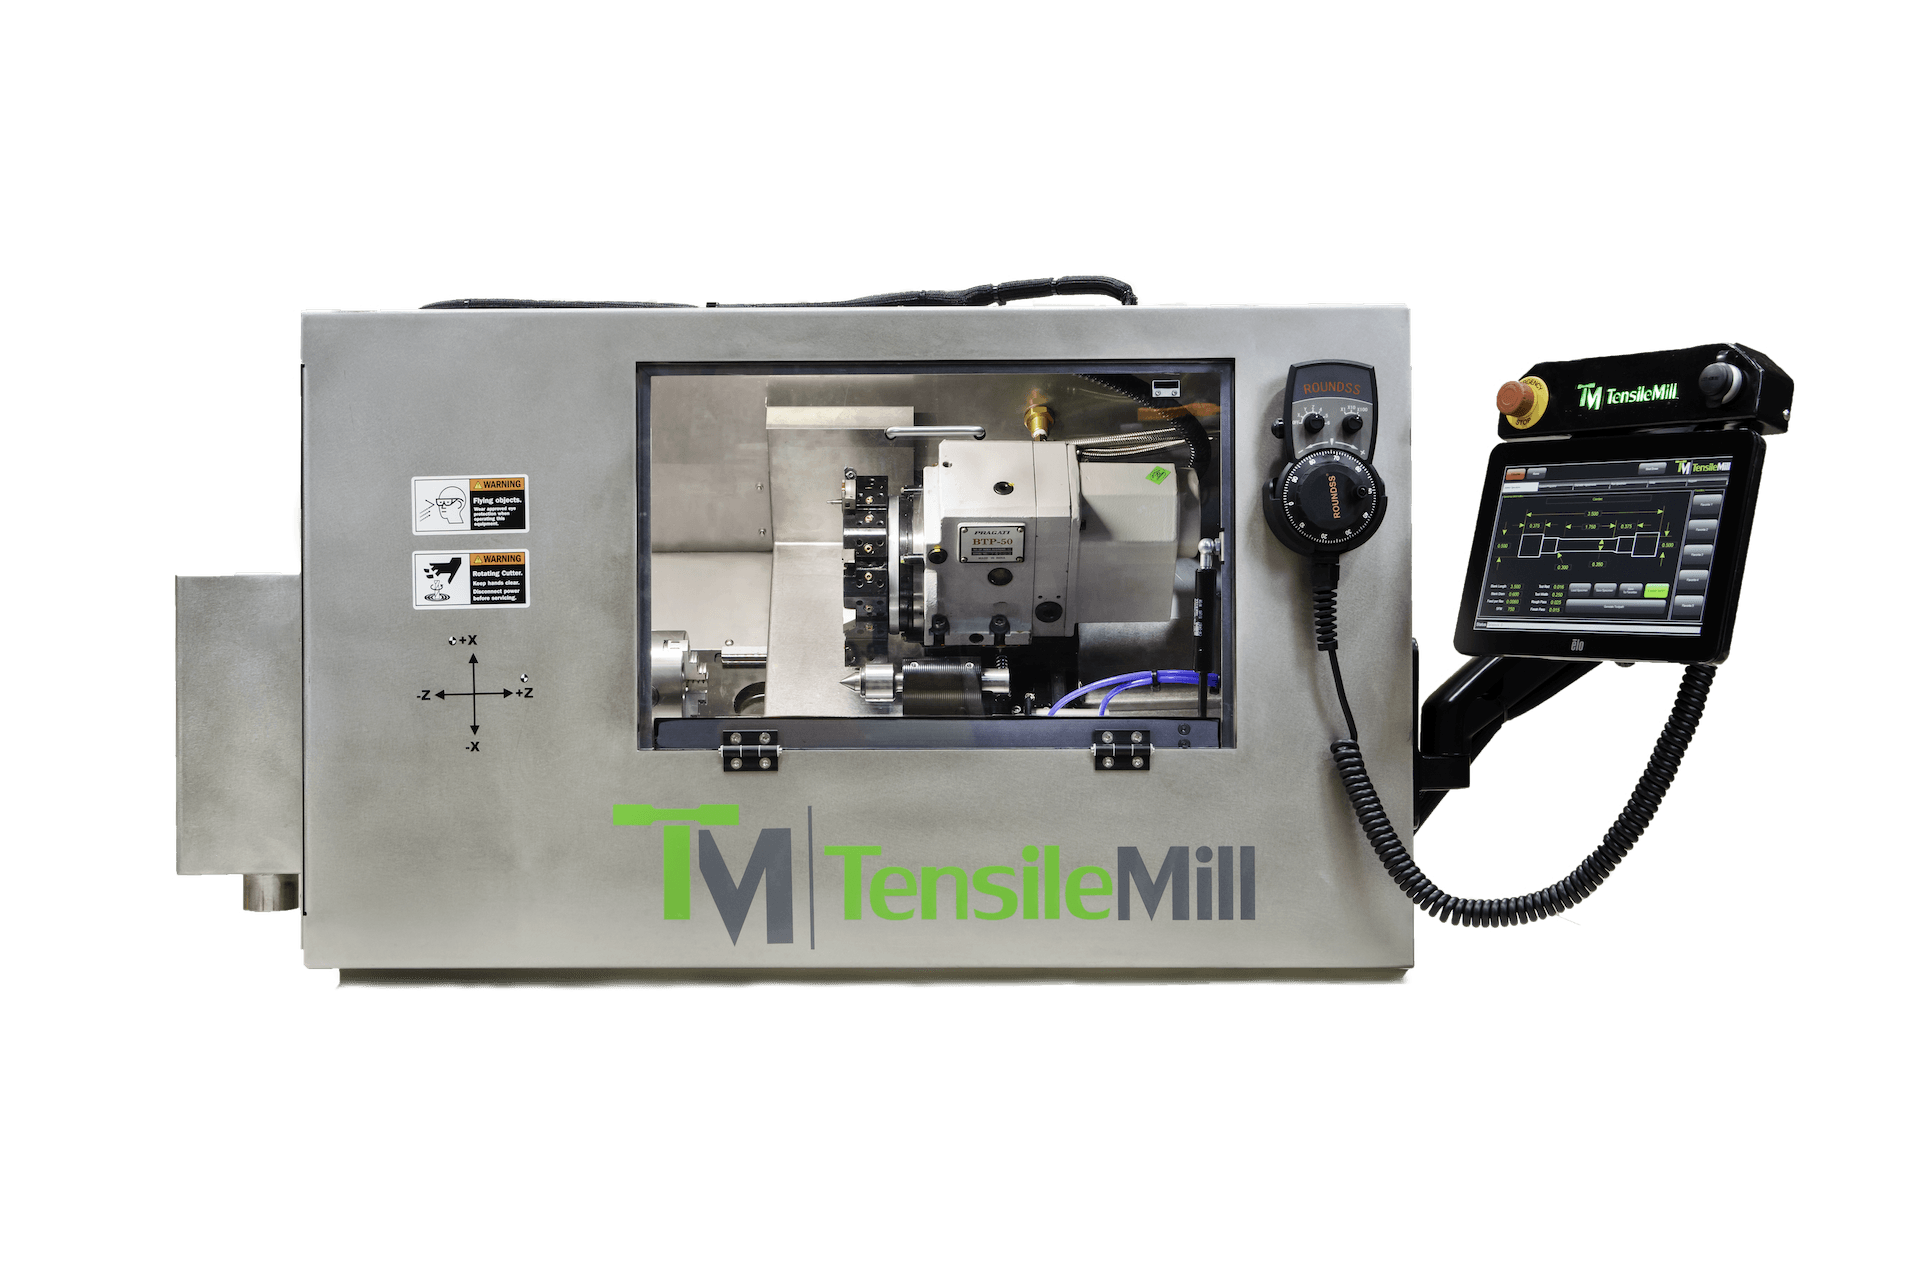
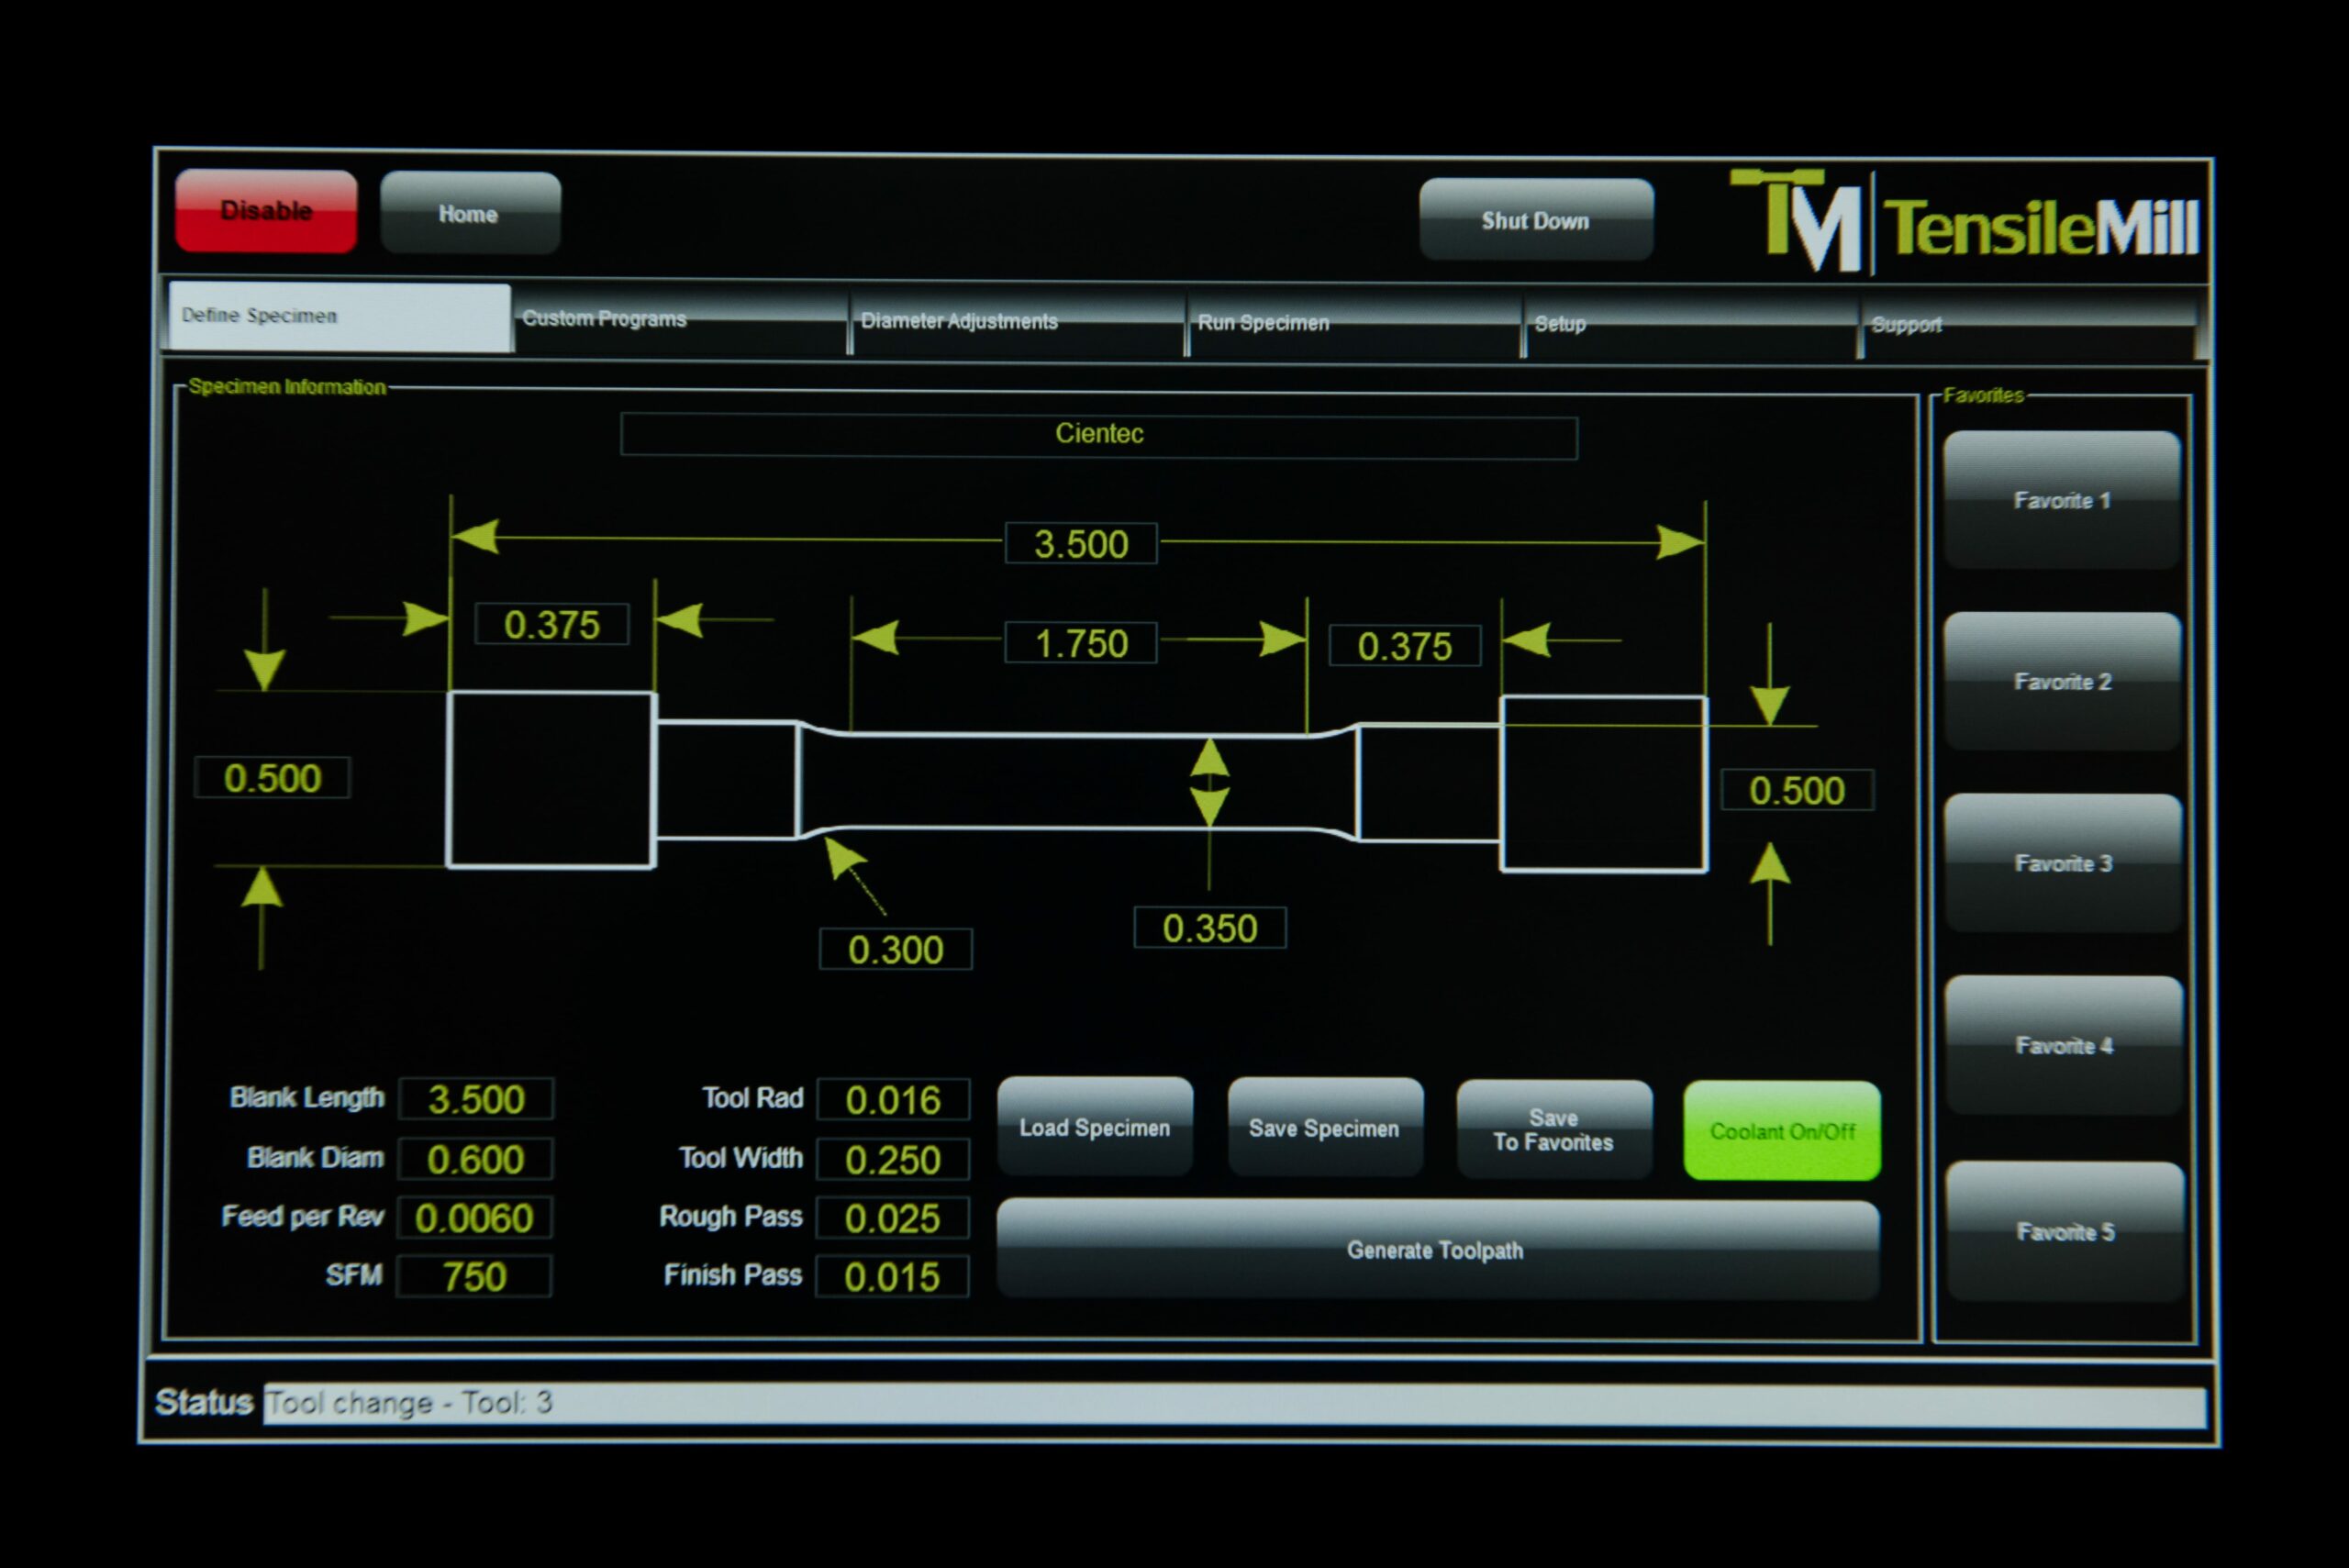
The TensileTurn CNC - Industrial Upgrade Model Round Specimen Preparation is a conveniently sized automatic CNC lathe designed to prepare accurate round tensile specimens to achieve the highest accuracy in tensile results. The TensileTurn CNC features our award winning touch screen tensile milling interface to allow any operator, with or without machining experience, to quickly prepare tensile specimens as per your desired size. By simply selecting a common tensile size from our library of common standards (ASTM, ISO, DIN, etc) or by entering your own dimensions on the touch screen numerical keypad, TensileTurn CNC is ready to machine specimens up to 5" in diameter (up to 1" by 1" squares) and up to 8" in length after only a few simple steps.
Specimen Preparation CNC Machine
TensileTurn CNC - Round Specimen Preparation CNC machine also features our complete Carbon software which allows the more experience operators to program the TensileTurn CNC for universal applications for cutting, sanding, knurling, drilling, facing or turning.
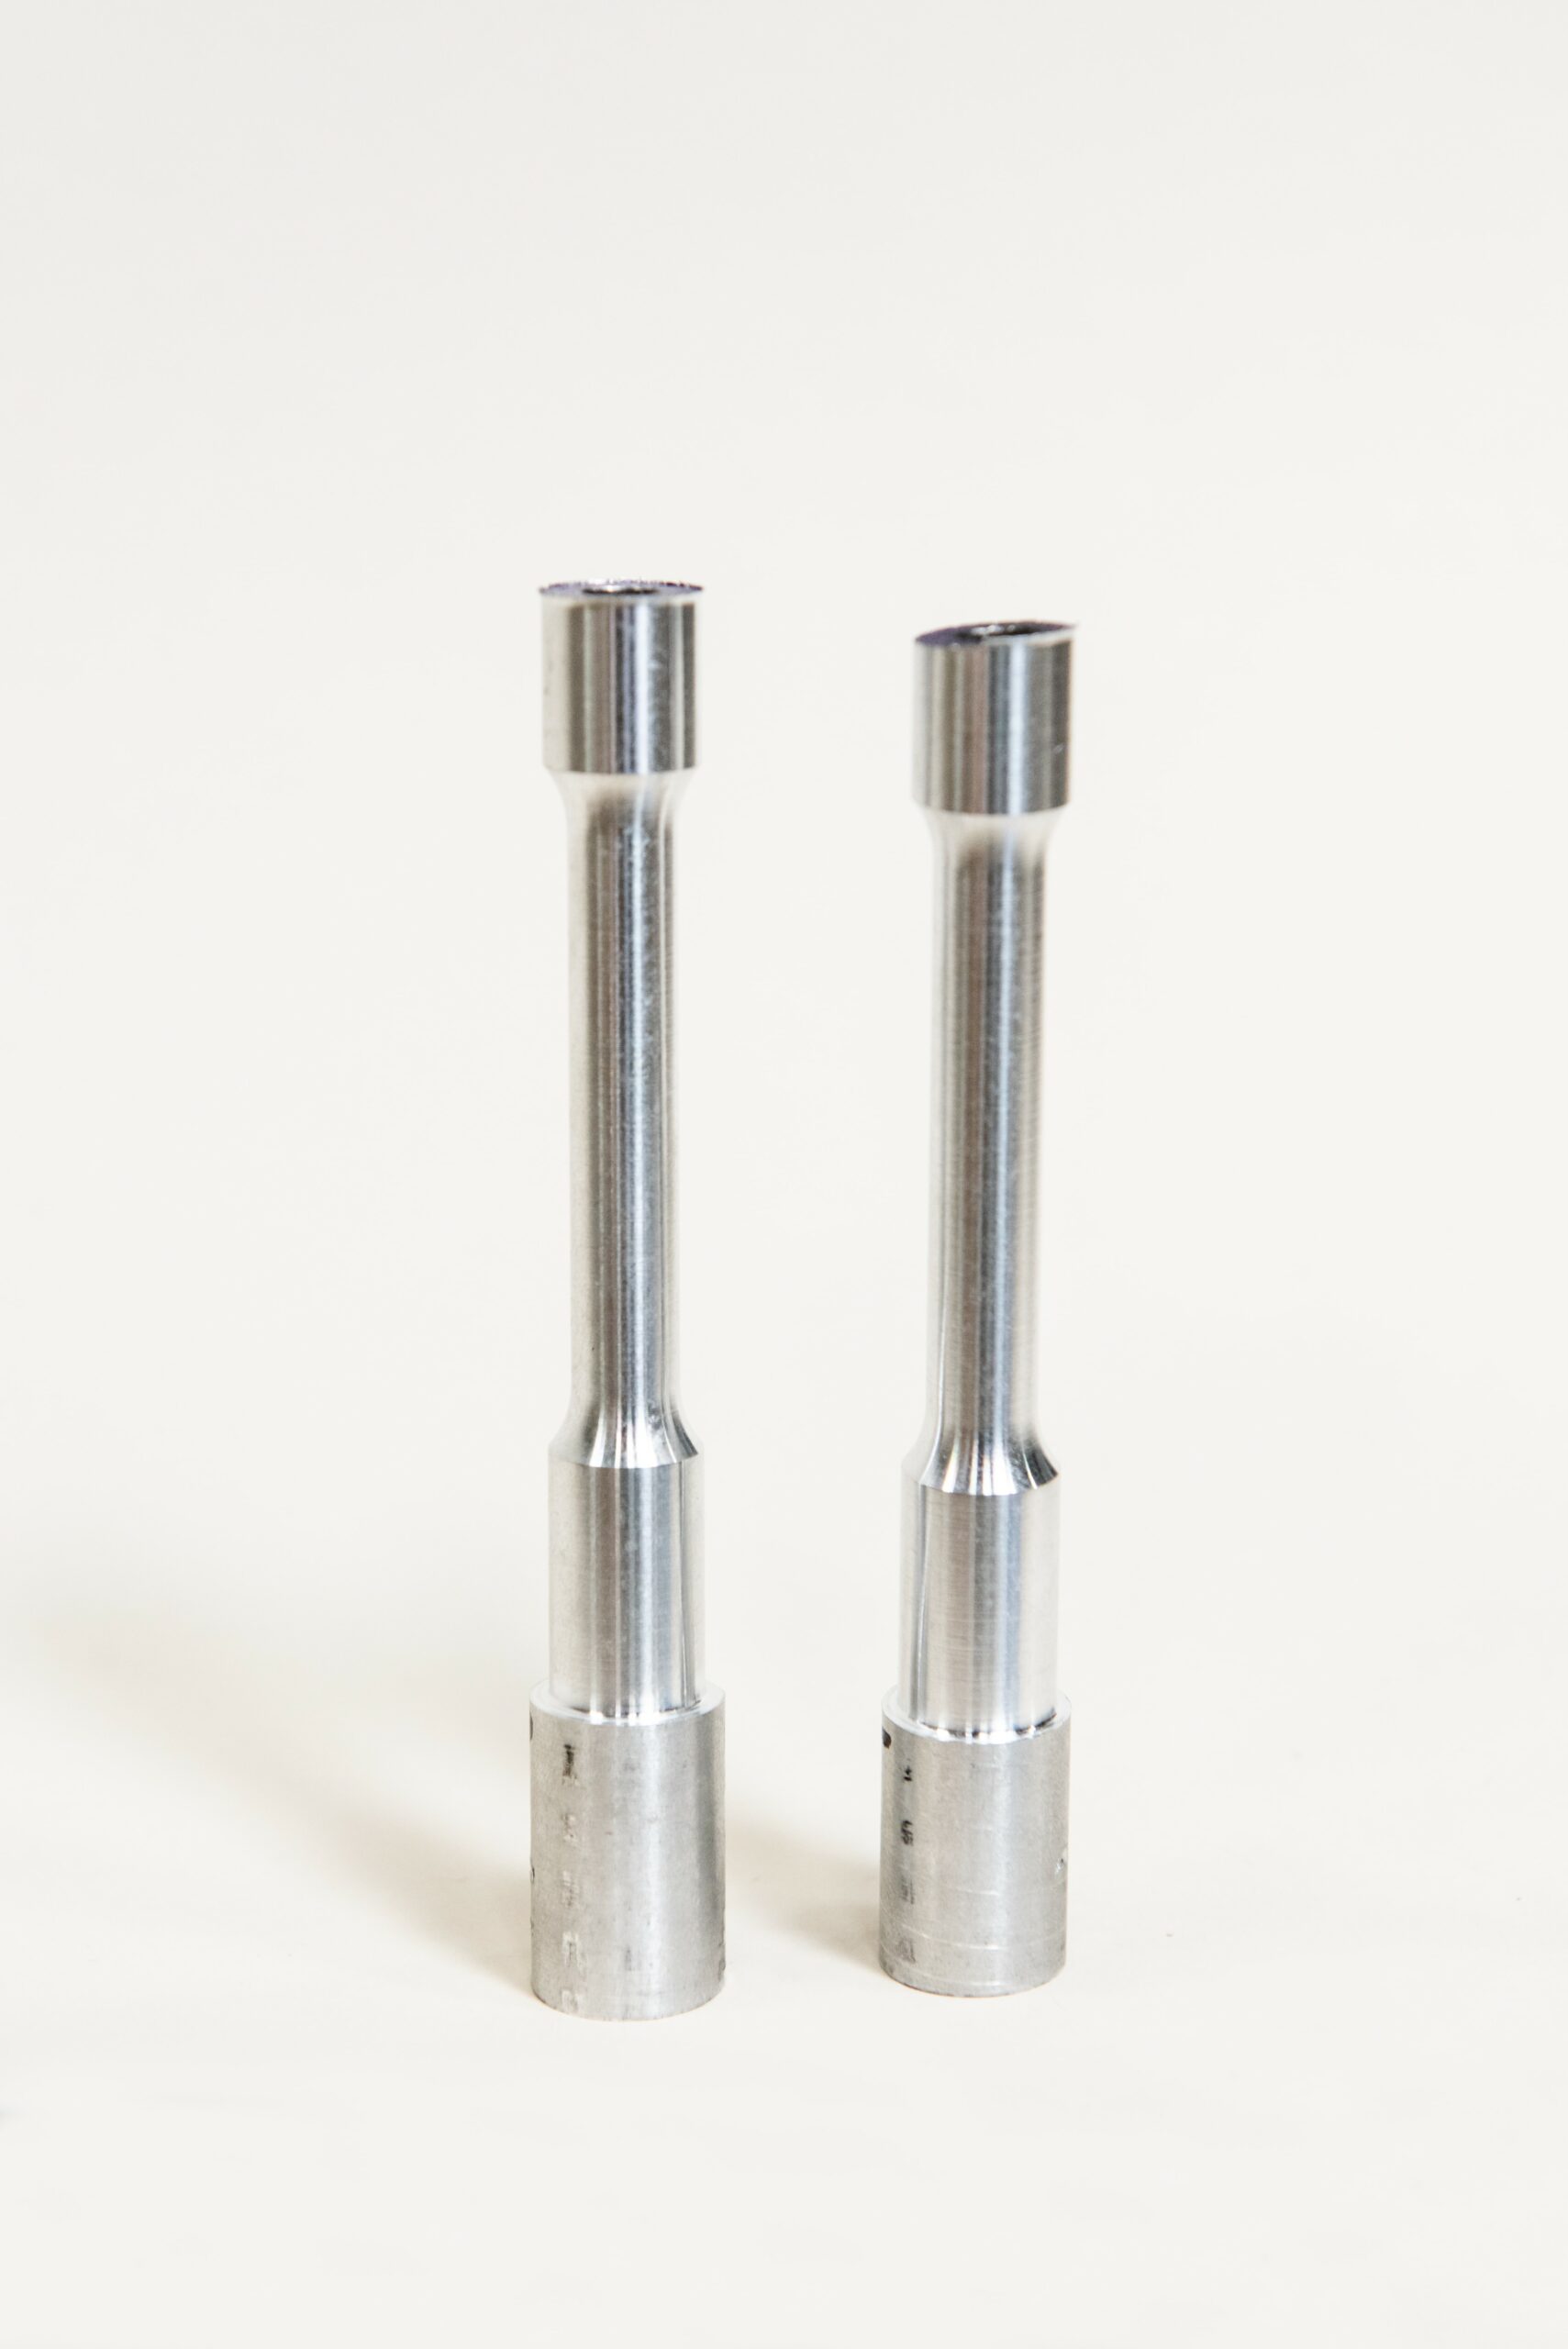
TensileTurn CNC can prepare standard round tensile specimens, sub-size specimens, threaded tensile specimens, button-head tensile bars, fatigue specimens and other round testing specimens. The operator is only required to simply load the machine with either round, square or irregular stock.
TensileTurn CNC - Round Specimen Preparation CNC machine allows your laboratory personnel to bypass any wait times with your machining center and prepare their own tensile specimens ready for testing in a matter of minutes. The production of high quality tensile specimens combined with ease of use is what sets the TensileTurn CNC apart. It enables the rapid milling of precisely measured round and button head specimens for superior tensile testing results.

Controller
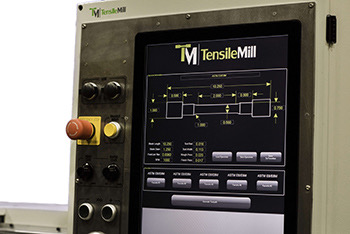
Our easy to use touch screen controller is equipped with our complete Carbon software. Our control systems include 64 Gb of storage, 4 Gb of RAM, WiFi, Ethernet, USB ports, macro B programming, 254 tool offsets, 126 work offsets, helical interpolation, drilling canned cycles, scaling and mirroring, advanced trajectory planning, cutting edge dual mode cutter compensation, and more. Along with the tensile milling software interface, Carbon also allows the operator to access the MACH4 Industrial CNC Software used for professional CNC Control functions. Our Carbon software is constantly having new features developed, and every TensileMill CNC system includes updates at no additional cost.
Features
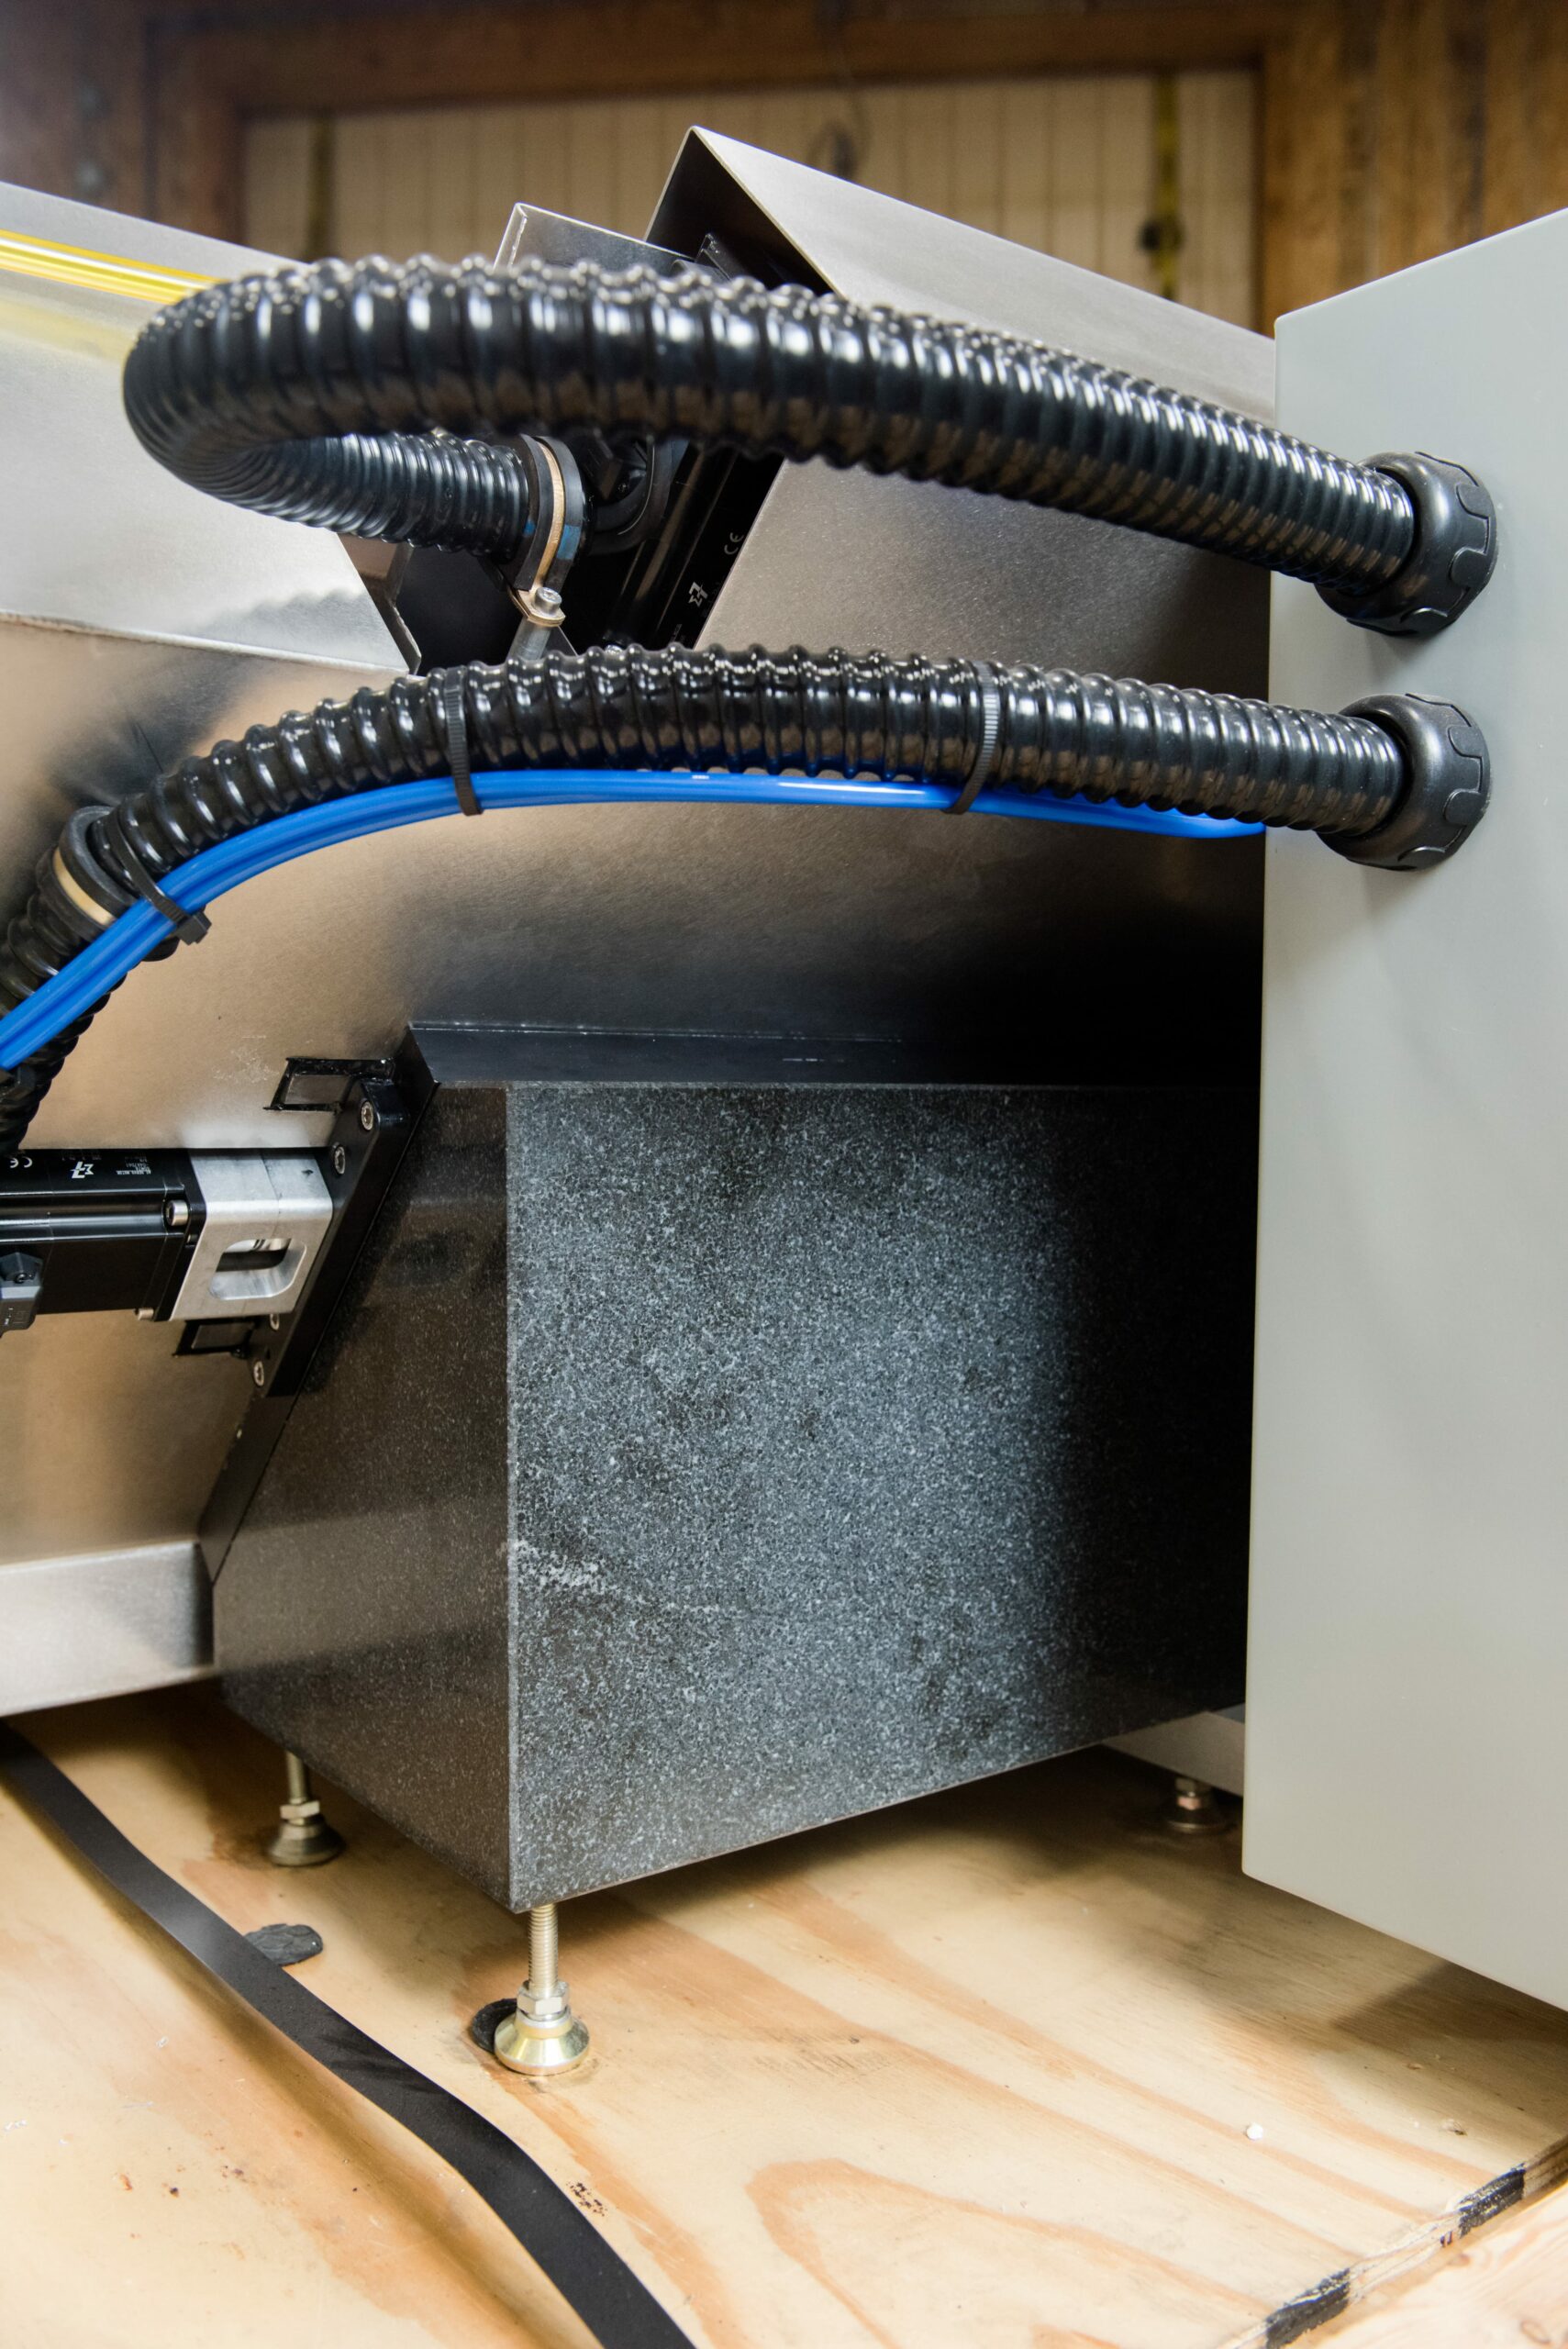
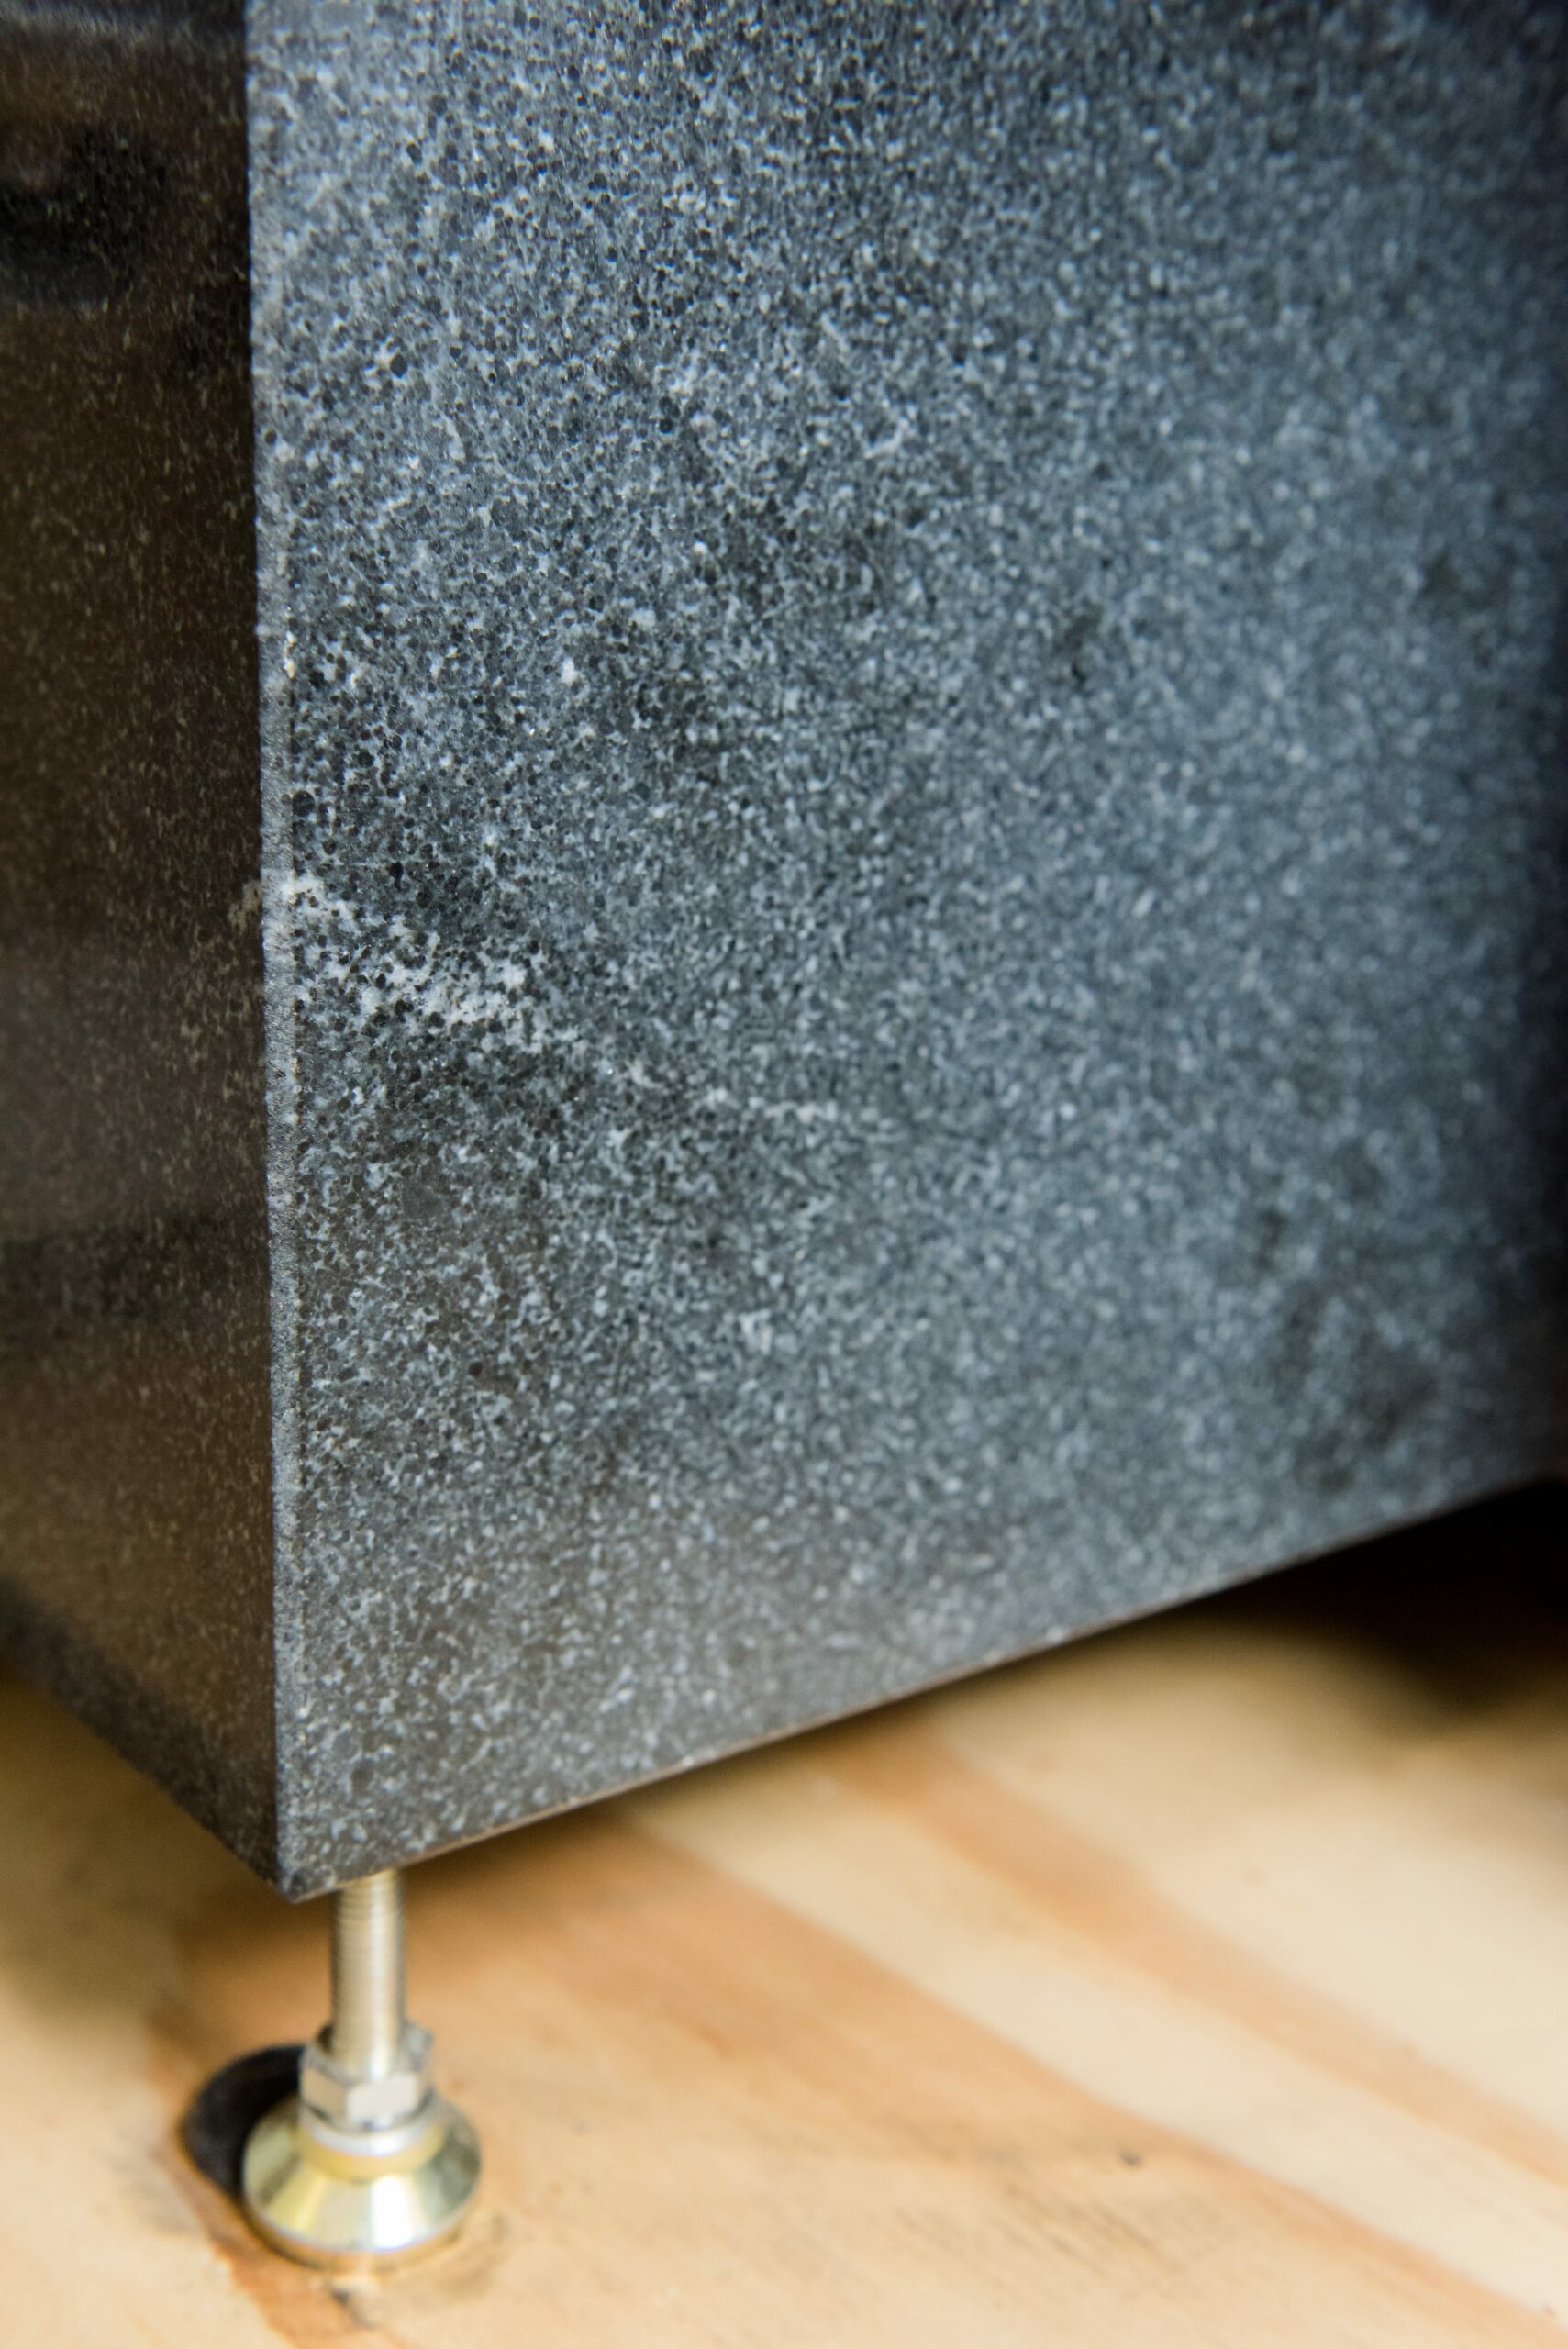
- Granite frame and balls crews – robust and shock absorbent frame offering a stable foundation for industrial grade high speed machining
- Stainless steel enclosure
- 4500 RPM 3.5 HP (2.6kW) Motor
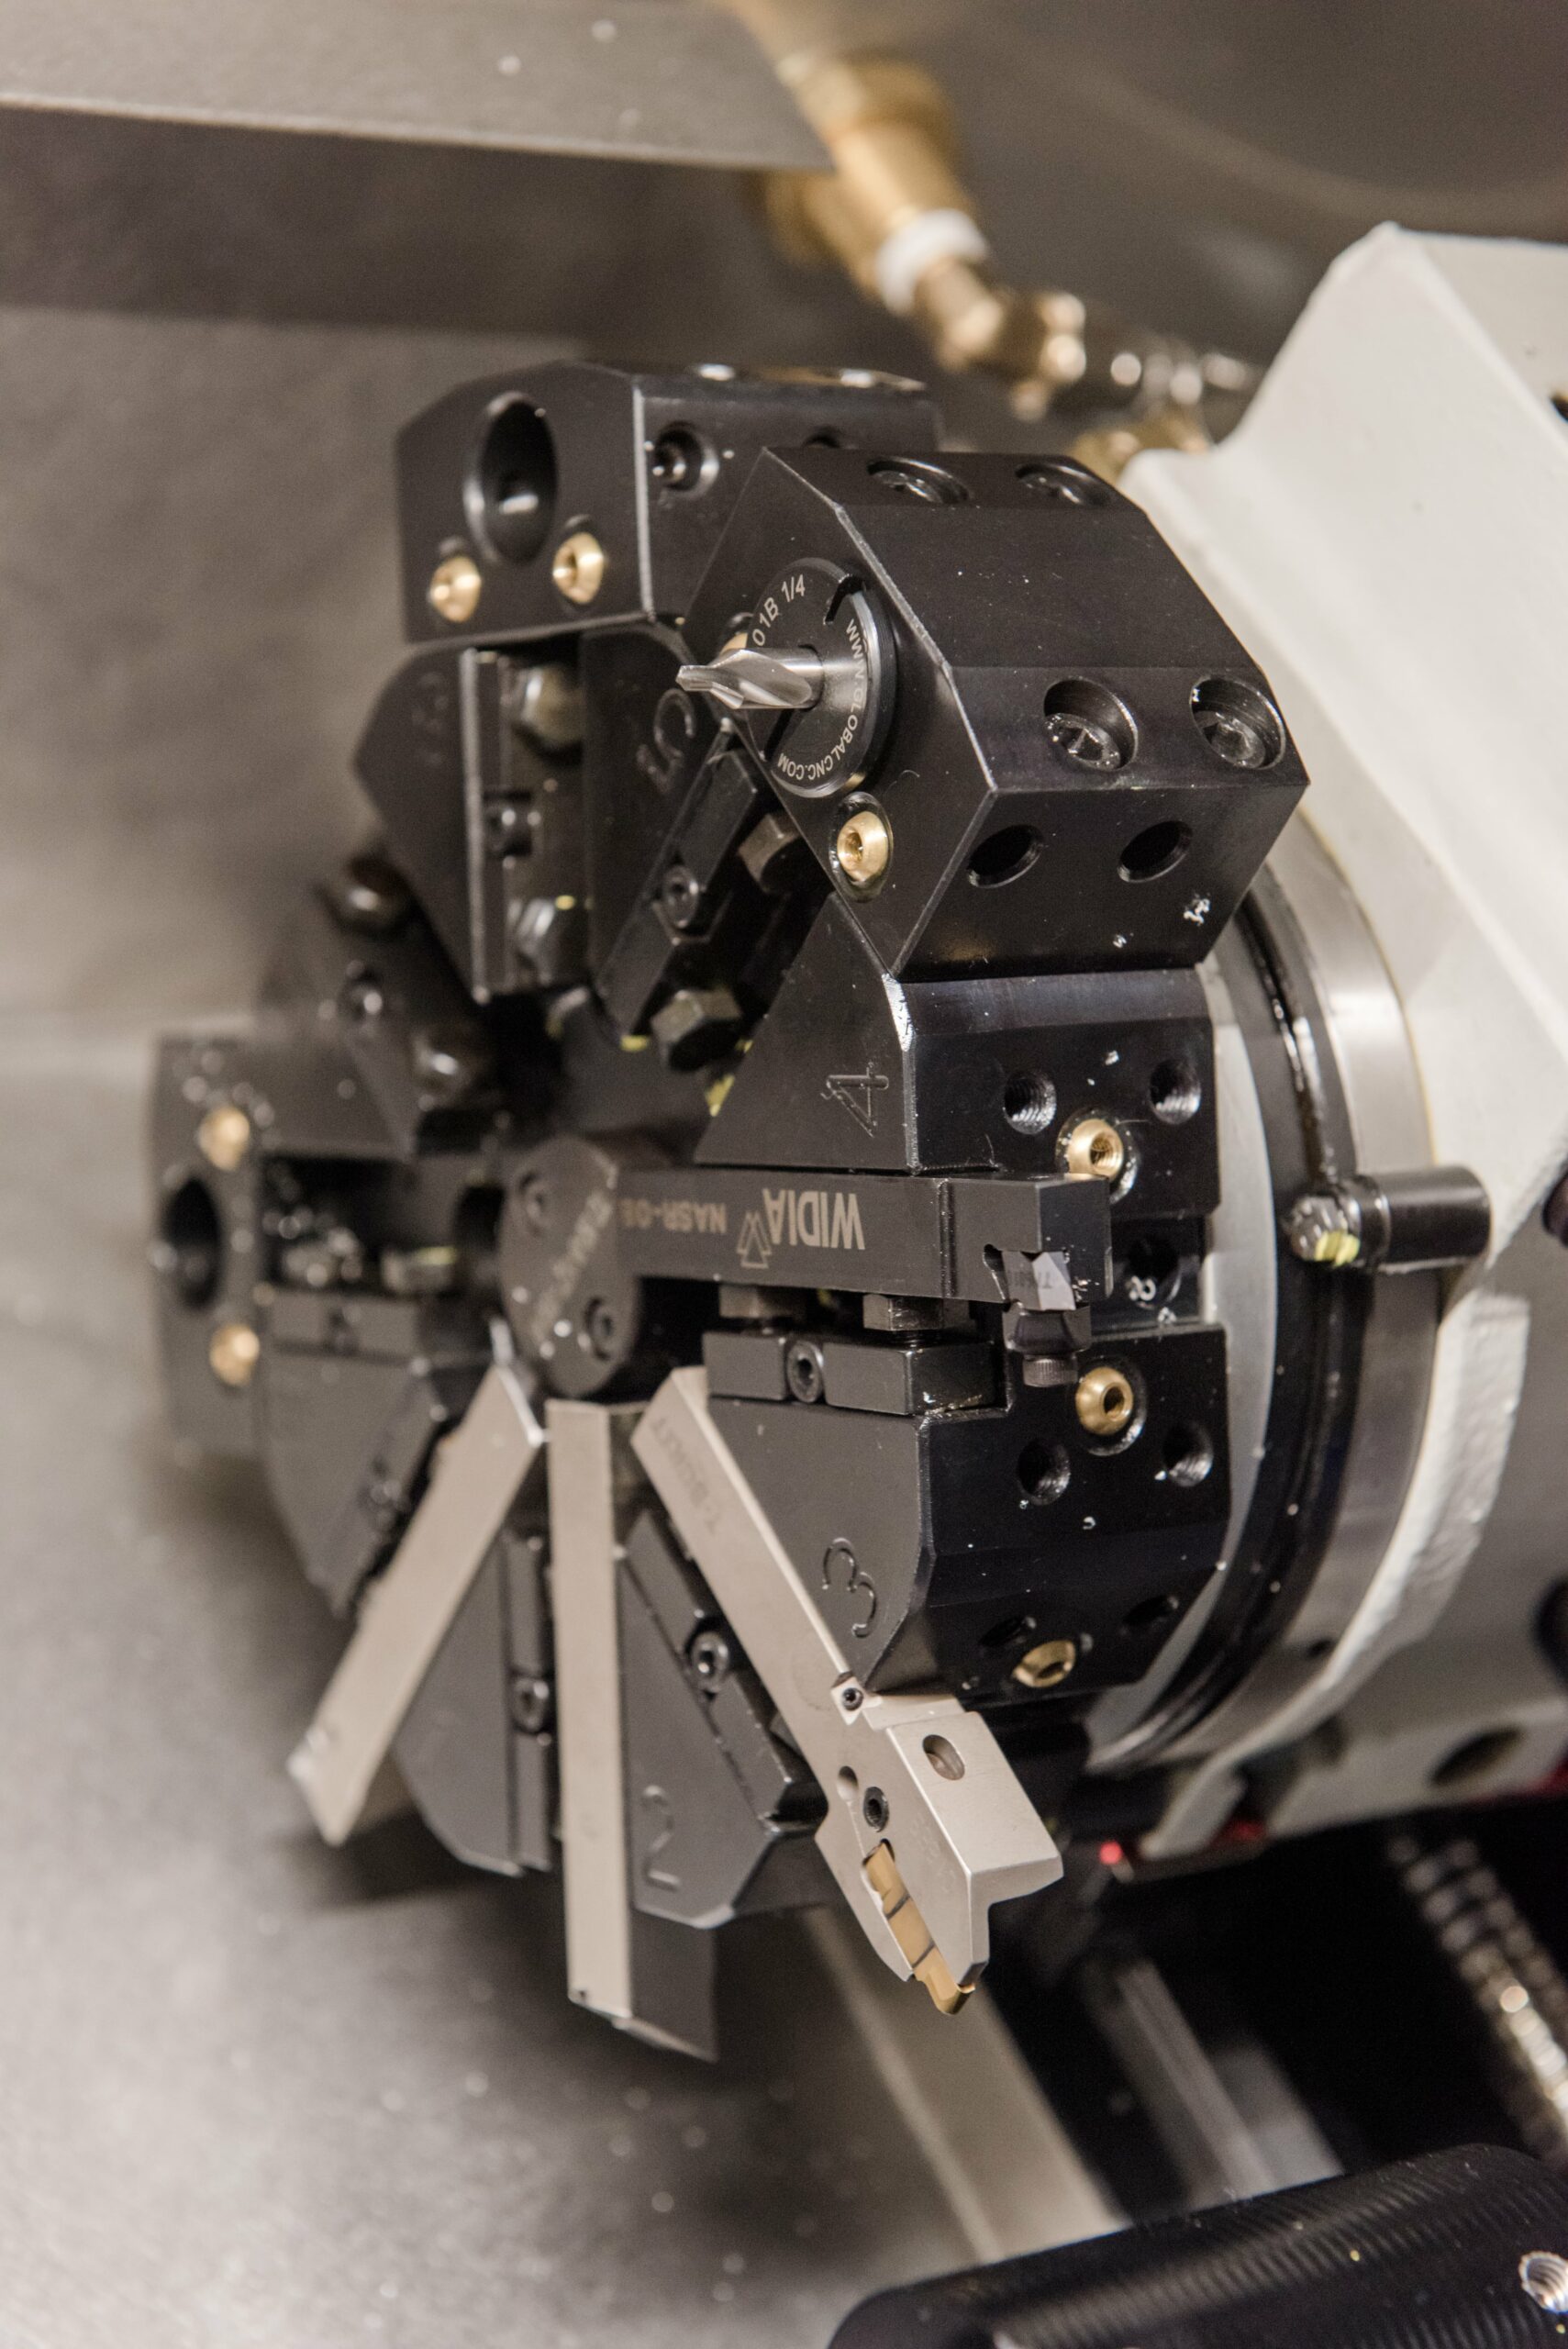
- 8 position turret, 1/2" shank OD tools
- 4 Boring tool holders, 3/4" shank
- Servos: Yaskawa 400W AC Servo
- Center drilling automation
- Double the X and Y travel speeds
Technical Specifications
|
Technical Specifications
|
Imperial
|
Metric
|
|---|---|---|
| Swing Over Bed | Ø8" | Ø203mm |
| Center Width | 9" | 228mm |
| Spindle Bore | Ø1" | Ø26mm |
| Spindle Speed Range (rpm) | 0"-177" | 0-4500 mm |
| Lathe Chuck | Ø4" | Ø101mm |
| Tool Changer Type | Electric | |
| Number of Tool Position | 8 with ½" shank external tools | |
| Tool Holder | 4 Boring Tool Holders, ¾" Shank | |
| Max Section of Tool | 0.47" x 0.47" | 12x12mm |
| X Travel | 7.09" | 180mm |
| Z Travel | 8.85" | 225mm |
| X Axis Speed | 500in/min | 12,700 mm/min |
| Z Axis Speed | 500in/min | 12,700 mm/min |
| Position Accuracy | X:±0.05mm,Z:±0.03mm | |
| Repeat Position Accuracy | X:±0.02mm,Z:±0.02mm | |
| Tailstock Taper | MT2 | |
| Tank Capacity | 10Gal / 38L | |
| Total Connection | 4.4KW | |
| Servo Motor | Yaskawa 400W AC | |
| Main Motor Power | 2.6KW / 3.5HP | |
| Main Motor (rpm) | 4500 | |
| Coolant Pump Power | 1/8 HP | |
| Power Requirements | 220V VAC 20A | |
| Pneumatic (Air) Requirement | Compressed Air Connection 90PSI Consumption: 87L / min (3cfm) |
|
| Weight | 810 lbs. | 368.2 kg |
| Dimensions (LxWxH) | 43.8" x 26.7" x 39" | 1112 x 678 x 991 mm |
FAQs
The elastic limit also referred to as the point at which the tensile force induces permanent deformation, will eventually be reached by any material that is tested. The force required to push material to this limit is known as its yield strength. Because highly brittle materials like glass or ceramics would break under stress before they display any flexibility, they do not have a clearly defined yield point. Lower yield strengths of more fragile metals make them less useful in many industries. A metal is essentially useless if it is engineered to be so fragile that it is impossible to know where its yield point is.
Only small amounts of heat are delivered to the material when utilizing a CNC machine. Additionally, throughout the cutting operation, machine coolant is applied to the working area of the specimen. Because burns are no longer a concern, using CNC mills with any material whose properties may be altered by heat is particularly advantageous. Several metals are included in this, along with plastics, acrylics, composites, and laminates.
The repeat position accuracy of NextGen’s TensileTurn CNC – Round Tensile Sample Preparation Machine is X:±0.02mm,Z:±0.02mm.
Click here to receive a personal quote from our team.
High-speed eccentric presses were once employed to prepare specimens. The cold hardening effect of eccentric presses runs deeply into the material, up to around 35% of the specimen's thickness, causing unacceptable levels of damage to specimen edges. The result is excessive compression and deformation of the material, which necessitates cold working to strengthen it.
A metal is strengthened using a technique called cold working, sometimes called plastic deformation, in which its shape is altered without heat. Mechanical stress is applied to the metal, permanently altering its crystalline structure.
Cold working is done at relatively low temperatures, as the name suggests. It is done specifically below the metal's recrystallization point for the specific metal. The most typical materials to be cold-worked are pliable metals like copper and aluminum.
The position accuracy of NextGen’s TensileTurn CNC – Round Tensile Sample Preparation Machine is X:±0.05mm,Z:±0.03mm.
Click here to receive a personal quote from our team.
Numerous businesses depend heavily on the tensile testing of materials. Thus, it is equally crucial to prepare test specimens. It is costly if a material fails a test that it should have passed and possibly catastrophic if it passes a test that it should have failed. If a specimen is improperly prepared, the test results will be erroneous.
The quality and accuracy of the specimen's test results depend heavily on how it was sliced. The sample must be free of any nicks or rough edges. A specimen's tensile strength, ability to provide consistent tensile results, and ability to produce test findings that are comparable to those of other similar specimens can all be negatively impacted by even a minor deformation of this kind.
Once a specimen has been properly sliced, it must be handled carefully. The specimen may nick from dropping, hitting, or another improper handling, which will affect testing much like a bad cut would.
The pneumatic (air) requirements for NextGen’s TensileTurn CNC – Round Tensile Sample Preparation Machine are Compressed Air Connection 90PSI, Consumption: 87L / min (3cfm).
Click here to receive a personal quote from our team.
Given the higher tensile strength, cold working can initially appear to be better. However, finding a material with enough tensile strength is typically not as challenging as finding one with enough flexibility for a specific function.
Any material tested will eventually hit the elastic limit, commonly known as the point at which the tensile force causes permanent deformation. The yield strength of a material is the amount of pressure needed to drive it to this limit. A highly brittle material does not have a clear yield point because when stressed, highly brittle materials like glass or ceramics will break before they exhibit any flexibility. More brittle metals have lower yield strengths, which makes them less usable in many industries. If a metal is made so brittle that it cannot be determined where its yield point is, it is essentially useless.
The power requirements for NextGen’s TensileTurn CNC – Round Tensile Sample Preparation Machine is 220V VAC 20A.
Click here to receive a personal quote from our team.
Cutting a sample from a bigger piece of material is one example of a metal-removal procedure that produces heat due to friction. About one-third of the heat generated during cutting is produced by external friction, or metal-to-metal contact, and two-thirds by internal friction or the resistance of metal atoms to movement in the shear zone.
When coolant is used, the atoms of chlorine, sulphur, and phosphorous in the coolant enter the microscopic fissures in metallic surfaces. This lowers the power required to manufacture a chip by preventing metal atoms from re-bonding during the cut. The area of the shear plane is also reduced by lubricating the chip/tool and tool-flank/cut-surface interfaces. The power needed to create a chip reduces along with that area, as does the amount of heat produced. In this approach, the lubricant lessens internal and exterior friction to a lesser amount.
The Coolant Pump Power of NextGen’s TensileTurn CNC – Round Tensile Sample Preparation Machine is 1/8 HP.
Click here to receive a personal quote from our team.
The original sample must be verified as the source of each specimen. The gauge length must be marked on the shortened part of the bar before testing if total elongation is going to be calculated after the specimen breaks. Equipment must be correctly matched to the test in question as part of the test setup.
The testing machine must meet three requirements:
- Have enough force to break the test specimens.
- Be able to control the test speed (or strain rate or load rate), as specified by the test specification.
- Have enough precision and accuracy to accurately measure and record the load and extension data produced by the test.
Current calibration certification should guarantee this precision and accuracy. There are just two requirements for grips, of which several different types are frequently used in tensile testing: the grips must fit the specimens appropriately (or vice versa), and they must have enough force capability to prevent damage to the specimens during testing.
NextGen’s TensileTurn CNC – Round Tensile Sample Preparation Machine main motor RPM is 4500.
Click here to receive a personal quote from our team.
A "sample" is a quantity of material that symbolizes a larger lot. It should be kept in mind. Typically, the sample is divided up into several "specimens" for testing. To get accurate findings, test samples must be properly prepared. For general guidance, the rules listed below are recommended. Each sample should be identified when it is taken in terms of the material, the source, the location and orientation relative to the body of the sample, the processing status at the time of sampling, the data, and the time of day.
Second, test specimens must be meticulously manufactured, paying close attention to several factors. The specimen axis must be correctly positioned in relation to the grain pattern in forging, the direction of material rolling, or the composite layup. Reduce the amount of time the test section is left idle. The specimen's dimensions must stay within the permissible limits set forth by the test technique. The specimen's attachment points at each end must line up with the bar's axis.
NextGen’s TensileTurn CNC – Round Tensile Sample Preparation Machine main motor power is 2.6KW / 3.5HP.
Click here to receive a personal quote from our team.
When a material is tested, the goal is often to establish whether the material is acceptable for the use for which it is designed. The sample being tested must accurately represent the subject matter under consideration. In other words, it needs to come from the same place and go through the same processing steps. It is frequently challenging to match the test samples to the material's structure perfectly.
The addition of extra material to the item for use as "built-in" test samples is a frequent method for testing big castings, forgings, and composite layups. After processing, this material is removed from the finished part and used to create test specimens that have gone through the same stages as the majority of the part.
These specimens might not precisely match the majority of the component in some crucial characteristics, such as the grain patterns in crucial forging locations. One or more whole pieces may be sacrificed to collect test samples from the most crucial sections for comparison with the "built-in" samples.
NextGen’s TensileTurn CNC – Round Tensile Sample Preparation Machine tank capacity is 10Gal / 38L.
Click here to receive a personal quote from our team.
The comprehensive Carbon software is another TensileTurn CNC - Round Specimen Preparation CNC machine feature. This feature enables more experienced operators to programme the TensileTurn CNC for general applications like cutting, sanding, knurling, drilling, facing, or turning.
Standard round tensile specimens, sub-size specimens, threaded tensile specimens, button-head tensile bars, fatigue specimens, and other round testing specimens can be prepared by TensileTurn CNC. Simply loading the machine with either round, square, or irregular stock is all that is needed from the operator.
Preparation of Round Specimens with TensileTurn CNC The use of a CNC machine enables your laboratory staff to prepare their tensile specimens that are available for testing in a matter of minutes without having to wait for your machining centre. TensileTurn CNC stands out for producing high-quality tensile specimens and being simple to operate. For better tensile testing outcomes, it permits the quick machining of accurately measured round and button head specimens.
Click here to receive a personal quote from our team.
Our full Carbon software is included with our simple touchscreen controller. We have 64 GB of storage, 4 GB of RAM, WiFi, Ethernet, USB connections, macro B programming, 254 tool offsets, 126 work offsets, helical interpolation, drilling canned cycles, scaling and mirroring, advanced trajectory planning, cutting-edge dual mode cutter compensation, and more in our control systems.
The MACH4 Industrial CNC Software, which is utilized for expert CNC Control functions, is accessible through Carbon along with the tensile milling software interface. Every TensileMill CNC system comes with updates at no additional cost, and our Carbon software is continually getting updated with new capabilities.
Click here to receive a personal quote from our team
It is preferable to plot the data in terms of actual stress and true strain if the results of tensile testing are to be used to forecast how a metal will respond to other types of loading.
True stress and strain differ very little from engineering stress and strain at very low strains. Whether Young's modulus is described in terms of engineering or actual stress and strain, it doesn't really matter.
The fact that these phrases only hold true when the distortion is uniform must be noted.
Here are the features of NextGen’s TensileTurn CNC – Round Tensile Sample Preparation Machine:
- Granite frame and balls crews – robust and shock absorbent frame offering a stable foundation for industrial grade high speed machining
- Stainless steel enclosure
- 4500 RPM 3.5 HP (2.6kW) Motor
- 8 position turret, 1/2" shank OD tools
- 4 Boring tool holders, 3/4" shank
- Servos: Yaskawa 400W AC Servo
- Center drilling automation
- Double the X and Y travel speeds
Click here to receive a personal quote from our team.
When a specimen is installed in a tool, like those described in the section before, for a tensile test, tension is applied to the specimen. The tensile force is gauged and recorded as the gauge length increases.
In general, electromechanical machines can have a wider range of test speeds and longer crosshead displacements, although hydraulic machines are more economically effective at delivering higher forces.
TensileTurn CNC – Round Tensile Sample Preparation Machine has a very straightforward chip removal process.
Estop the machine -> Open the door -> Remove the chips.
Safety Note:
Please wear proper personal protective equipment for handling machining chips.
Click here to receive a personal quote from our team.
Universal testers, which test materials in tension, compression, or bending, are the most popular testing equipment. Their main job is to produce the stress-strain curve that is discussed in the chapter's next section. Both hydraulic and electromechanical devices are used for testing.
The way the load is applied makes the biggest difference. A variable-speed electric motor, a gear reduction system, and one, two, or four screws that raise or lower the crosshead are the foundation of electromechanical machines. This movement applies tension or compression to the specimen. The motor's speed can be altered to alter crosshead speeds. To precisely regulate the crosshead's speed, a closed-loop servo system powered by a computer can be used.
In a manually operated machine, the loading rate is controlled by adjusting the aperture of a pressure-compensated needle valve. For precise control in a closed-loop hydraulic servo system, the needle valve is swapped out for a servo valve that is electrically controlled.
Typically, the bench is listed as optional equipment in the Round Tensile Sample Preparation System quotation.
The bench is 48x42x38 inches in size and weighs 248 pounds (113 kg) (122 x 107 x 97cm).
Click here to receive a personal quote from our team.
Software Support and Spare Parts:
NextGen offers a number of unique benefits, including the fact that all of its CNC machines are built to be simple and affordable to maintain. The consumables (inserts and fixtures) that are often kept on hand are spare components. We'll give you a sufficient number to start with and typically toss in a few extras as a bonus during promotions. As an alternative, you can purchase them elsewhere because they are not proprietary. The only advantage of ordering from TensileMill is that we are confident that the products we provide will serve you better and last longer.
Above all, since all software upgrades are free for life, you won't need to be concerned about any unanticipated costs related to software.
Maintenance of machines:
An operational handbook is included as standard equipment with the units to support your maintenance programme. The appliance takes very little maintenance and is quite typical. It is often advised to run the machine every few days.
The TensileTurn systems' consumables include the following:
Fixtures & Inserts:
The device is pre-equipped with all of the fixtures and inserts necessary for the particular sorts of material you are using. This is a component of our turnkey system package. The BONUS part of the estimate usually includes additional inserts and fixtures.
Coolant:
The system has a recirculating water-based coolant system as standard equipment. It is a water-based coolant that has been specifically developed for the materials being cut. For the tensile specimen preparation as well as other CNC machining requirements, we suggest Cim Cool, Hocut, and Blaser. All can be bought nearby.
Click here to receive a personal quote from our team.
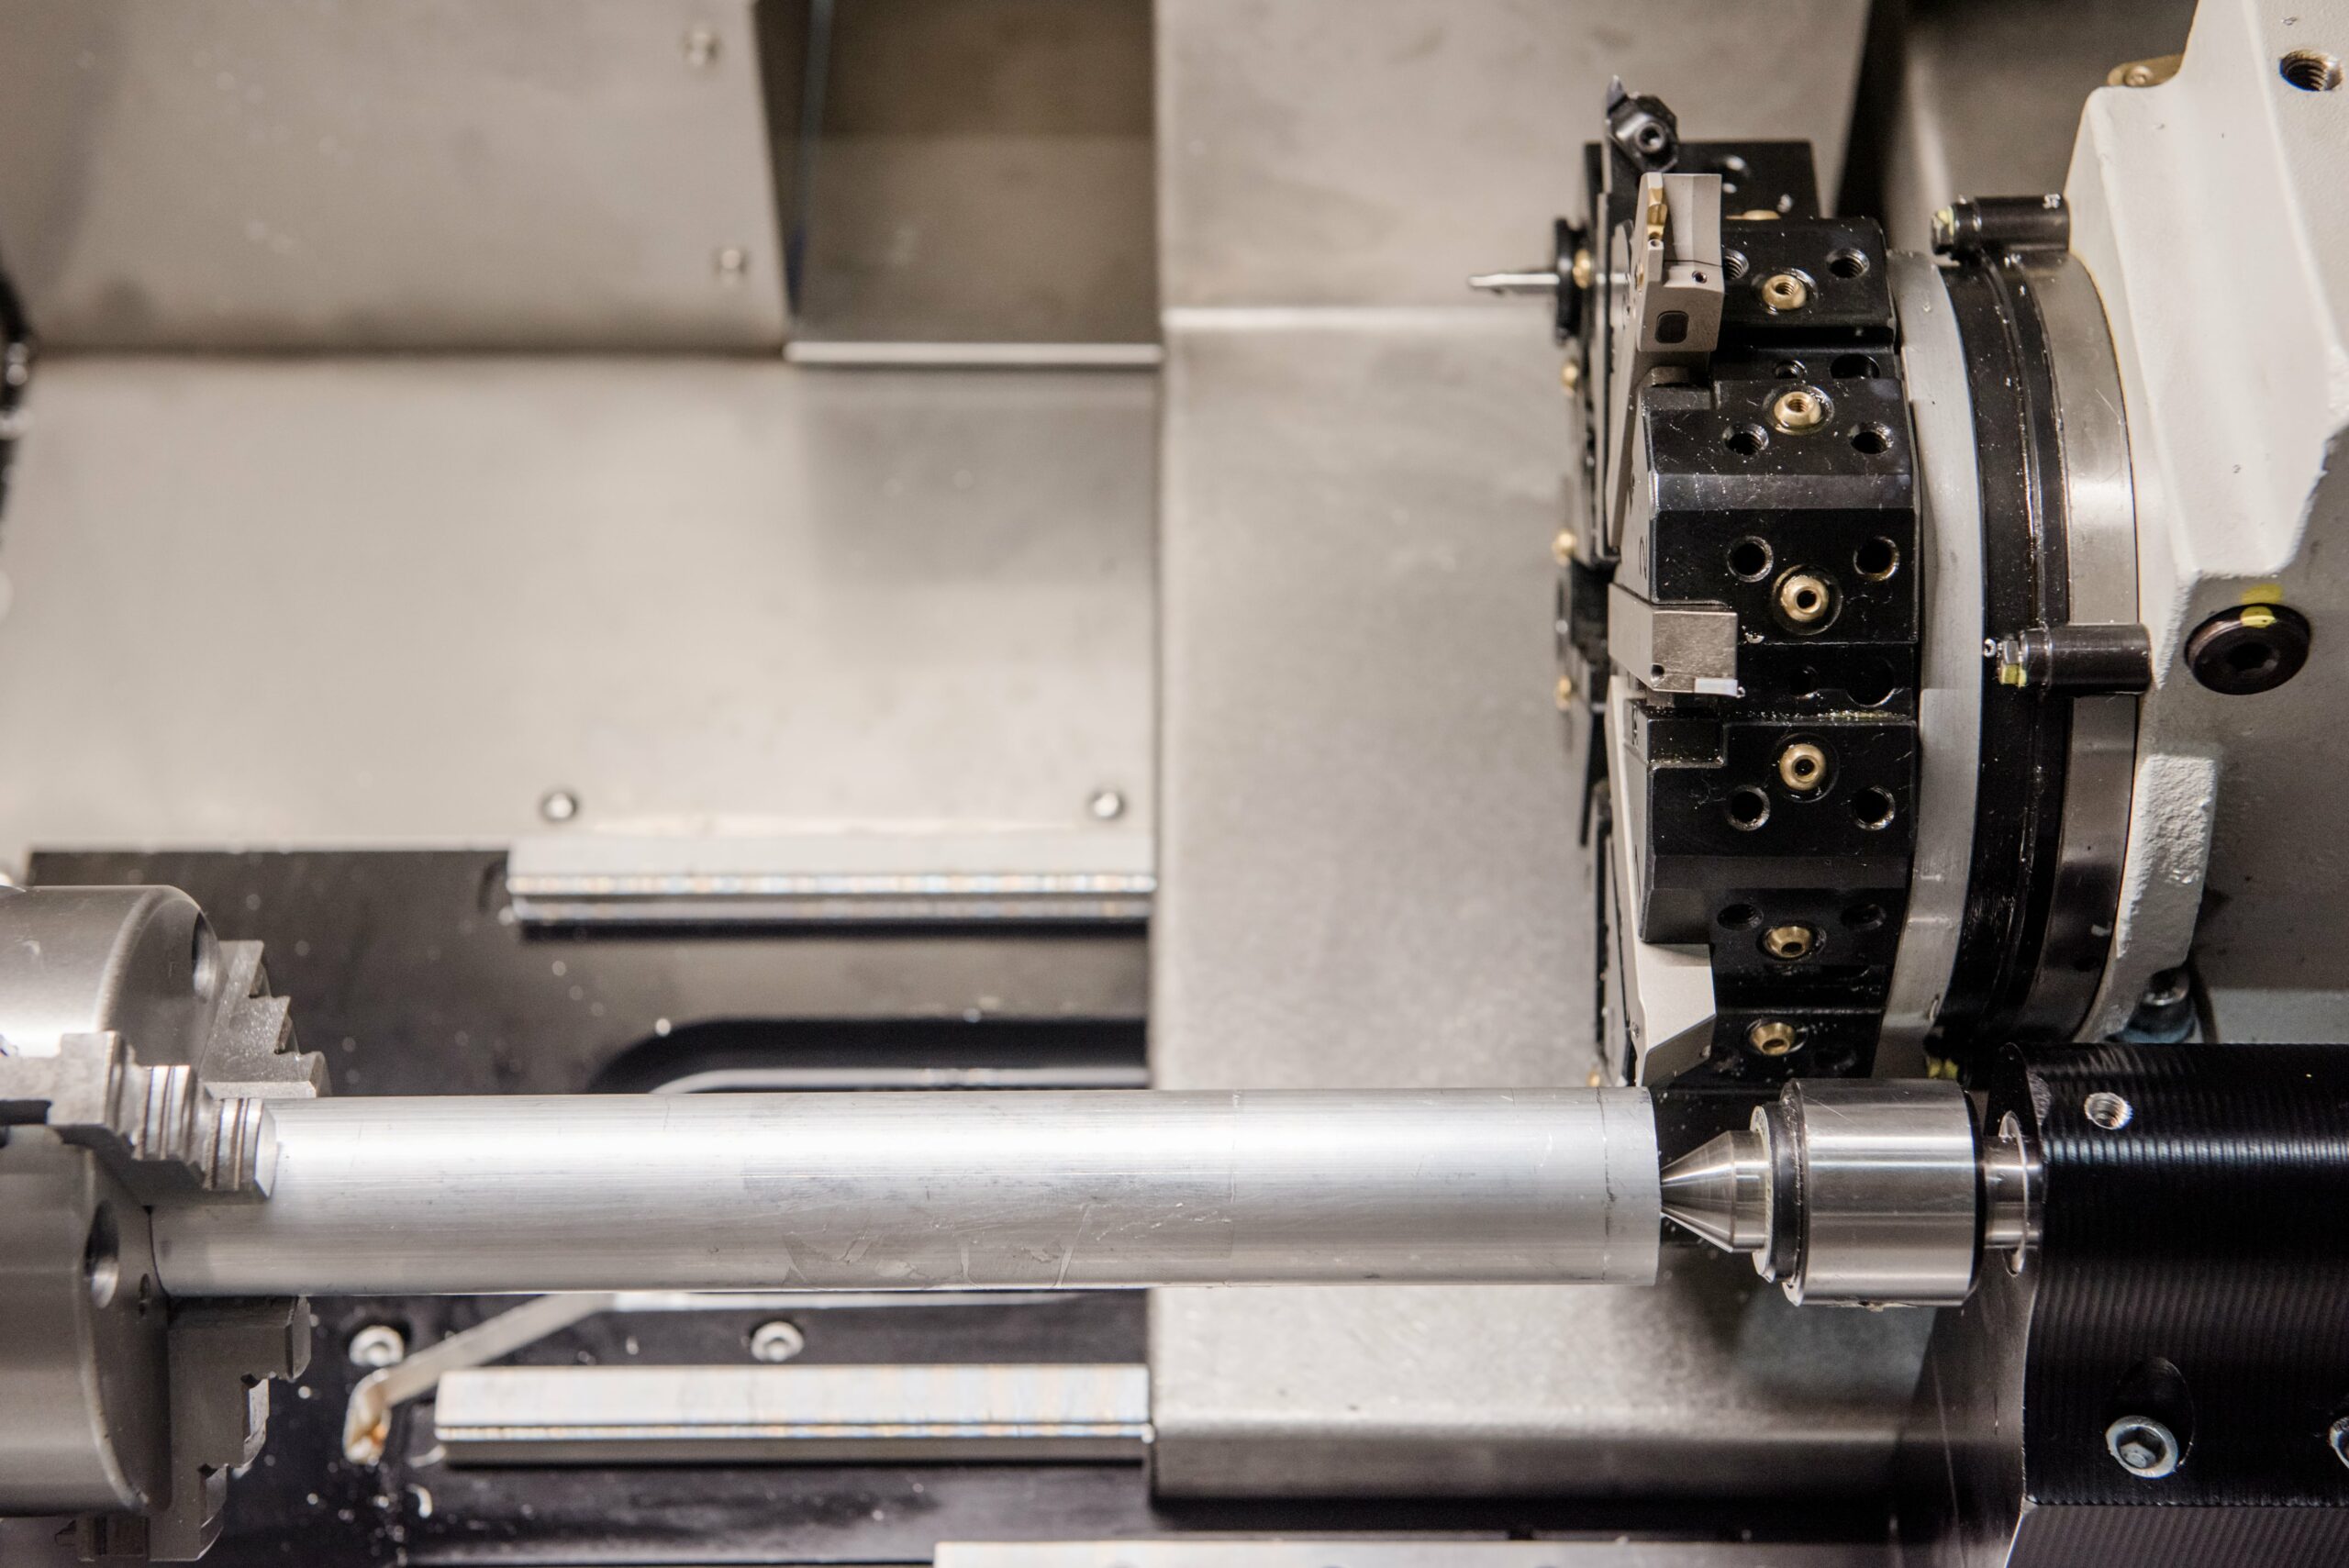
When a portion of the initial blank material is in the chuck and the other end is supported by the tailstock, the Industrial Upgrade method produces the best results. It's crucial to have enough material for the chuck to grip. We advise a length of between 1/2 and 3/4". For specimens with threaded ends, we strongly advise a little extra length.
Round Stock:
The system can handle specimens up to 4" in diameter and 12" in length if you are preparing tensile samples using round beginning blanks.
Square Stock:
The system can handle dimensions of 1 x 1 by 12" if starting blanks are prepared from square stock. Furthermore, specimens that are not perfectly square can be held securely in place by our square chuck. Minor discrepancies frequently happen when cutting a sizable sample on a band saw without precision tools. We constantly encourage our clients to send their samples to us so that we can be ready to give you the utmost peace of mind to ensure that our systems are the appropriate fit for you. This service is offered without charge.
Irregular stock:
If your specimens have an odd stock shape, we will need a picture to provide a unique solution that will satisfy your needs for both short- and long-term tensile sample preparation.
Click here to receive a personal quote from our team.
NextGen gives its customers a standard 1-day installation and training session. Due to the nature of the lathe systems used for preparing tensile samples, we advise at least one day of training to guarantee that all operators are proficient in using TensileSoft™, our tensile sample preparation software, for the quickest and best outcomes. NextGen Test is all about continuous innovation and, as a result, cost savings for our customers.
Training and installation videos may be requested to determine whether formal training is still necessary. As far as we know, formal and installation training are not necessary for CNC machinists with moderate to advanced competence. They can get away with a remote session over Skype or even a phone call.
Click here to receive a personal quote from our team.
The gauge section is the crucial component of the specimen. The gauge section's cross-sectional area is less than the rest of the specimen, so localized deformation and failure will occur here. The measurement area, which is centrally within the shortened section, is known as the gauge length. The gauge length should be long compared to its diameter, and the distances between the ends of the gauge section and the shoulders should be sufficient to prevent the bigger ends from restricting deformation within the gauge section. If not, there will be more in stress state than just tension.
Making sure that the specimen can be held at the maximal load without slippage or failure in the grip portion is the primary consideration when choosing a gripping technique. Bending ought to be avoided.
The Industrial Upgrade round tensile specimen preparation model has a repeatability & precision of 0.0003". The most recent improvements will increase this amount, ensuring that your tensile dog bones will be prepared in accordance with almost any international industrial standard.
Click here to receive a personal quote from our team.
Tensile Tests are performed for a variety of purposes. Tensile test findings are taken into consideration when choosing materials for engineering purposes. To guarantee the quality, tensile qualities are commonly mentioned in material specifications. To compare various materials and processes, tensile characteristics are frequently tested while developing novel materials and procedures.
Finally, tensile characteristics are frequently employed to forecast a material's behaviour under loading conditions other than uniaxial tension. A material's strength is frequently the main issue. The maximum stress that the material can sustain or the stress required to significantly distort it plastically are two ways to express the strength of an object of interest.
In engineering design, these strength measures are applied with the proper caution (in the form of safety factors). The material's ductility, which measures how much it can be deformed before breaking, is also interesting.
Ease of use and maintenance are key considerations in the design of every TensileMill equipment. You may extend the life of your system by keeping it clean, monitoring and replenishing fluids as needed, and operating it consistently.
Click here to receive a personal quote from our team.
Tensile testing is essential for the characterization of the materials' behaviours. It is performed by applying a continuously increasing tensile force to the major axis
A stress-strain curve that shows the relationship between engineering stress and strain is the principal result of the tensile test. Since the tensile force causes a little reduction in the sample's cross-section, the true or actual stress is slightly different from the stress shown on the stress-strain curve.
The ratio of the applied load P to the cross-sectional area is used to compute stress (A). The simultaneous measurements of the changes in length and area serve as inputs for computing the parameters needed to build the stress-strain curve.
One of the finest methods to achieve the peace of mind you seek is to send your specimens to our facility for proper tensile sample preparation. Our aim is for you to feel completely at ease using our system. We'll take photos of your samples before and after we prepare them, make a video of the procedure, and then send the finished tensile samples back to your plant for quality control. The best part is that you can use this service at no cost to you!
Click here to receive a personal quote from our team.
The most popular method for determining a structural material's sensitivity to HE is tensile testing with smooth specimens. Since yield strength (YS) is rarely impacted and ultimate tensile strength (UTS) and elongation (El) are typically less impacted, the reduction of area (RA) is typically utilized to quantify HE. The relative reduction of area (RRA), which indicates the ductility loss caused by hydrogen compared to a reference specimen, is a common way to quantify HE. Unfortunately, neither RA nor RRA is valued for strength-based calculations. Hence it is impossible to build safe-life components using these data. Therefore, smooth bar tensile testing is only appropriate for classifying a material's sensitivity to HE.
According to standards like ISO 527-4, ISO 527-5, ASTM D 638, ASTM D 3039, and ASTM C 297, basic tension or flat tension testing is the most common type of tensile testing for composite materials. Tensile modulus can be calculated using the stress-strain graphs created by these tests.
The minimum specifications for the TensileTurn CNC – Round Tensile Sample Preparation Machine are 220V 1ph VAC 20A. This spherical specimen preparation equipment also needs air with a 90 psi tailstock pressure.
Click here to receive a personal quote from our team.
Tensile testing is a destructive test method that reveals details about the metallic material's tensile strength, yield strength, and ductility. It assesses the stretch or elongation a composite or plastic specimen must undergo to reach its breaking point.
When compared to other industrial-grade CNC machining equipment, the TensileTurn CNC - Industrial Upgrade model has an incredibly small footprint. The system can withstand "genuine hammering" thanks to its cutting-edge design and super-shock-absorbing granite frame, and it provides the best solution for round, square, and irregular tensile specimen preparation demands for a wide range of metal materials up to 55 HRC hardness. The whole system weighs only 810 lbs. and measures 43.8" x 26.7" x 39" (1112 x 678 x 991 mm) (368.2 kg)
Since it can fit beneath the work table, the coolant tank doesn't take up any additional space.
Click here to receive a personal quote from our team.
Preparation of Round Specimens with TensileTurn CNC The use of a CNC machine enables your laboratory staff to prepare their own tensile specimens that are available for testing in a matter of minutes without having to wait for your machining centre.
The type and symmetry of the materials used to create the beginning blanks for your tensile sample preparation significantly impact fixtures and holders. For your tensile specimens, lathe systems have a wide range of alternatives. Our knowledgeable CNC advisors will select and provide the exact consumables for the job according to the types of materials you are looking to prepare.
The opportunity to prepare your tensile specimens before making a financial investment in our equipment is one of the benefits provided by TensileMill CNC. Your samples will then be able to be turned in by our production engineering team, who will then be able to make the finest suggestions for the inserts and fixtures that will work best. For our clients, this service is provided at no cost.
Click here to receive a personal quote from our team.
TensileTurn CNC can machine specimens up to 5" in diameter (up to 1" by 1" squares) and up to 8" in length in just a few easy steps by selecting a common tensile size from our library of common standards (ASTM, ISO, DIN, etc.) or by entering your own specifications on the touch screen number keypad.
The award-winning touchscreen tensile milling interface on the TensileTurn CNC enables any user, regardless of machining expertise, to prepare tensile specimens in the desired size swiftly.
With our TensileSoft ™, which is fully integrated into TensileTurn CNC - Industrial Upgrade, it is possible to quickly and precisely prepare the majority of tensile dog bone standards. You can correctly and repeatedly prepare ASTM, ISO, DIN, and JIS standards with a few button presses, with no further machining. The dimensional symmetry and clean surface finish will always meet your requirements, making them easily accessible for your tensile testing machine operations.
Click here to receive a personal quote from our team.
The TensileTurn CNC - Industrial Upgrade Model Round Specimen Preparation is a compact automatic CNC lathe created to create precise round tensile specimens for the maximum degree of tensile result accuracy.
The systems from TensileMill are made to provide the best possible tensile sample preparation equipment that is simple to use, accurate, and repeatable. Of course, in order to prevent making costly errors when operating a lathe system, operators should always have at least a basic understanding of lathe operations.
We advise a minimum of one day of instruction for the TensileTurn CNC systems. The operators will be able to use the CNC lathe to quickly prepare their tensile dog bones thanks to this training. They will gain knowledge on how to use our collection of widely used standards, create irregular or round beginning blanks, enter new specimen dimensions into our user-friendly programme, and much more.
Click here to receive a personal quote from our team.
A tensile test's fundamental concept is to clamp a material sample between two fixtures known as "grips." The material's length and cross-sectional area are known quantities. The material is then put under the weight while the other end is fastened and held in place. As the weight (also known as the load or force) continuously increases, the sample's length is also measured.
A graph of load (amount of weight) versus displacement represents the test's outcome (the amount it stretched). It can be quite difficult to compare different materials because the weight required to stretch a material depends on its size (and, of course, its qualities). For those creating materials for structural applications where the material must withstand specific forces, the ability to make an accurate comparison can be crucial.
The requirements for the surface finish are typical of a top-notch CNC turning centre. The outcomes are 63 Ra or better in the vast majority of instances. When evaluating a surface finish, there are many things to remember.
Click here to receive a personal quote from our team.
Related Products
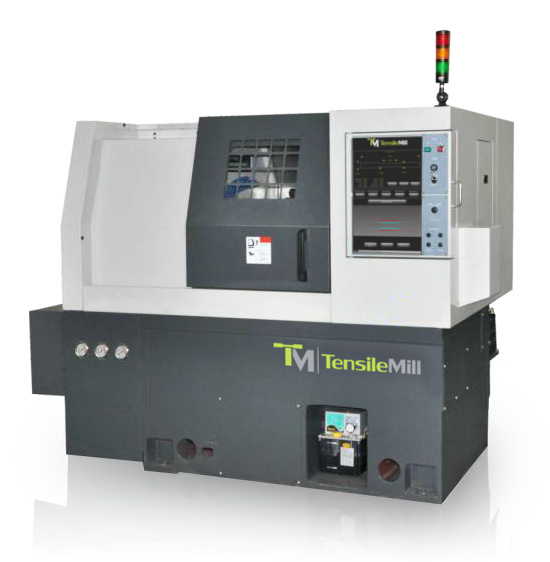
TensileTurn CNC XL - Heavy-Duty Round Specimen Preparation
TensileTurn CNC XL is the upgraded version of our TensileTurn CNC classic model. This powerful lathe is capable of turning round, square and irregular stock of tougher materials. The machine comes equipped with a robust tooling fixture, precision tailstock, and a high powered spindle. TensileTurn CNC XL is no doubt the ultimate round tensile test sample preparation machine capable of both tensile specimen preparation and advanced CNC machining. The unit is capable of meeting high capacity and high quantity output requirements for medium to large size laboratories and manufacturing facilities.
