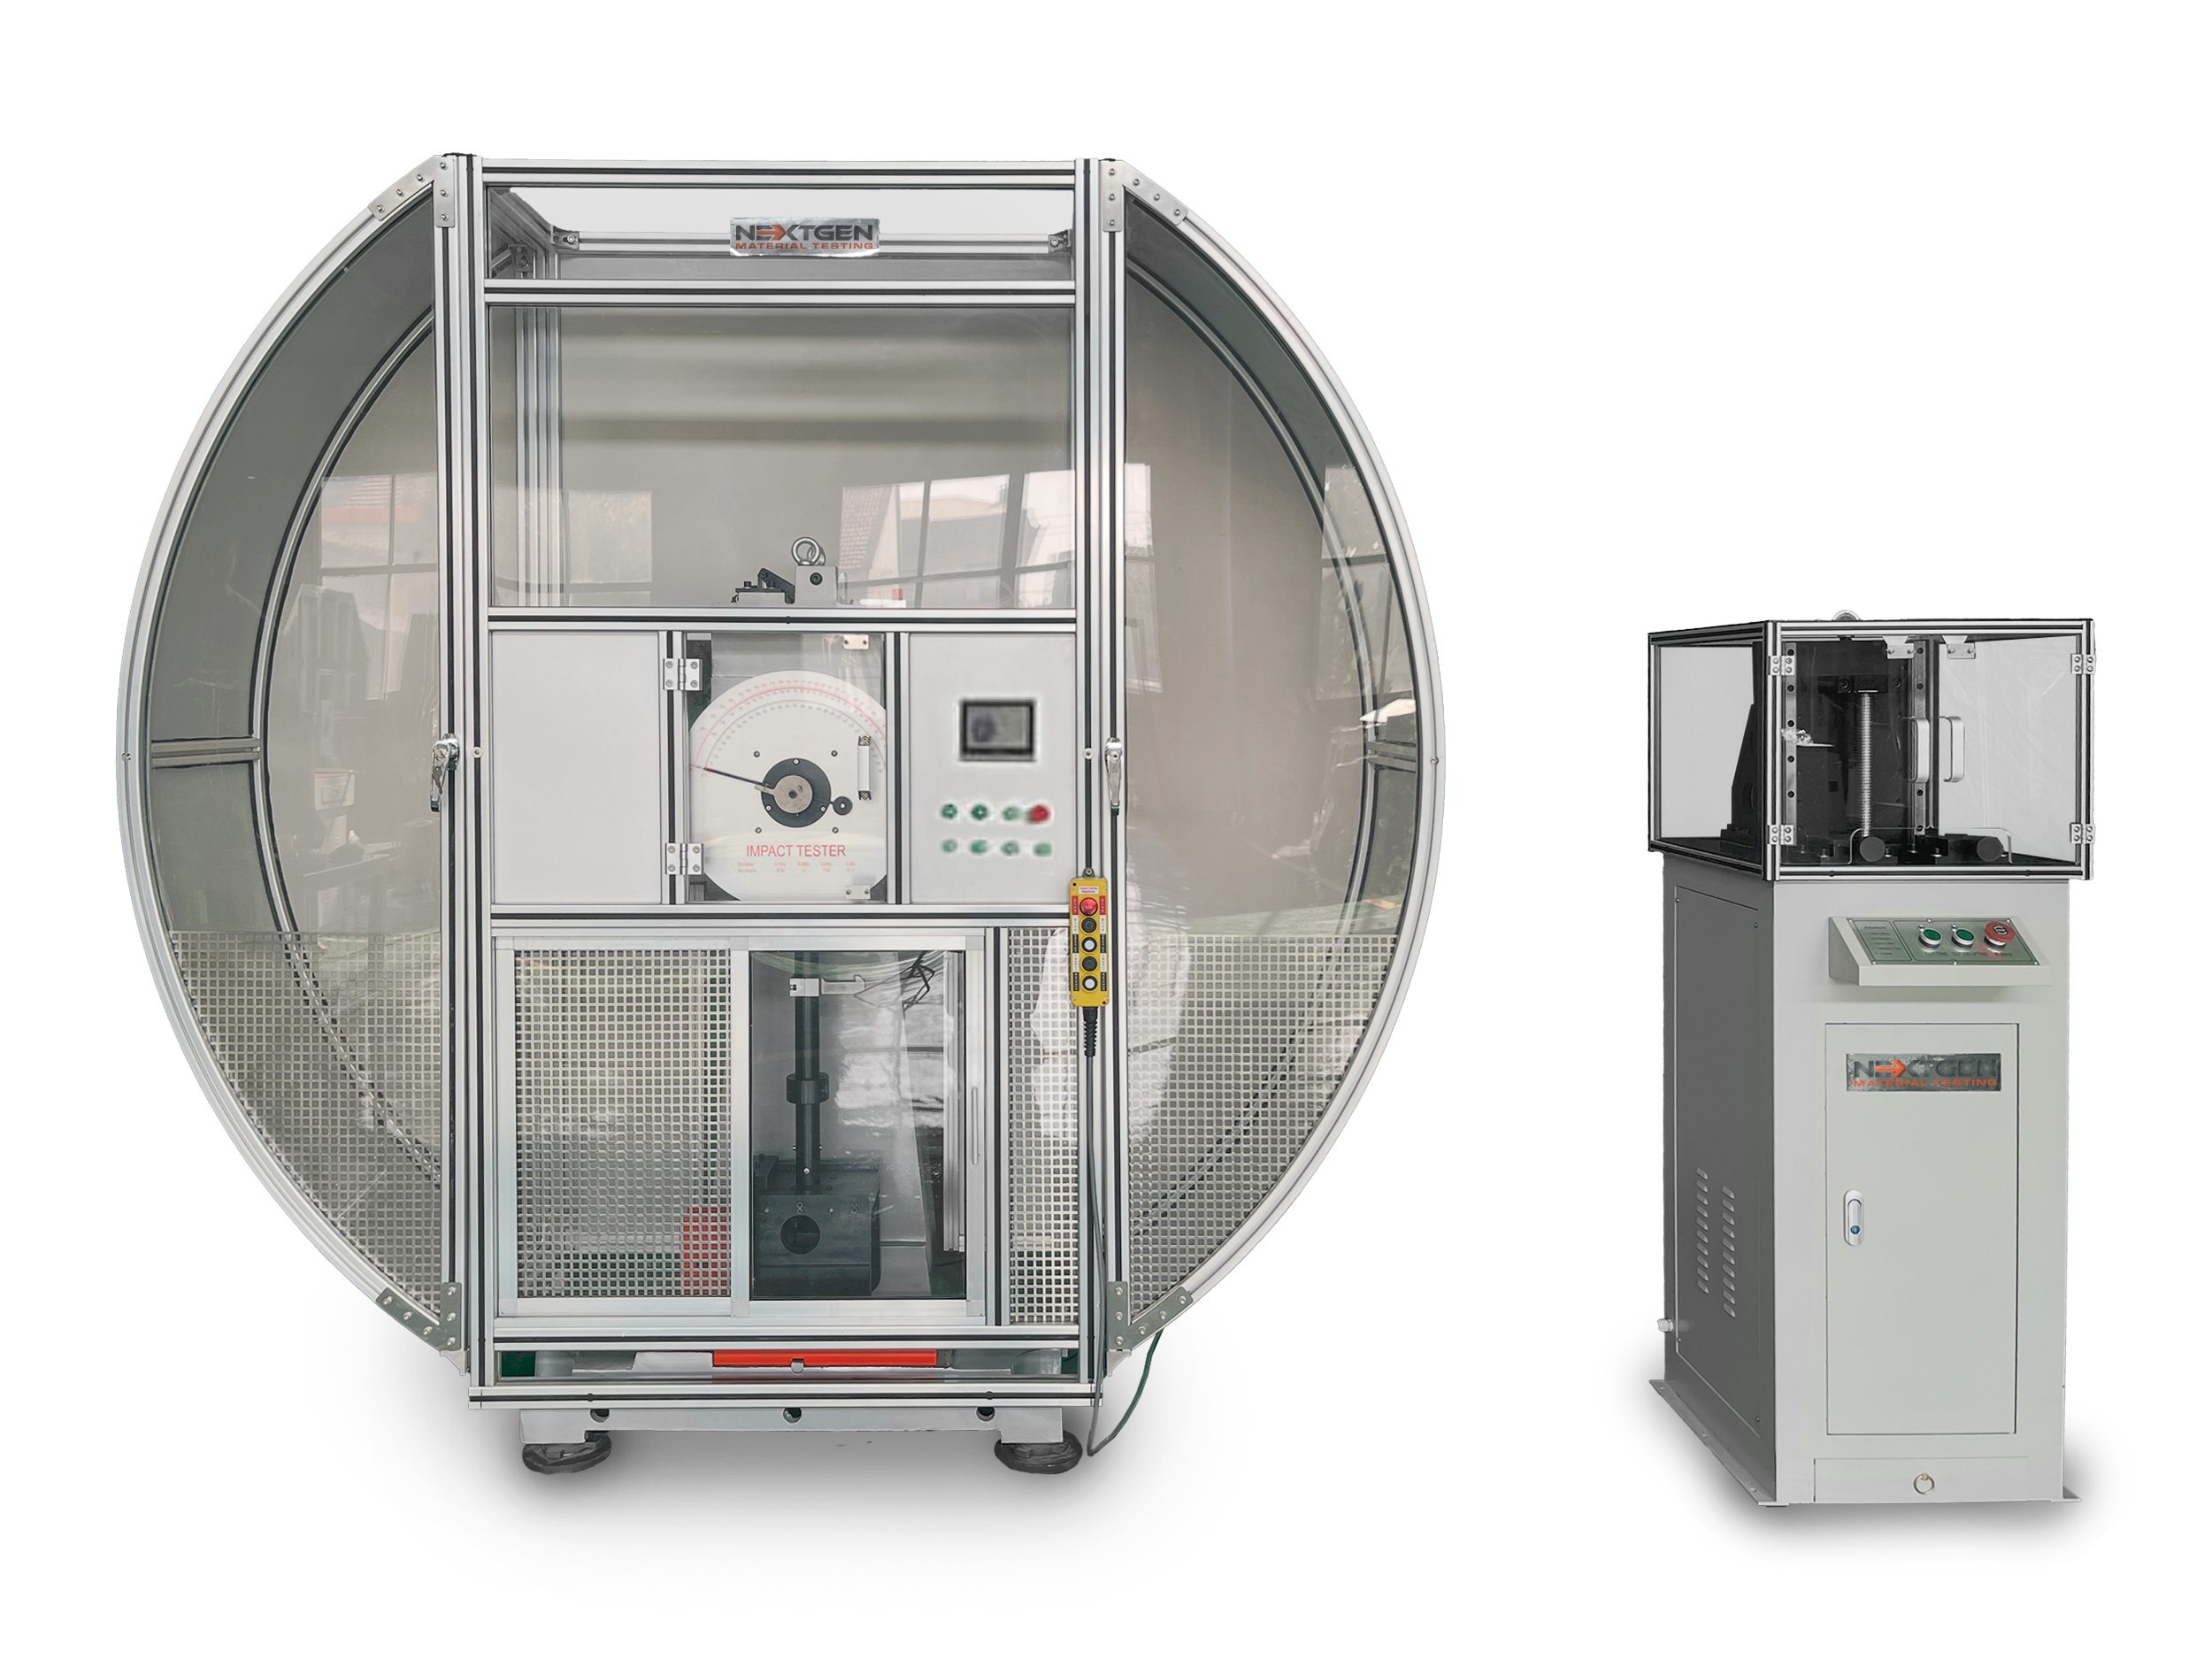
Metal Testing Equipment

Pendulum Charpy/Izod Impact Testing is a high strain-rate test to determine the amount of energy absorbed by a material during fracture.The Impact tester involves a pendulum of known mass and length which is dropped from a known height to strike an Impact Specimen. Impact specimens are of standard or subsize dimensions that can be found in a variety of industry standards including ASTM E23, ASTM A370, EN 10045-1 and ISO 148. Various strikers and specimen vises are available to suit all requirements of Charpy or Izod Testing. Specimens are notched using a broaching machine to specific dimensions and geometries. The energy transferred to the material after impact can be inferred by comparing the change in height of the hammer before and after striking the specimen.
Products
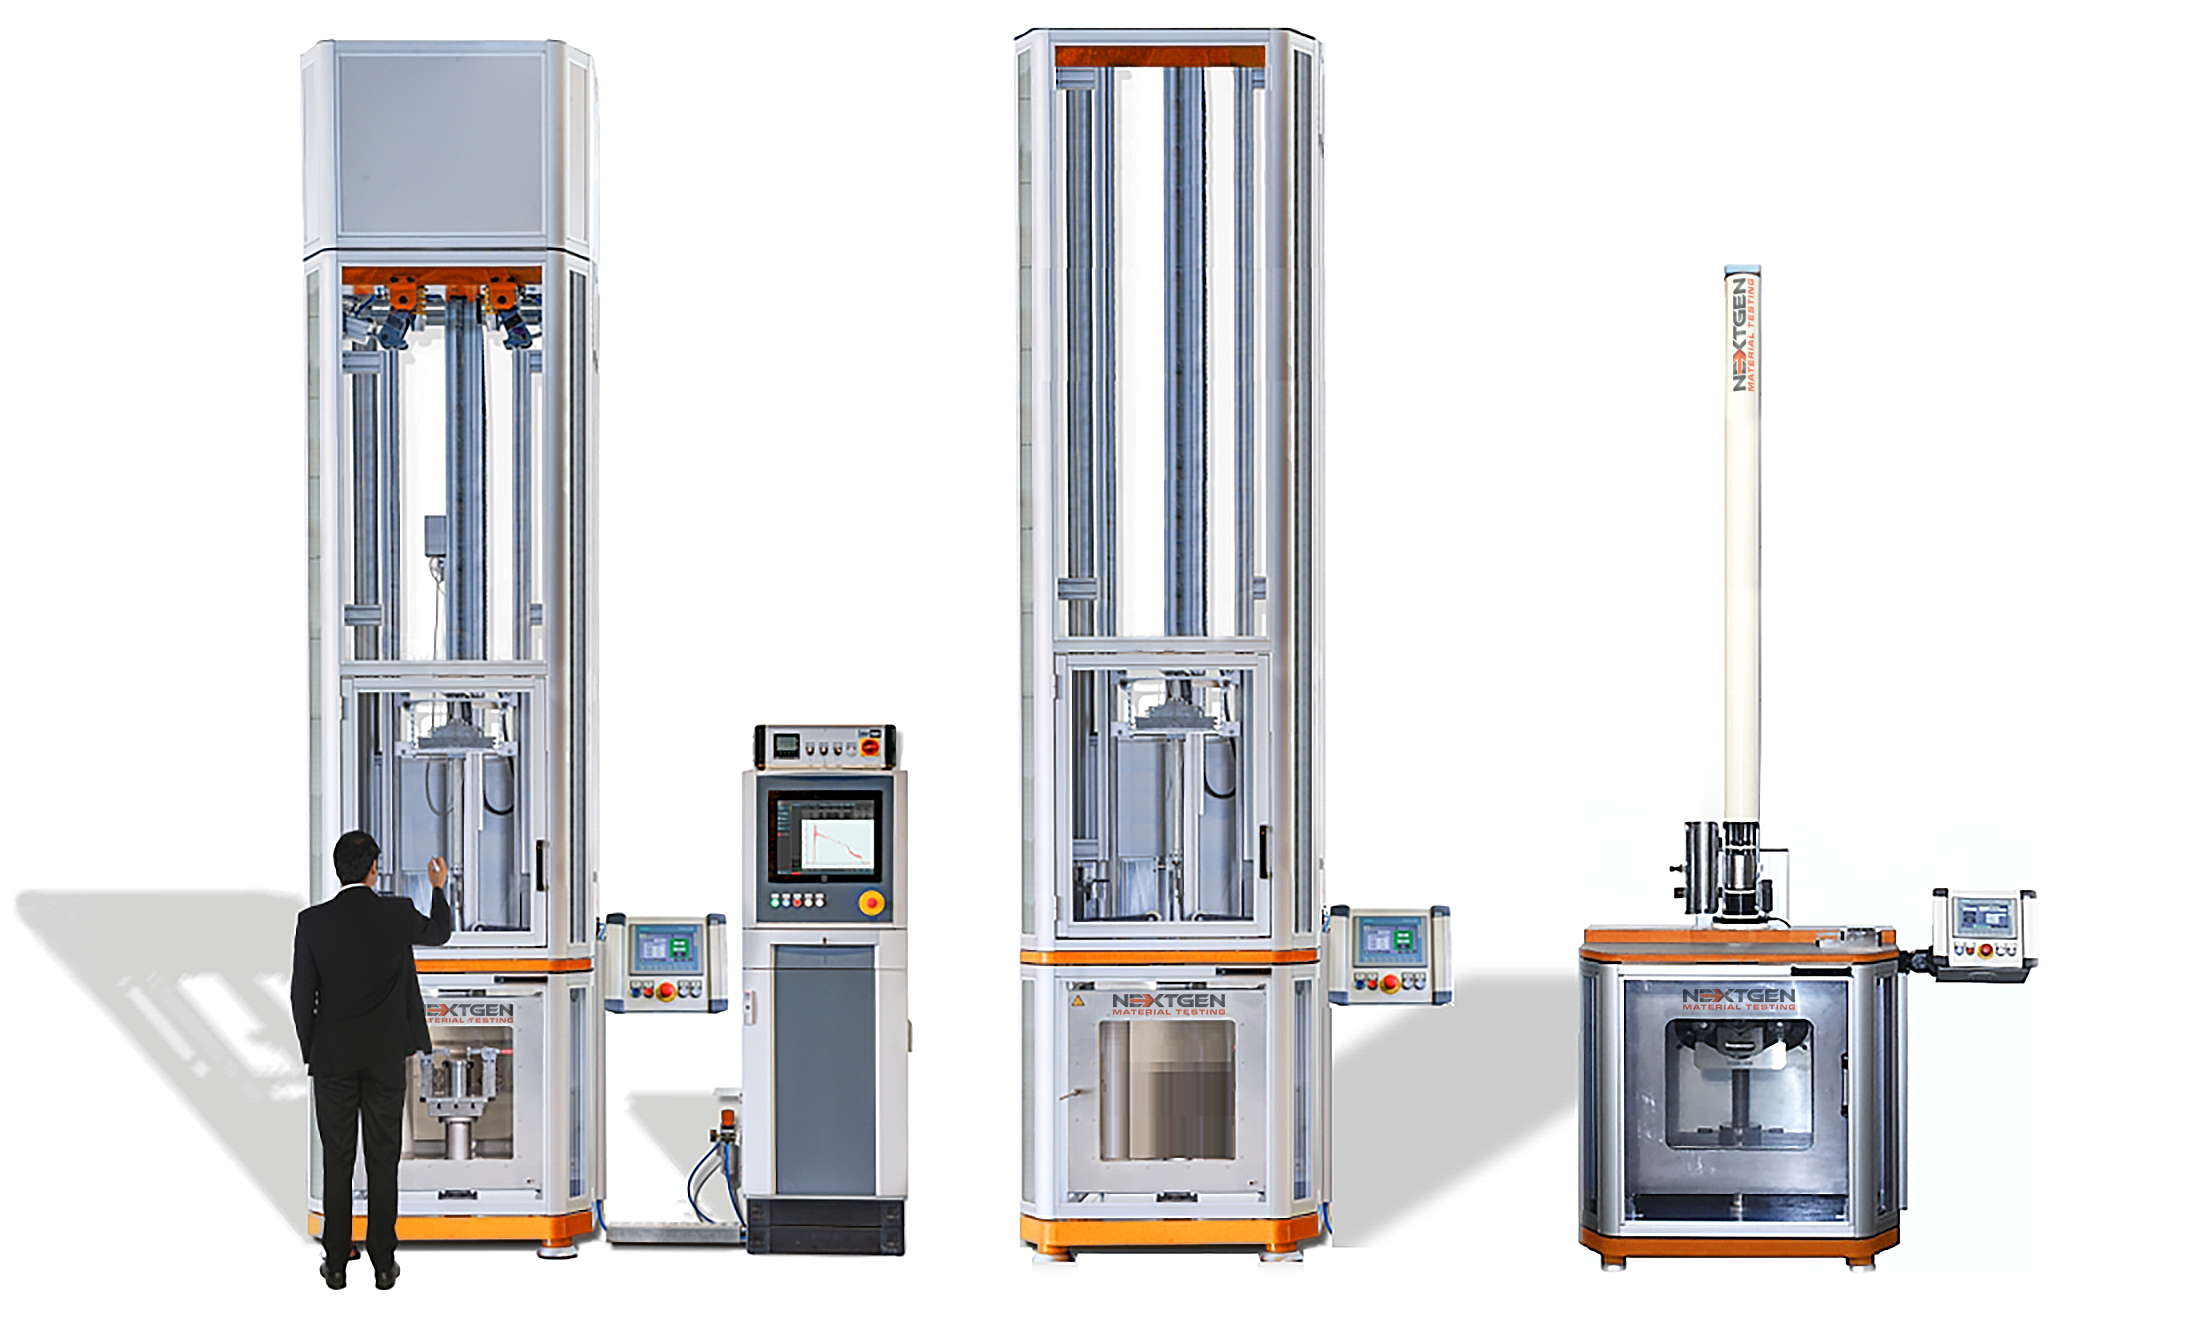
Low-capacity Vertical Drop Weight Testers Up To 2000J NG-FWT1 & NG-FWT2
Discover NextGen's NG-FWT1 & NG-FWT2 low-capacity drop weight testers (up to 2000J), designed for precise impact resistance testing of metals & non-metals.
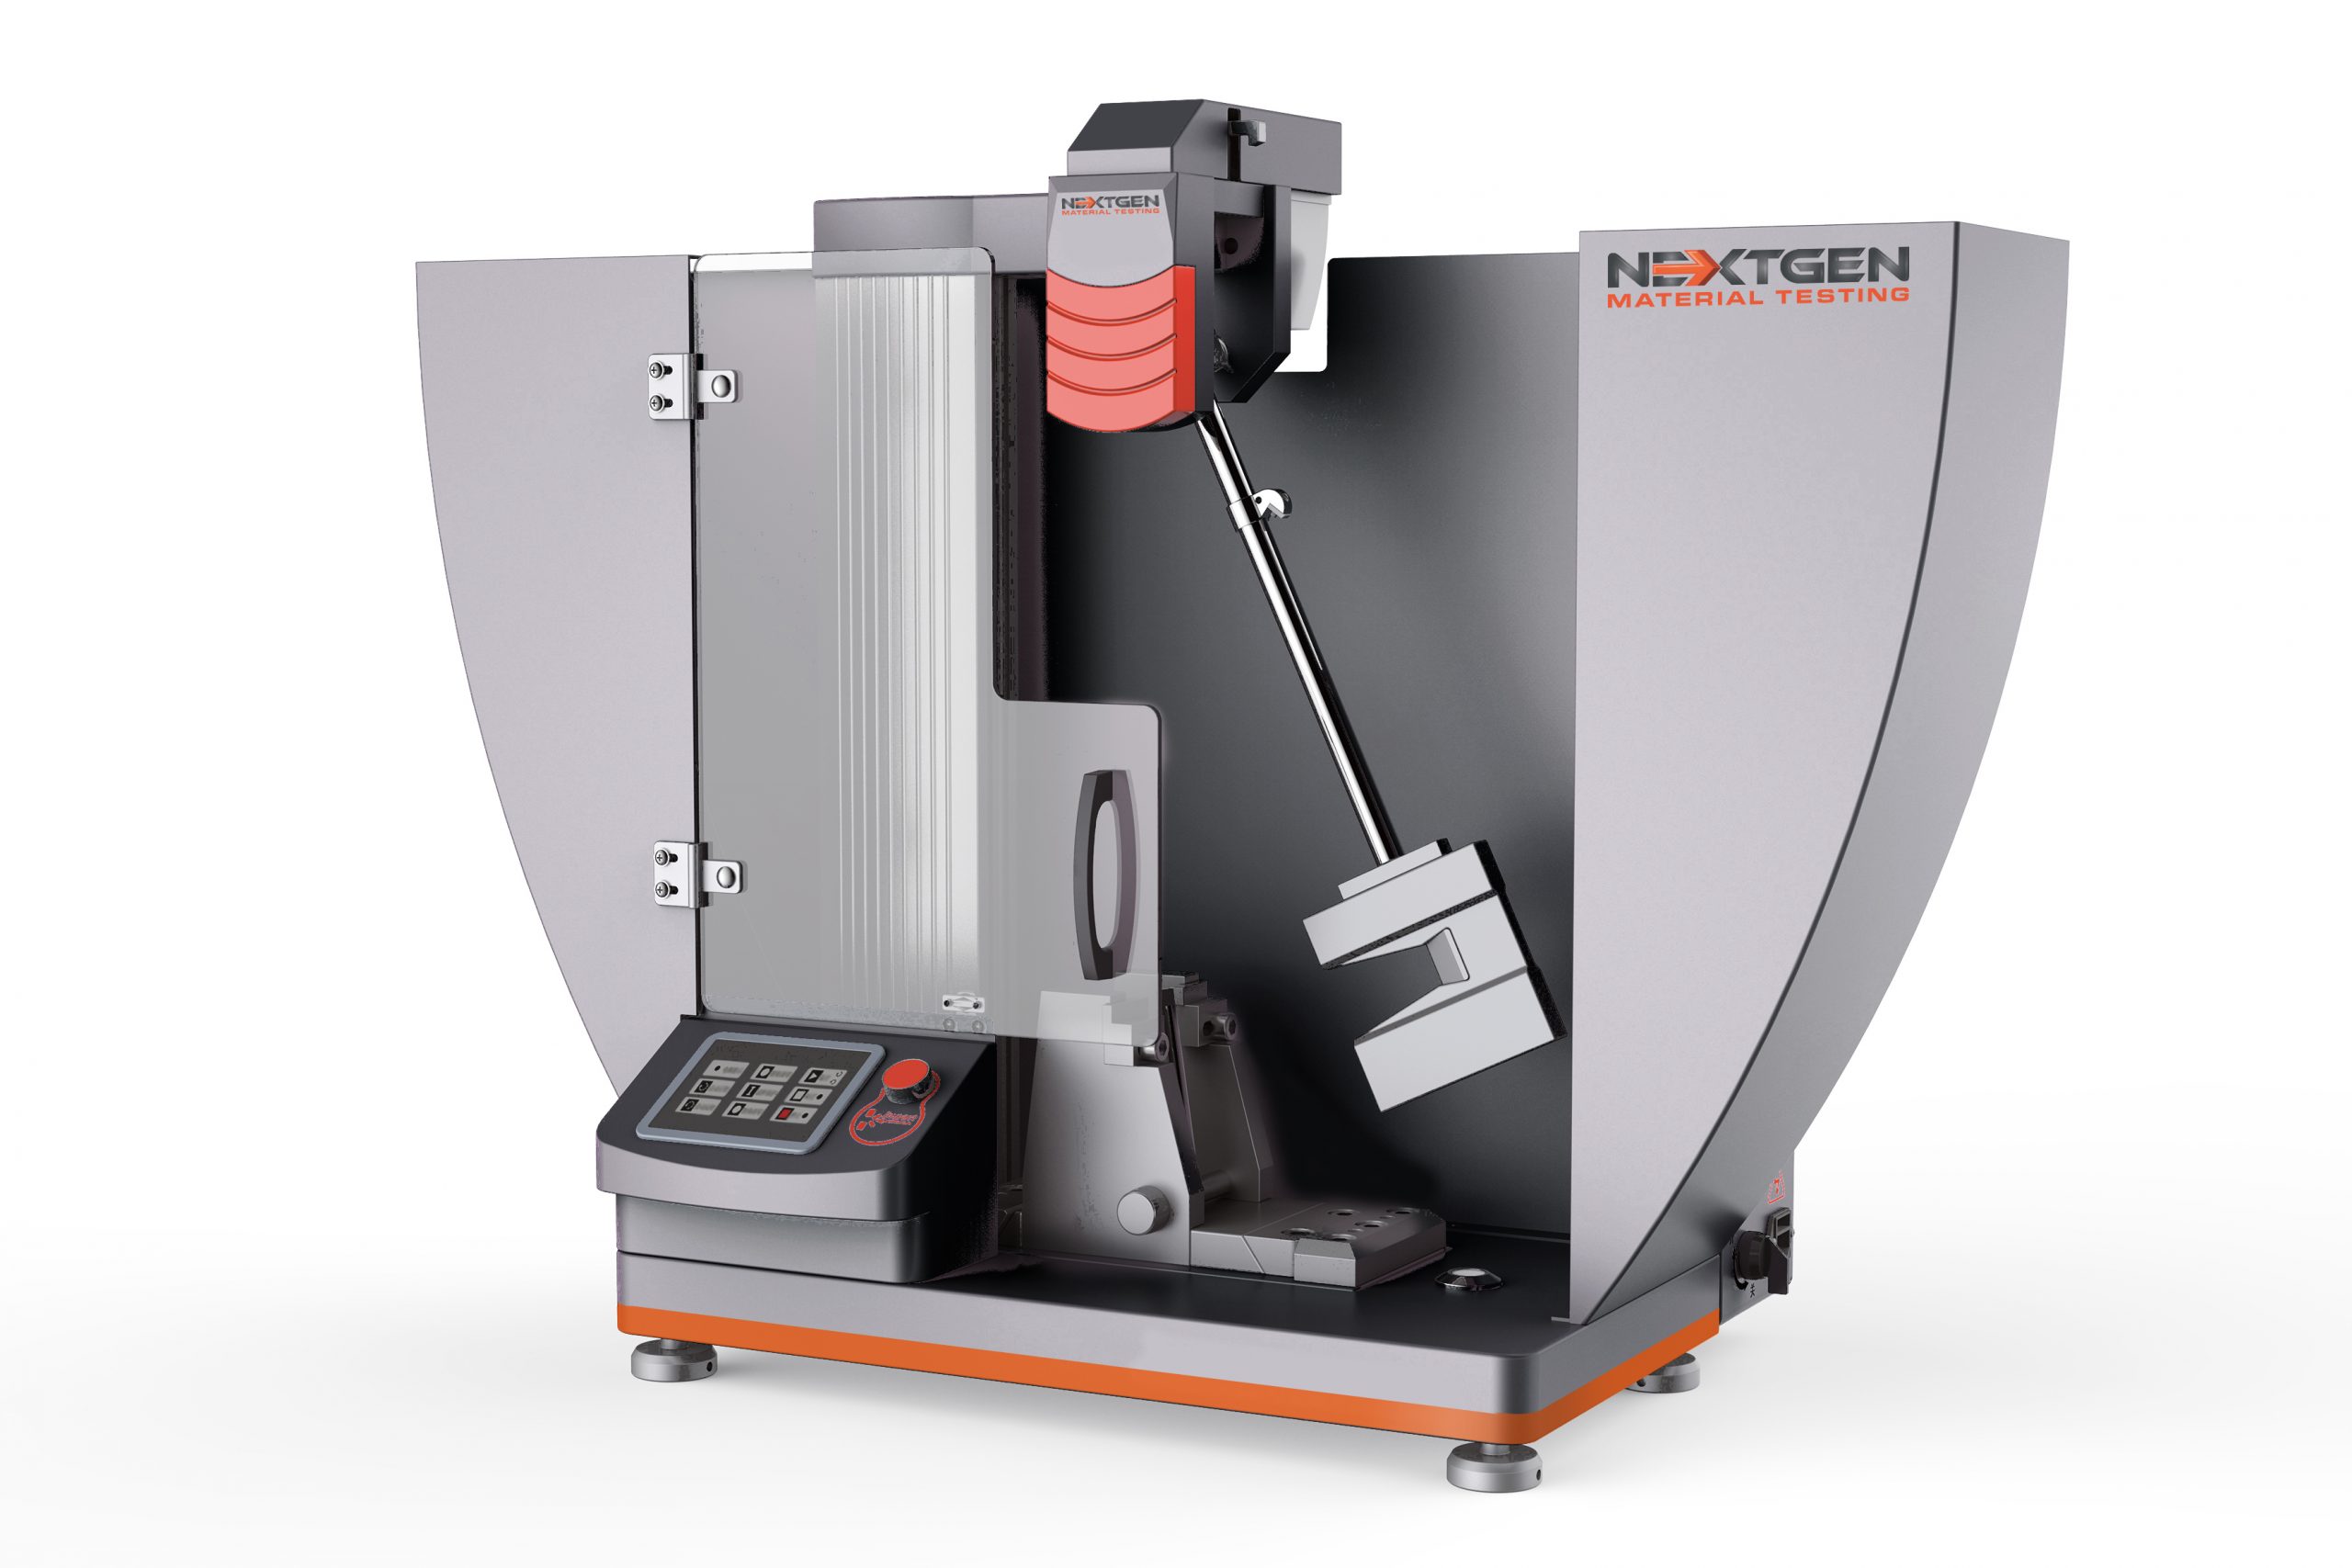
Class J - Charpy and Izod Automatic Impact Testing System - 1J - 50J
Class J is widely used for lzod and Charpy impact test on softer metals, plastics and rubber specimens. Equipped with tensile impact pendulum and fixtures, it can carry on tests on plastic film and sheet. The newly enhanced design offers the most cost-effective configuration to address Charpy test from 1J to 50J, and lzod test from 1J to 22J.
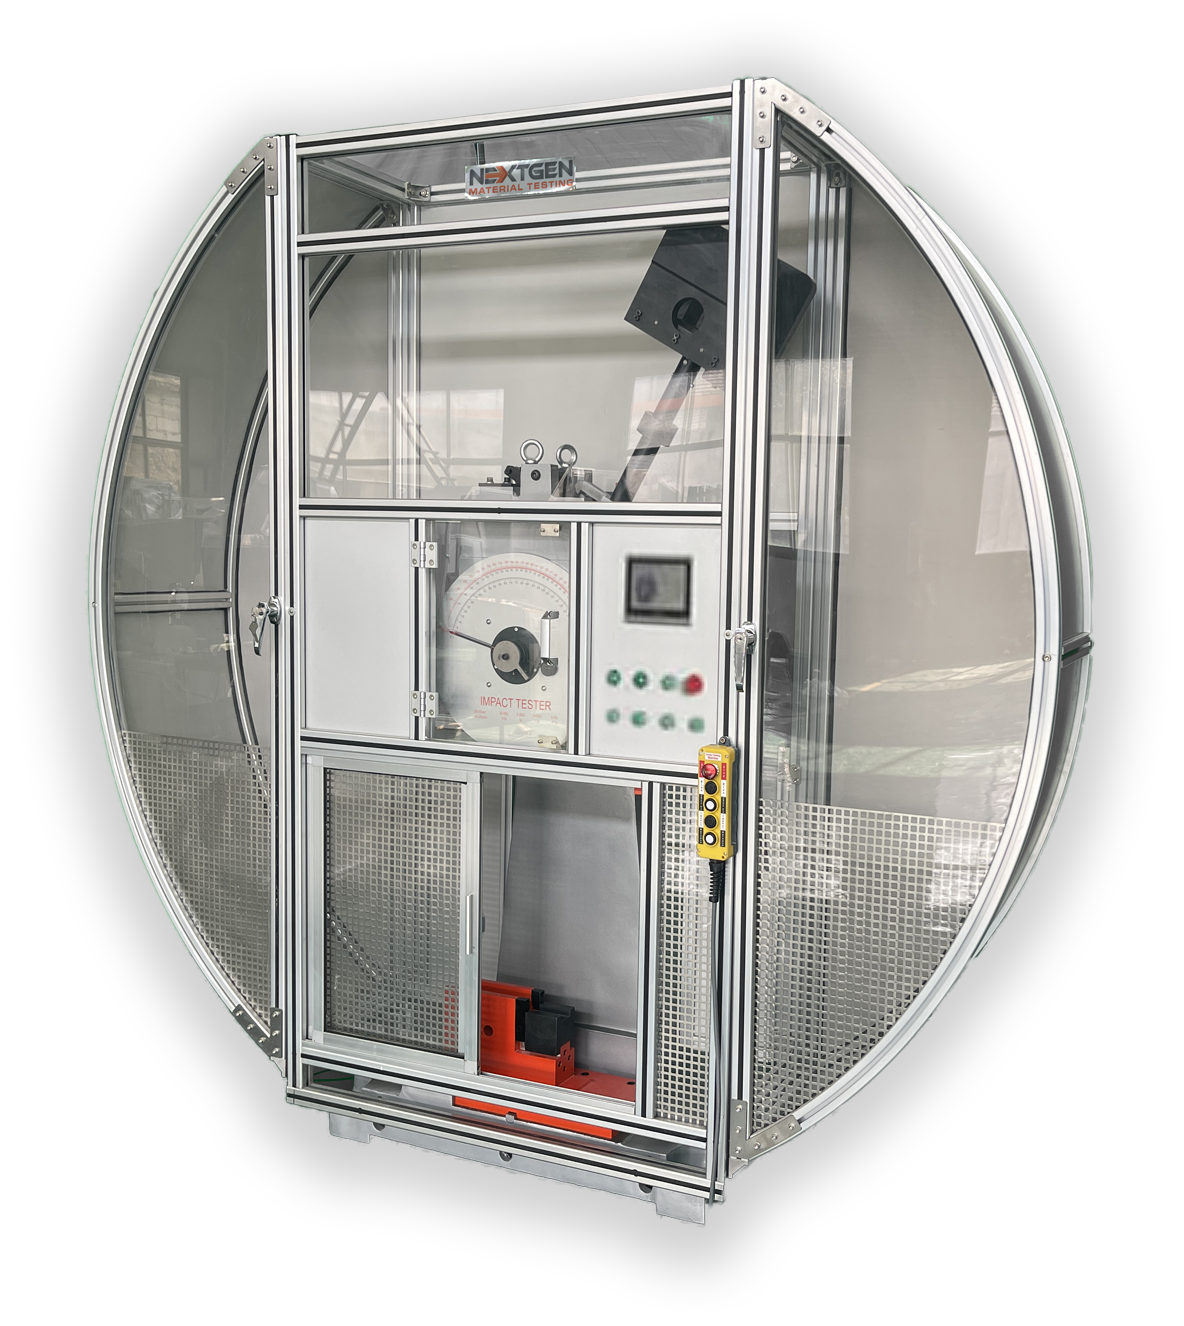
Class D Single-Column Charpy & Izod Impact Tester – High-Precision Pendulum Testing Machine
NextGen's Class D – Single Column Charpy and Izod Impact Testing system provides a high level of rigidity and specimen testing capacity. This Charpy and Izod Impact tester has a minimum capacity of 150J and a maximum capacity of 750J. The system comes standard with a digital display with software upgrade function for data plotting. The Class D impact system can also include automatic specimen feeding, cooling and heating systems as optional upgrades.
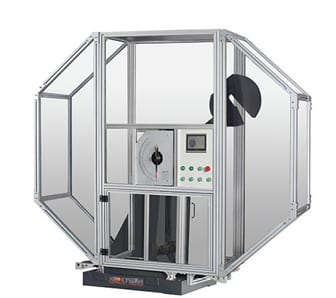
Class H - Servo-Motor Dual Column Charpy Impact Tester - 300J, 450J, 600J or 750J
NextGen's Class H – Servo-Motor Dual Column Charpy Impact Testing system offers of an exceptional combination of versatility and robust build. This impact system provides our most durable options designed with a dual column configuration. The system offers the ultimate versatility of testing 300J, 450J, 600J and a maximum of 750J capacities based on both Charpy and Izod test methods. The unit comes standard equipped with a servo motor and is designed to test at any preset angle. The unit comes standard with all the functions of our Class G tester as well as enhanced functionality upgrade of a force transducer inside the strikerwhich enables the determination of characteristic force, energy and displacement parameters such as pre-maximum force energy (Wm), the post maximum force energy, the general yield force (Fgy), the force at brittle fracture initiation (Fbf) and the arrest force (Fa).
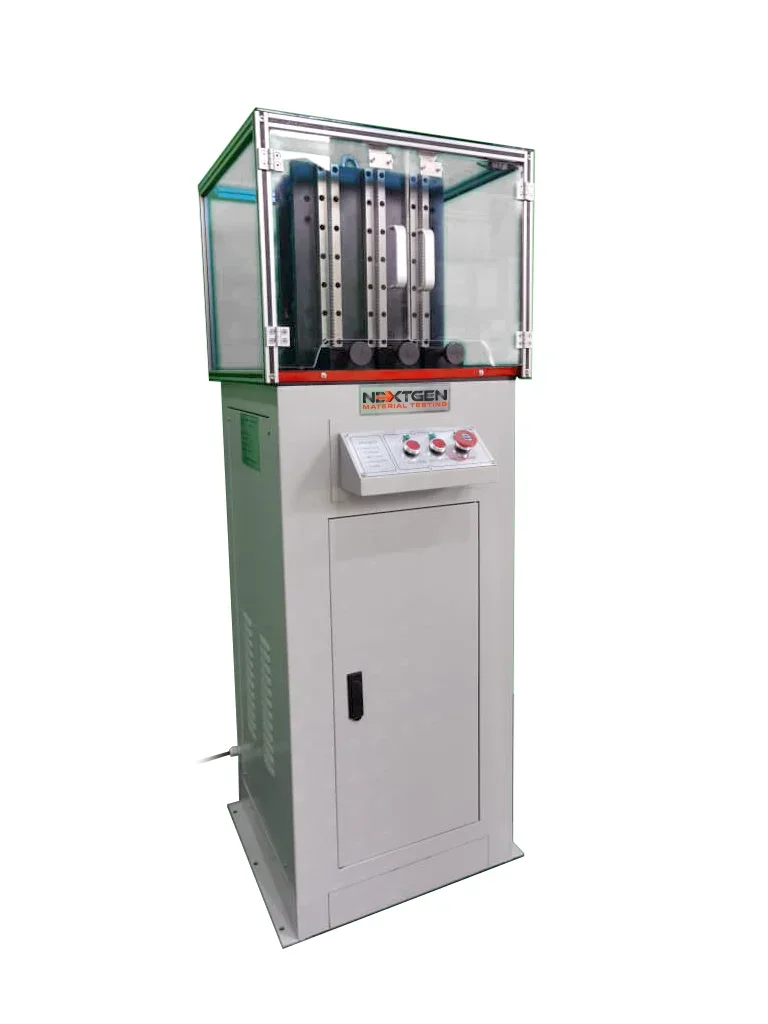
Triple Specimen Chamber Motorized Charpy Notch Making Machine
The GenNotch 4000UPG Series is a motorized Charpy & Izod Notch Making Machine with a triple specimen chamber.
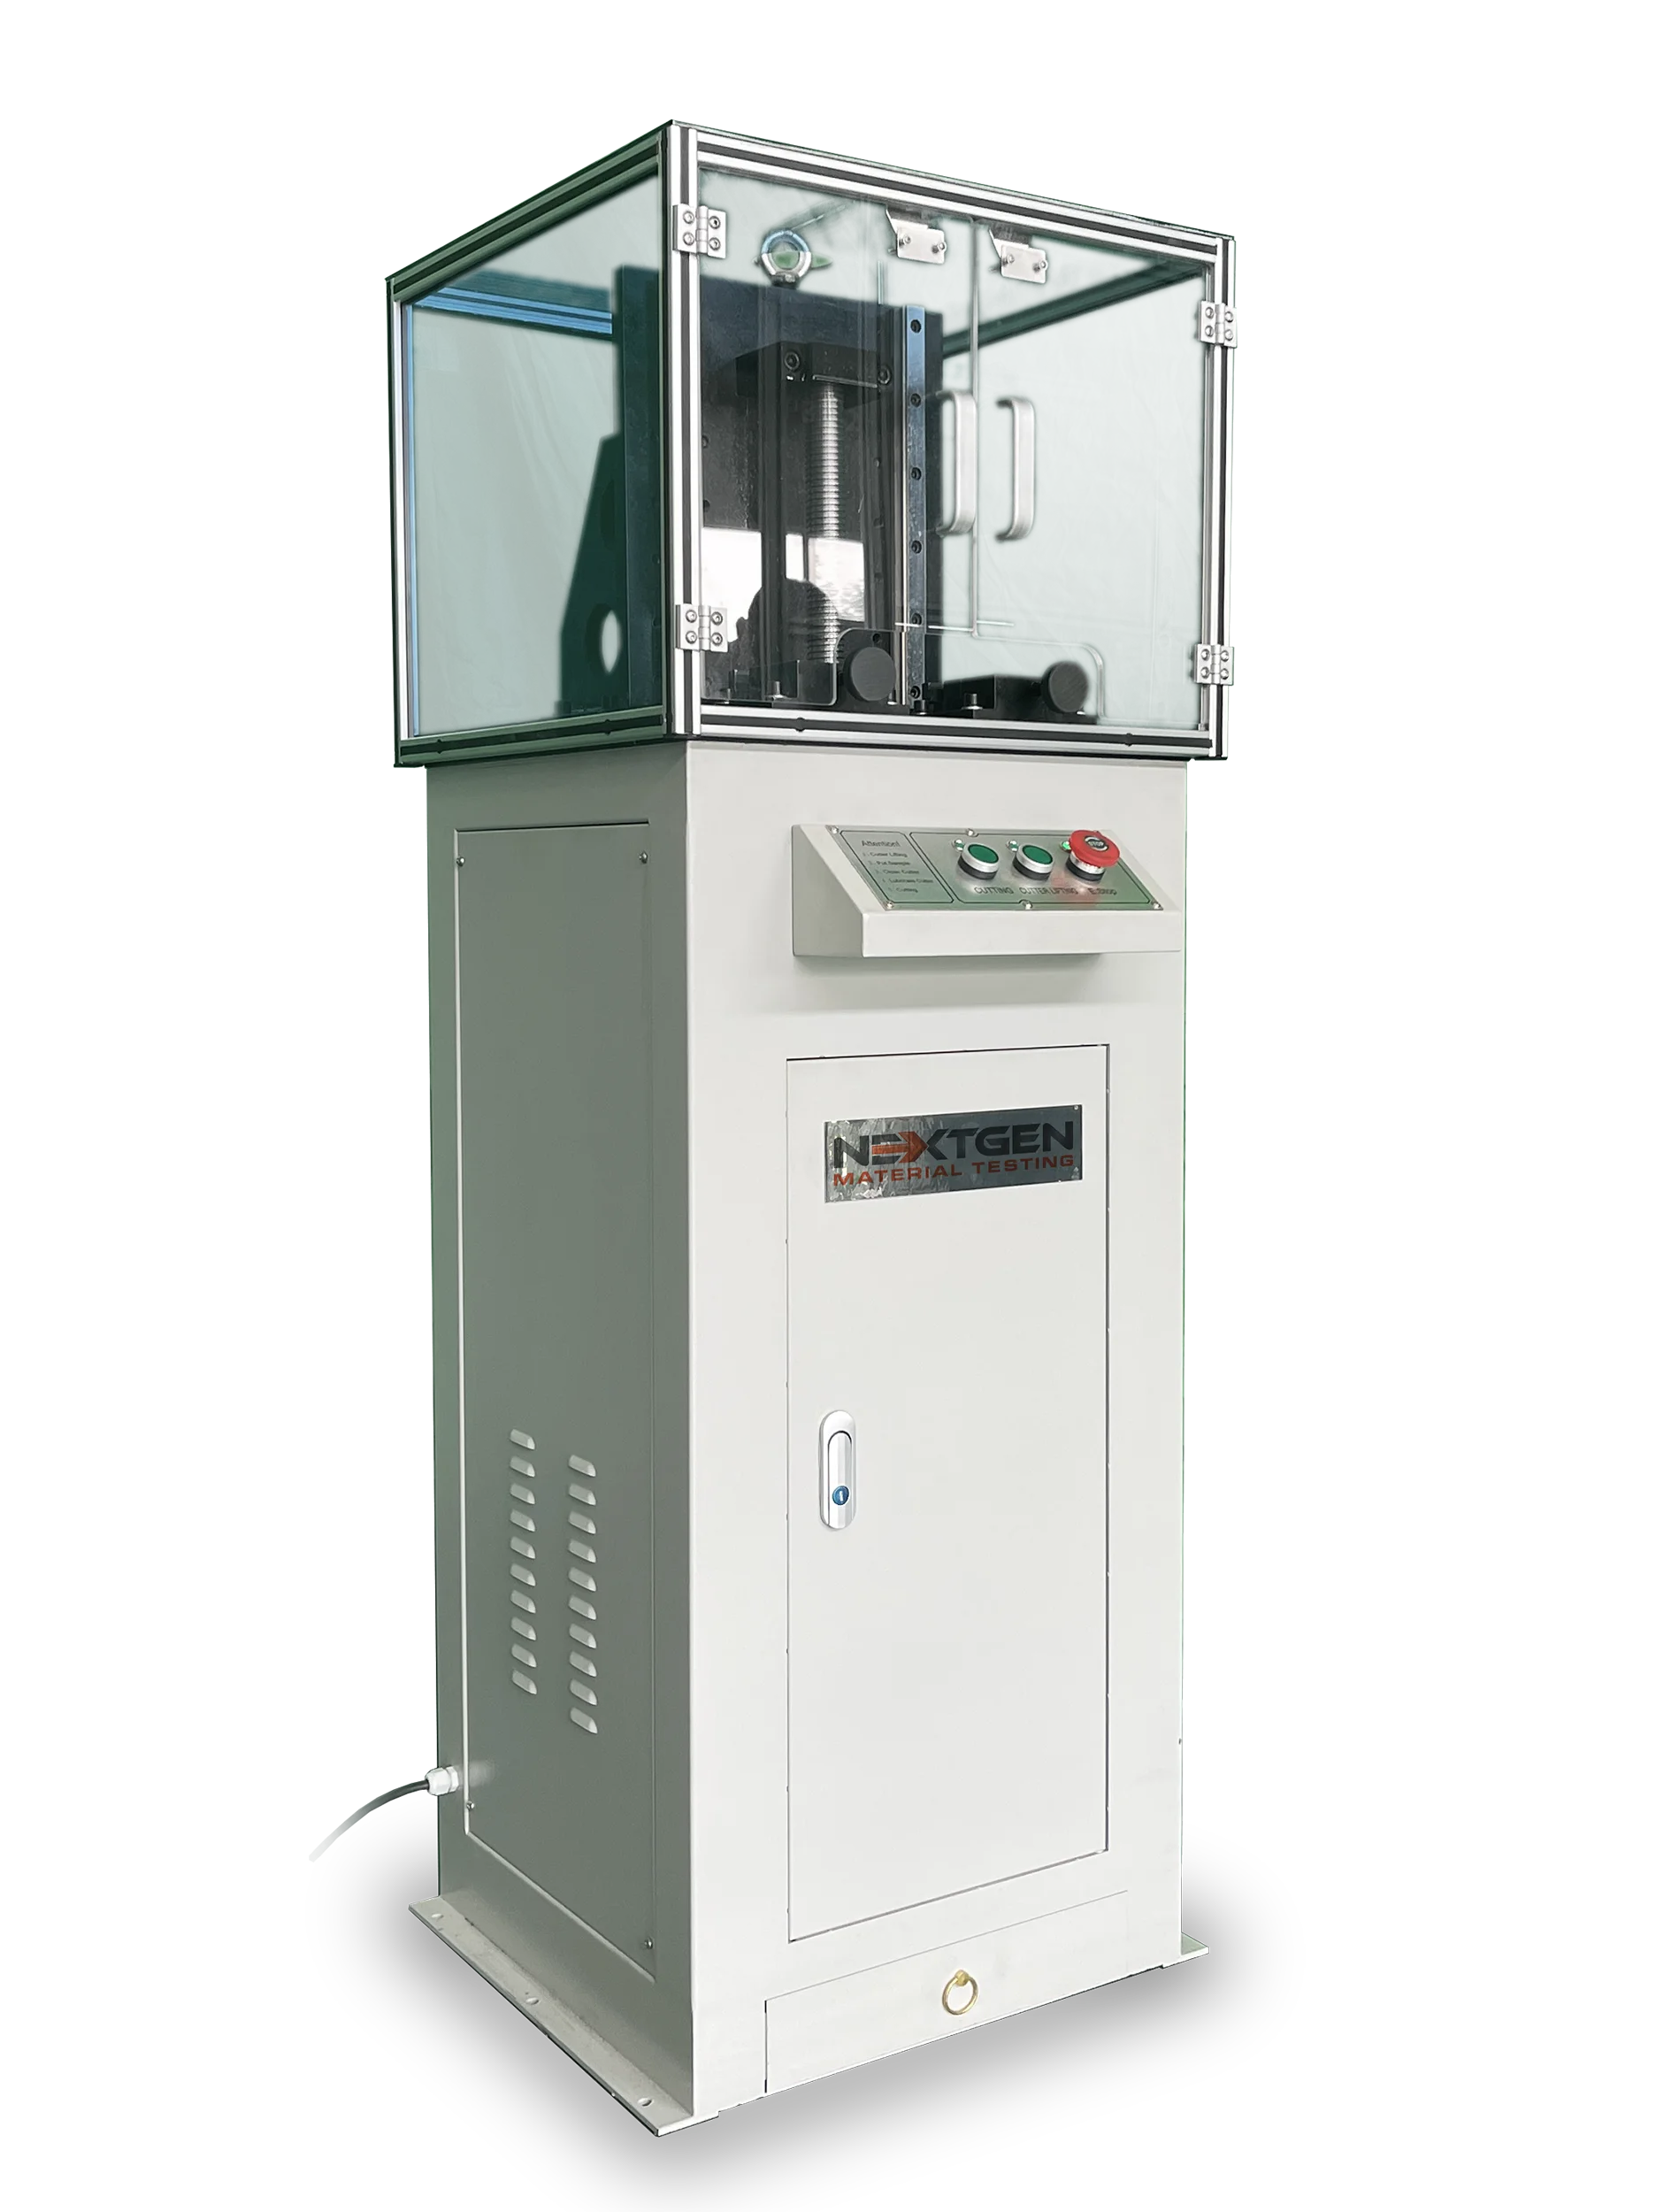
Specimen Notching/Broaching Machine
NextGen offers an economical solution for Specimen notching and broaching for Charpy and Izod specimens. This certified system complies with ASTM ISO148, EN10045, ASTM E23, DIN 50115 standards. This automated, motorized solution is capable of preparing two specimens at any one given time up to 46 HRC. A variety of broaches are available for different geometries of notches.
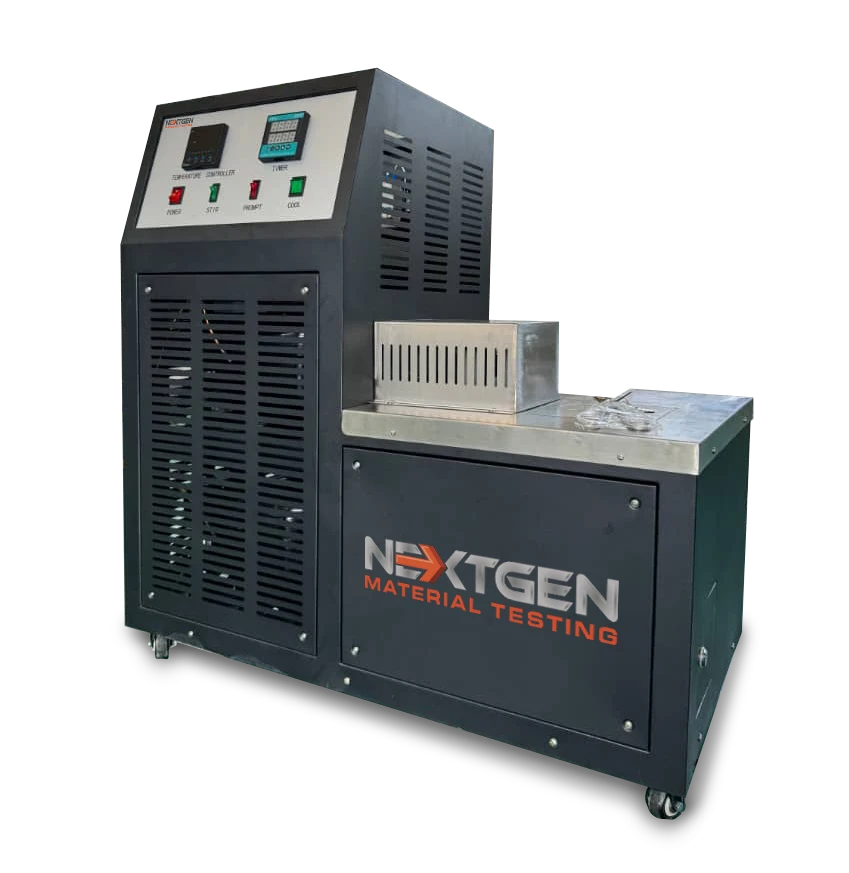
Impact Specimen Cooling and Heating Temperature Chamber
NextGen offers a full range of impact specimen cooling and heating chamber designed to meet virtually all Charpy, Izod and Tensile Impact Testing requirements. NextGen's temperature chambers are a combination of user-friendliness, compact and robust build, offering the ultimate versatility of cooling and heating requirements.
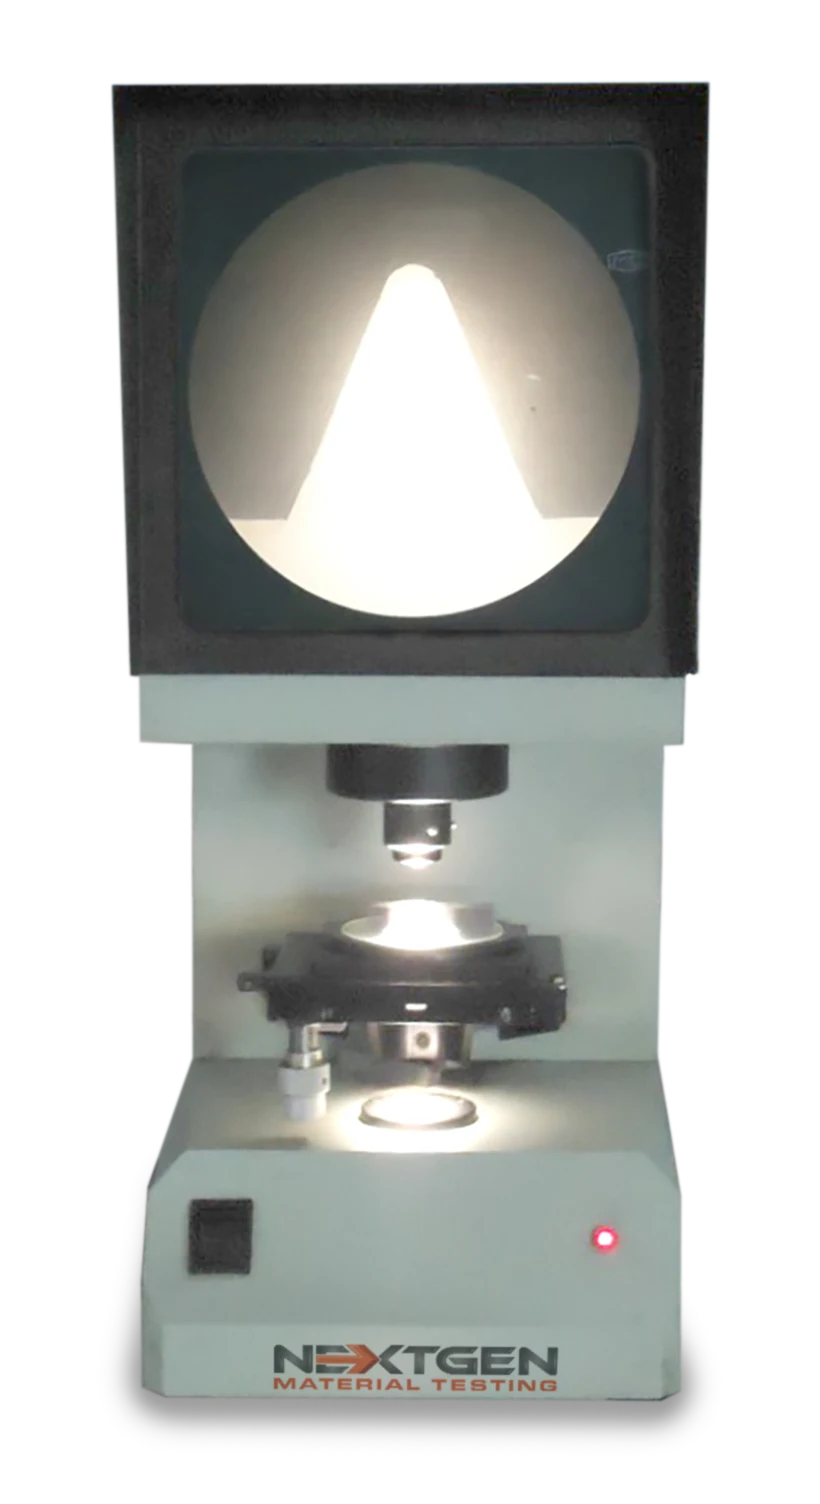
Charpy/Izod Notch Verification Projector System NG-NPS-CIS
Enhance your material testing accuracy with our advanced Charpy/Izod Notch Verification Projector System NG-NPS-CIS.
FAQs
Impact testers being offered are based on the requirements set forth with the following international standard test methods: ASTM D-256, D618, D1928, D883, D1204, D1248, and E691. This ensures that these machines will offer accurate results, with maximum precision.
High quality and user-friendliness are in mind when designing the testing devices, aiding operators in using and managing them. These devices are the most optimal for testing the strength of impact resistance for a certain material, when in collision with a specified load. Precise, accurate, and reliable for use in testing, this machine is essential for quality control for plastic and/or polymer industries.
- Standards for the Charpy Test are ISO 179-1 and ASTM D6110
- Standards for Instrumented version of the Charpy Test is based on ASTM D6110
- Standards for the Izod Test are ISO 180, ASTM D4508, and ASTM D256
- The Unnotched Cantilever Beam Impact variant is based on ASTM D4812
- Standards for Impact Tests are ASTM E1822 and ISO 8256
- Standards for Dynstat Impact Tests is based on DIN 53435
The methods used in the evaluation of the Notched Izod Impact test (Notch Sensitivity) in plastic materials are ISO 180 and ASTM D256.
- Crystallinity - Harder polymers have a greater measure of Crystallinity
- Polymer Temperature - The temperature can cause a change in the polymer, with a ductile-brittle transition in certain temperatures
- Presence of Long-Chain Branches - These tend to increase the toughness of a polymer
Various techniques can be used to measure the toughness, or energy absorption, of a polymer sample. Two of these methods are the Izod Test, and the Charpy Test.
These methods are based on the principle of the application of the load using a high rate, measuring the amount of energy (Kg/m or Joule) absorbed during the impact of the load onto the sample. Key differences between these two tests involve the:
- Sample shape and size;
- Method of stabilizing the sample and;
- The peak energy content of the pendulum used that hits the sample during testing
Most engineering components are equipped with stress and notch raisers, making it imperative to understand the behavior of a specific material with notch once it undergoes impact loading.
- The test is commonly conducted with notched samples
- Un-notched samples can be used as well; with the results expressed accordingly to this.
Both of these tests can be utilized as a method of quality control, determining whether or not the material meets a measure of impact property. It can also be used to compare sets of materials for their general toughness.
The toughness of a material is not directly used in design purposes, as they only indicate the resistance of a material to the effects' shock or load. These are used for the comparison of different materials as regards their resistance to deformation during impact load, or in measuring the resistance of one material to different conditions such as heat treatment, mechanical procedure, and others.
The polymer's toughness, or its resistance to shock/load, is varied by their:
- Molecular structure;
- Surrounding Temperature;
- Type of stress applied to the polymer
Great care must be exercised when relating the polymers flexibility to its toughness. Generally, more rubbery polymers give a higher amount of elongation, as well as better resistance values. These, however, commonly have less stiffness.
Toughness can be defined as the resistance of a specimen to impact applied onto it, as well as resistance to fracture and deformation. For polymers, one can examine the area using a stress-strain curve that was designated for the sample being tested.
In material science, a materials hardness, toughness, and strength are all three unique characteristics that have similarities to them. They are differentiated by the terms below:
- Hardness - The durability of a material once introduced to a force of friction
- Strength - A measure of the force required to deform a material, and how much force it can be loaded with.
- Toughness - The ability of a material to not break upon the application of force and is also the combination of strength of a material, as well as its ductility.
For a material to have toughness, it must be characterized by a good measure of strength, ductility, and resistance to cracks and deformities when impacted by specific loads.
The Impact test measures the toughness, also called the impact strength, of a specific material. It measures the absorption of energy during deformation, of which the results are directly related to the materials brittleness. The results of the Impact test are expressed in either:
- The measure of absorbed energy (Nm/) or;
- The measure of absorbed energy per unit cross-sectional area (Nm/cm2)
Specimens break at the notched portions, as the impact stress is focused and concentrated in that section. For specimens undergoing the Charpy test, specimens can have either a V-shaped or U-shaped notch, with test specimens only having one notch in the middle.
Three notches can be applied to specimens undergoing the Izod test, which is suggested for a test that involves averaging within their methodology. In this test, the specimen is broken one after the other.
Using the Charpy test, the specimen is laid down flat on a test bed. The ends of the sample are secured as preparation for the impact test.
Using the Izod test, the specimen is set on a vertical position, with the bottom being stabilized in place. A pendulum strikes the exposed end of the sample at a specified area.
A pendulum impact testing device, or a pendulum impact tester, is a contraption with a swaying pendulum that is released to produce impact on a secured specimen. The pendulum is fitted with a weighted hammer attached to its end, and hits the test specimen.
A striker, the material to be tested, and a pendulum swing where the striker would be attached are all involved in the Izod Test. The striker is located at the far end of the pendulum. The material to be tested is fastened vertically, and is hit by the striker at the lowest part of the pendulums swing, leaving it free at the top of the swing.
The position of the notch is meant to concentrate the stress onto a specific location on the material, and provokes a delicate failure for testing purposes. It decreases both the distortion and the ductile fracture after impact. The test is done to conclude both the quality of a given material, and whether or not it has met the specific force of collision properties needed. It can also be used to check for the overall hardiness of the tested materials. This test does not apply for compound materials as inconsistent failure modes may influence the results.
The results of the test may be affected by the notch on the sample. For the notch production, its radius must remain constant. The radius has an effect on the effectivity of the test specimen to absorb collisions. Deterioration of the materials located on the surroundings of the notch can be caused by the blades inside of the notch, leading to inaccurate results. This method chooses a short projection, which is supported on one end, to produce improved tools for processing metal.
In comparison, the Charpy Impact Test includes a striker, impacting a test material, which is fastened at the other end of the pendulum. The test specimen is attached horizontally, being held in place.
This method utilizes a machined notch, which is located on the larger side. The notch can be of two types: The V-notch, or the U-notch. The former, also called an AV-Shaped notch, has dimensions of 2 millimeters in depth, along with an angle of 45 degrees and a radius of 0.25 millimeters, in line with the base. The latter of the two notches, U-notch or the "Keyhole Notch", has dimensions of 5 millimeters in depth, with a radius of 1 millimeter located at the notch?s bottom end.
If one would need higher speeds and greater collision energy, they could utilize a vertical style of fall for those purposes. This method has been proven to be consistent in giving collision data for the materials being tested.
The Charpy Impact test, also referred to as Charpy V-notch test, is a high strain-rate test done by hitting a standard notched sample that has a controlled weight by a pendulum swung from a set height. This test helps in measuring the amount of energy absorbed by the specimen during fracture.
Standard Charpy V-notch specimens have a width (W) of 10mm and a notch depth of 2mm. The thickness of the specimen (B) can be either 10mm (full-size), 6.7mm (two-thirds size), 5mm (half-size), or even 2.5mm (quarter size).
To convert energy (J) to specific energy (J/cm2), divide the energy absorbed by the area (in cm2) of the untouched ligament.
For example, if the energy absorbed during the testing of a full-size specimen is 100 J, then the specific energy is 125 J/cm2. For a two-thirds specimen, energy absorption of 100 J would be equivalent to 187 J/cm2.

Fig. 1 shows the Lateral Expansion and Impact Energy for specimens with dimensions of 10mm X 10mm.
For impact energies measuring about 100 J, the resulting expansion can be calculated by:
Charpy Energy (J)/100 = LE(mm)
This is non-applicable for impact energies that are beyond 100 Joules, or higher energies. Some ferritic steels experience a reduction of lateral expansion at greater measures of Charpy energy levels.
The standard for full-size Charpy specimens is 10mm wide and 10mm thick. The sub-sized Charpy specimens discussed in the figures below are defined as those that are lesser in thickness, but identical in width.
Two issues arise when relating the results of sub-sized Charpy to full-sized values. First, the value of the impact energy, along with the method TWI uses, adopts a plain net section area-scaling principle in calculating the values of impact energy for thin specimens. Second, an inherent shift (in identical materials) in the brittle-to-ductile transition occurs for thin ferritic steel.
To address these, two relations were developed. These were based on the measured temperature shift for normalized Charpy energies between 25 J/cm2 and 50 J/cm2, which correspond to 20 J ? 40 J in full-sized specimens.
The ASTM E23 Charpy testing standard utilizes a striker of 2 ? 2.25mm radius, whilst the BS EN 148-1 testing standard utilizes a striker of either 2mm or 8mm radius. More energy will be absorbed by the 8mm striker for materials that measure high Charpy energy (approx. above 100J), compared to that of the 2mm striker.
Tests carried out with the 8mm striker will also report higher impact energy. At TWI, the specimens are tested on different machines calibrated to different agency reference standards, resulting in different outcomes even if both were to use the same striker and test specimen.
Automatic cooling and feeding systems are offered in optional accessories. These systems provide high efficiency and accuracy for your impact testing needs. Typically, we include them in the quotations for your reference.
Training and installation is quoted as an optional line item within your quotation. The cost covers the physical training and installation as well as all accommodation and food costs.
Outside of warranty, our standard service hourly rate for on-site visits are $ 216.00 / hour and travel expenses. Remote sessions are free and included with our Life-Time Consultation Benefit.
As of recent, we had stopped quoting the computer systems. The main reason is because any computer with Windows 7 or above is compatible with the TestPilot software. It is highly likely that you may already have a computer in-house for this purpose.
Should you require a quotation for a computer system, we will be happy to quote ours.
This would depend on the model. For example, our Class G impact testers require a 0.4~0.8 MPa air connection. These types of details will be indicated on your detailed quotation.
Most all impact testers come standard with 1-phase, 220V, 50/60Hz power supply requirements. They only require 2 lines (phase line and neutral line). And they are 5A (Amps) to operate.
Some of the larger capacity models are 3-phase 380V systems. Your quality consultants will be sure to confirm the specific power requirements to help meet your facility's needs.
The Impact testing machines offered by NextGen are specifically designed with simplicity in mind. This applies to both maintenance and spare part installation. Should you require any spare parts, they will be readily available and we can send you the spare parts along with clear instructions, allowing you to make the changes and installations yourself.
Normally, our customers order a few extra consumables such as striker knife and anvil to keep on hand. This can be offered to you by request.
Class H and G Systems:
Class H and G models offered by NextGen are globally ranked for top reliability. Without exaggeration, prior to dispatch, we run the machine 1000 times. In addition, the mechanical structure is simple, therefore requires minimum repair and maintenance. This means that 99% of all issues can be resolved remotely.
In the extremely rare situation where your trained engineers along with our remote assistance cannot seem to resolve the technical issue, our engineers can make it out within 5-10 business days.
Training of Operators:
We will be parallel training your engineers/operators on how to take care of the unit long-term during the training and installation process. In conjunction with our immediate service and support as well as excellent remote training sessions, this will bring you a peace of mind.
TestPilot Software is NextGen's advanced and user-friendly software that works with both impact and tensile testing systems. The original data is saved to a MDB (Access) file and it can be exported to EXCEL an RTF format. Most commonly, the end users export the data to EXCEL or .csv file.
Since the recent upgrade, the software allows all data fields to be exported as needed. This allows the test report to be competely customizable.
Software Features:
- Automatic curve fitting of force vs. displacements
- Curve and raw data can be exported
- Automatically determine Fgy, Fm, Fiu, Fa, and other characteristic parameter, further determine after calculation Sgy, Sm, Siu, Sa, St, Wm, Wiu, Wa, Wt and others.
- Fully automatic data processing permits to get test results and report after each test immediately.
- Template can be customized according to your requirements
NOTE: Additional details can be found on NextGen's Software Manual. You may request it by call or form submission.
NextGen's impact testers vary in level of complexity. For example our Class C and Class D models do not require formal training and installation session. The two classes of impact testers can be comfortably set up and operated by following the operational manual. It is worth noting that remote installation support is always available at no additional charge.
Class G and Class H models are more complex, therefore we suggest either a 3 or a 5 day training and installation procedure. The following is an example of what a 5 day training and installation procedure may look like.
Day 1:
Erect the machine and install the system in full. Then grout the anchor bolts with quick-dry grout. The trusted brand previously used by large manufacturing sectors is called Five Star 100 Grout
Day 2:
The second day is allocated for level adjustment and base grouting.
Day 3:
The third day to assist to impact NIST reference specimens based on customers specific needs.
Day 4-5:
Both days are dedicated for extensive training and trial tests with the impact testing system.
A 3-5 day training session is sufficient to offer technical knowledge and utter most comfort to the end-users when operating the impact testing equipment.