Metal Testing Equipment
Standards


Description
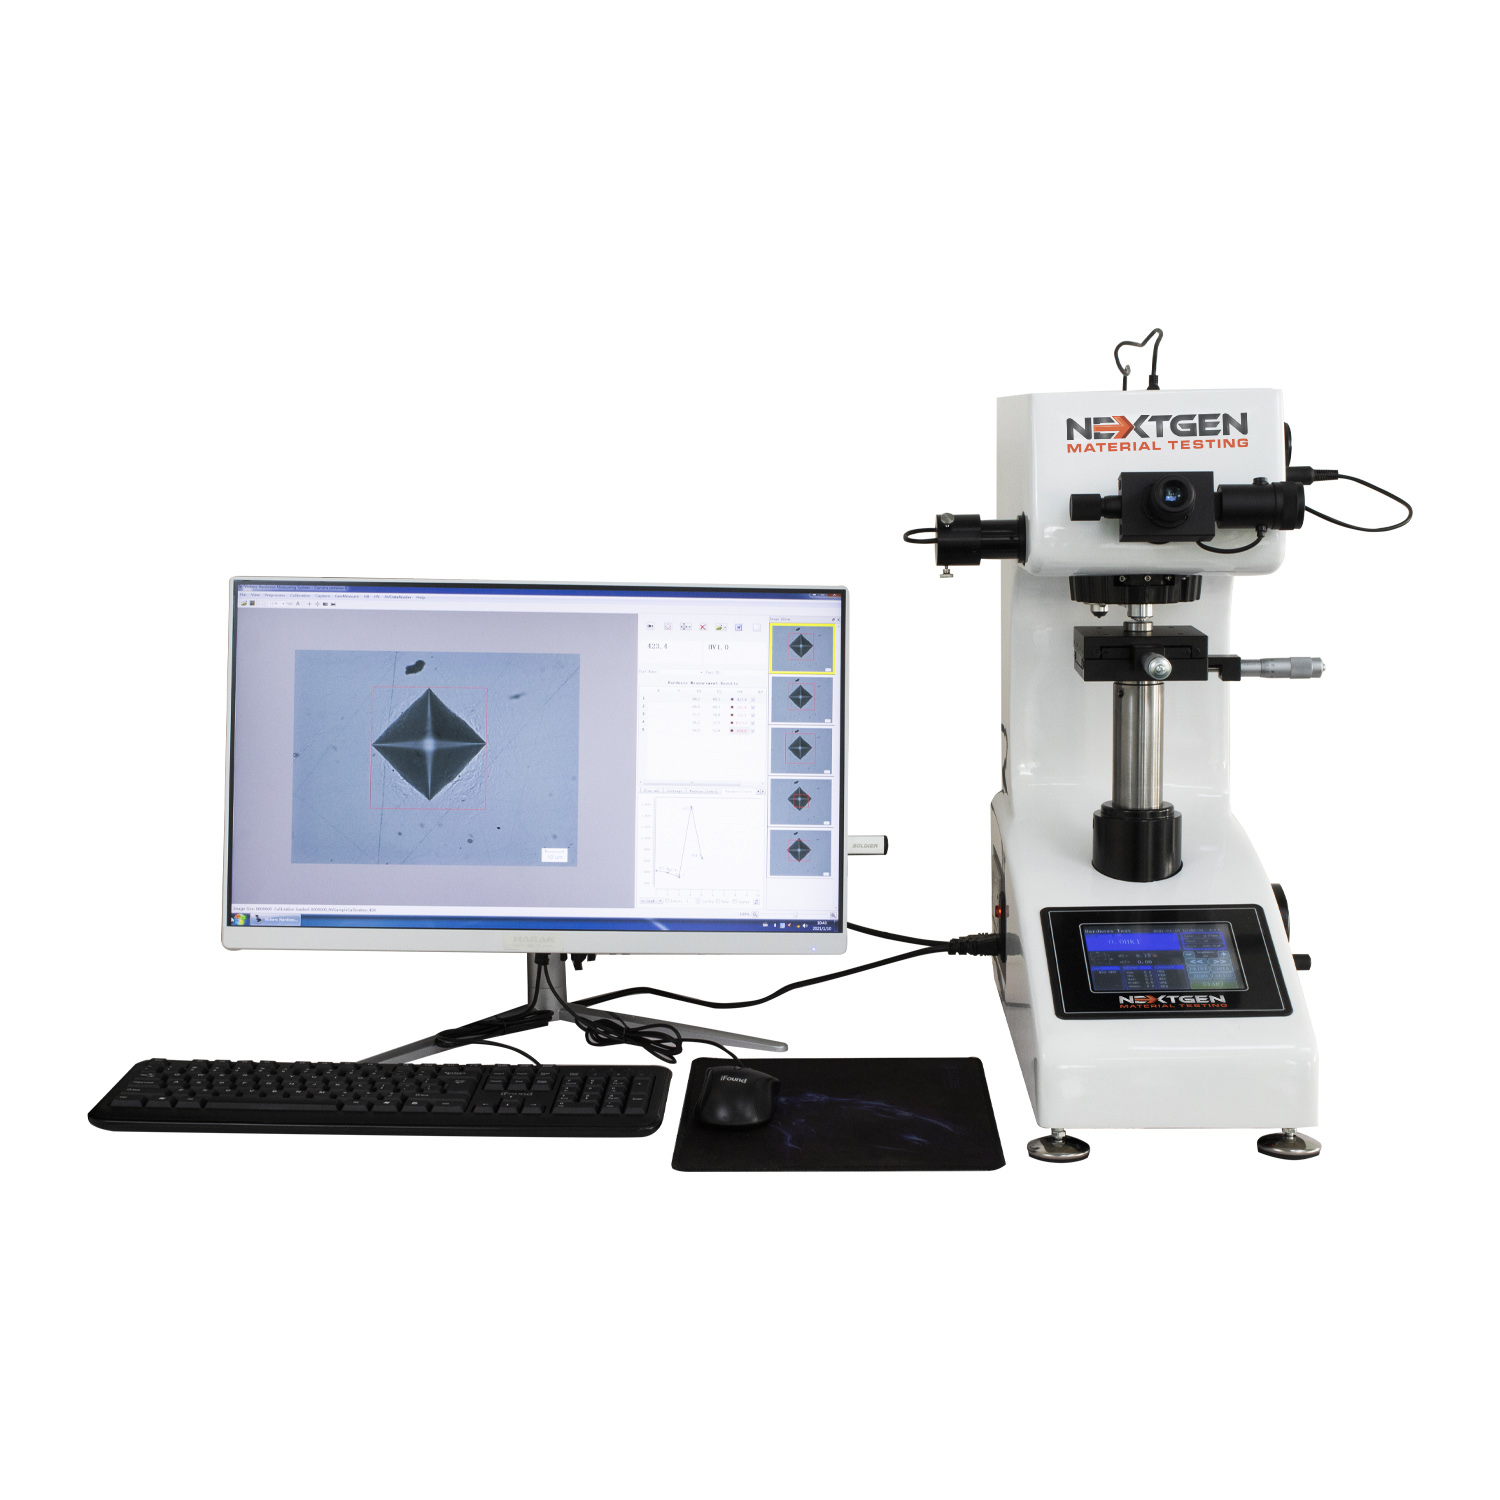
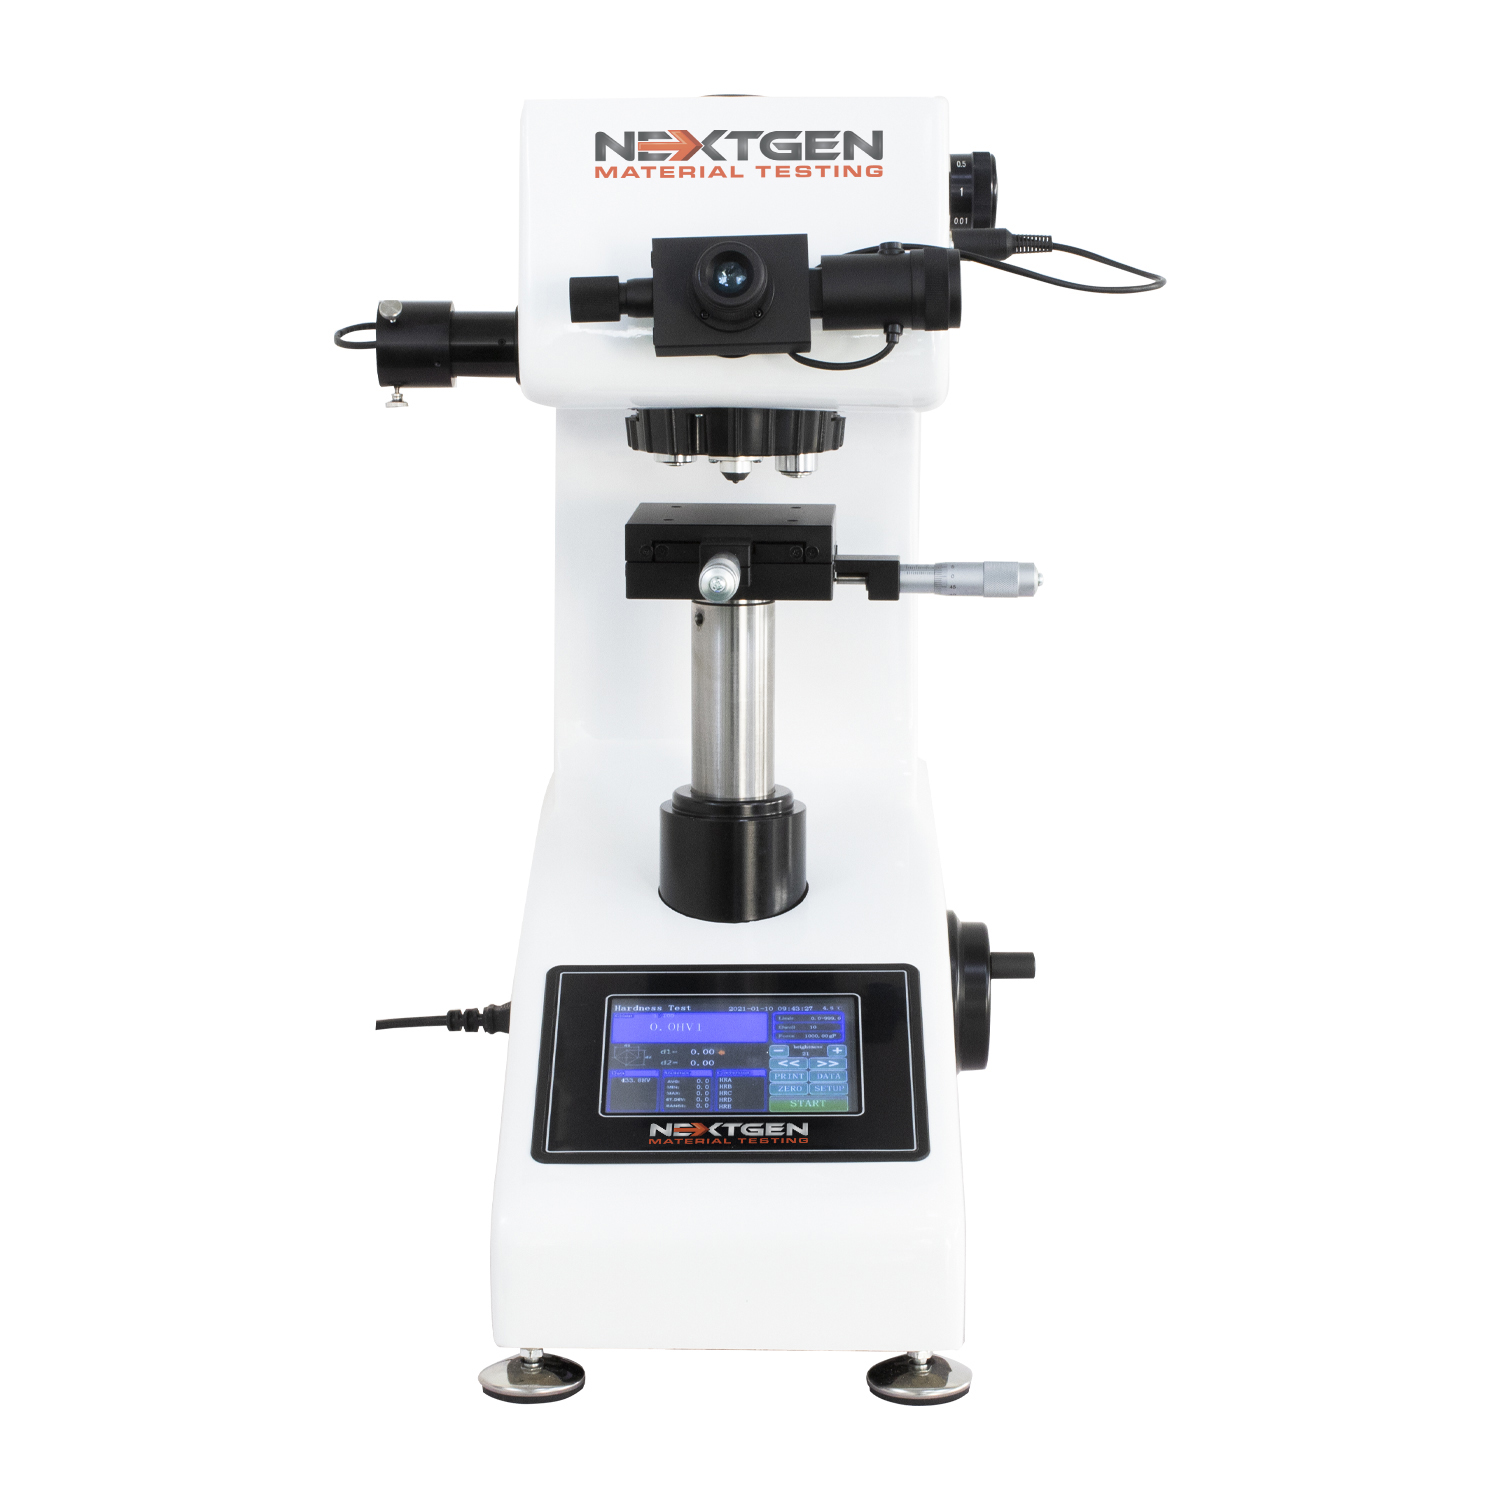
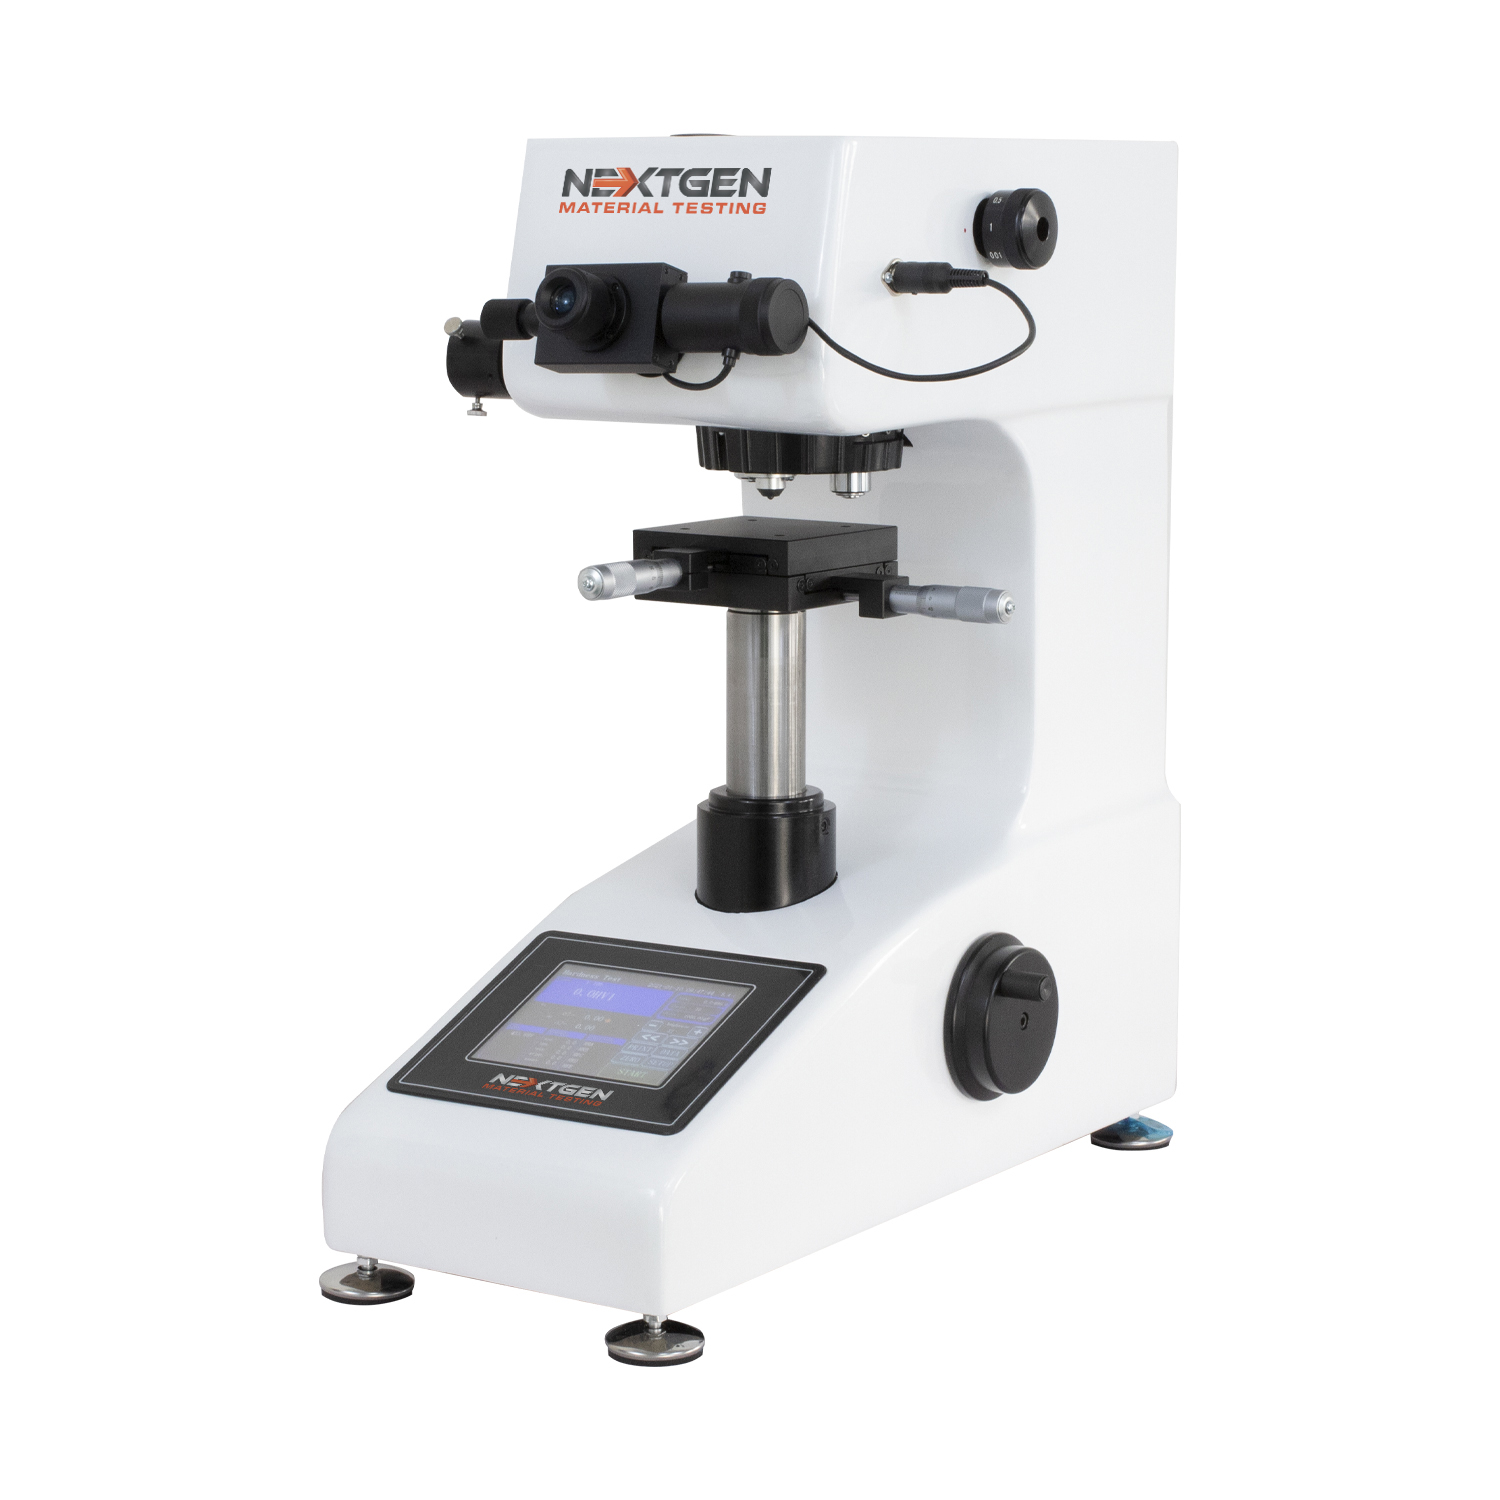
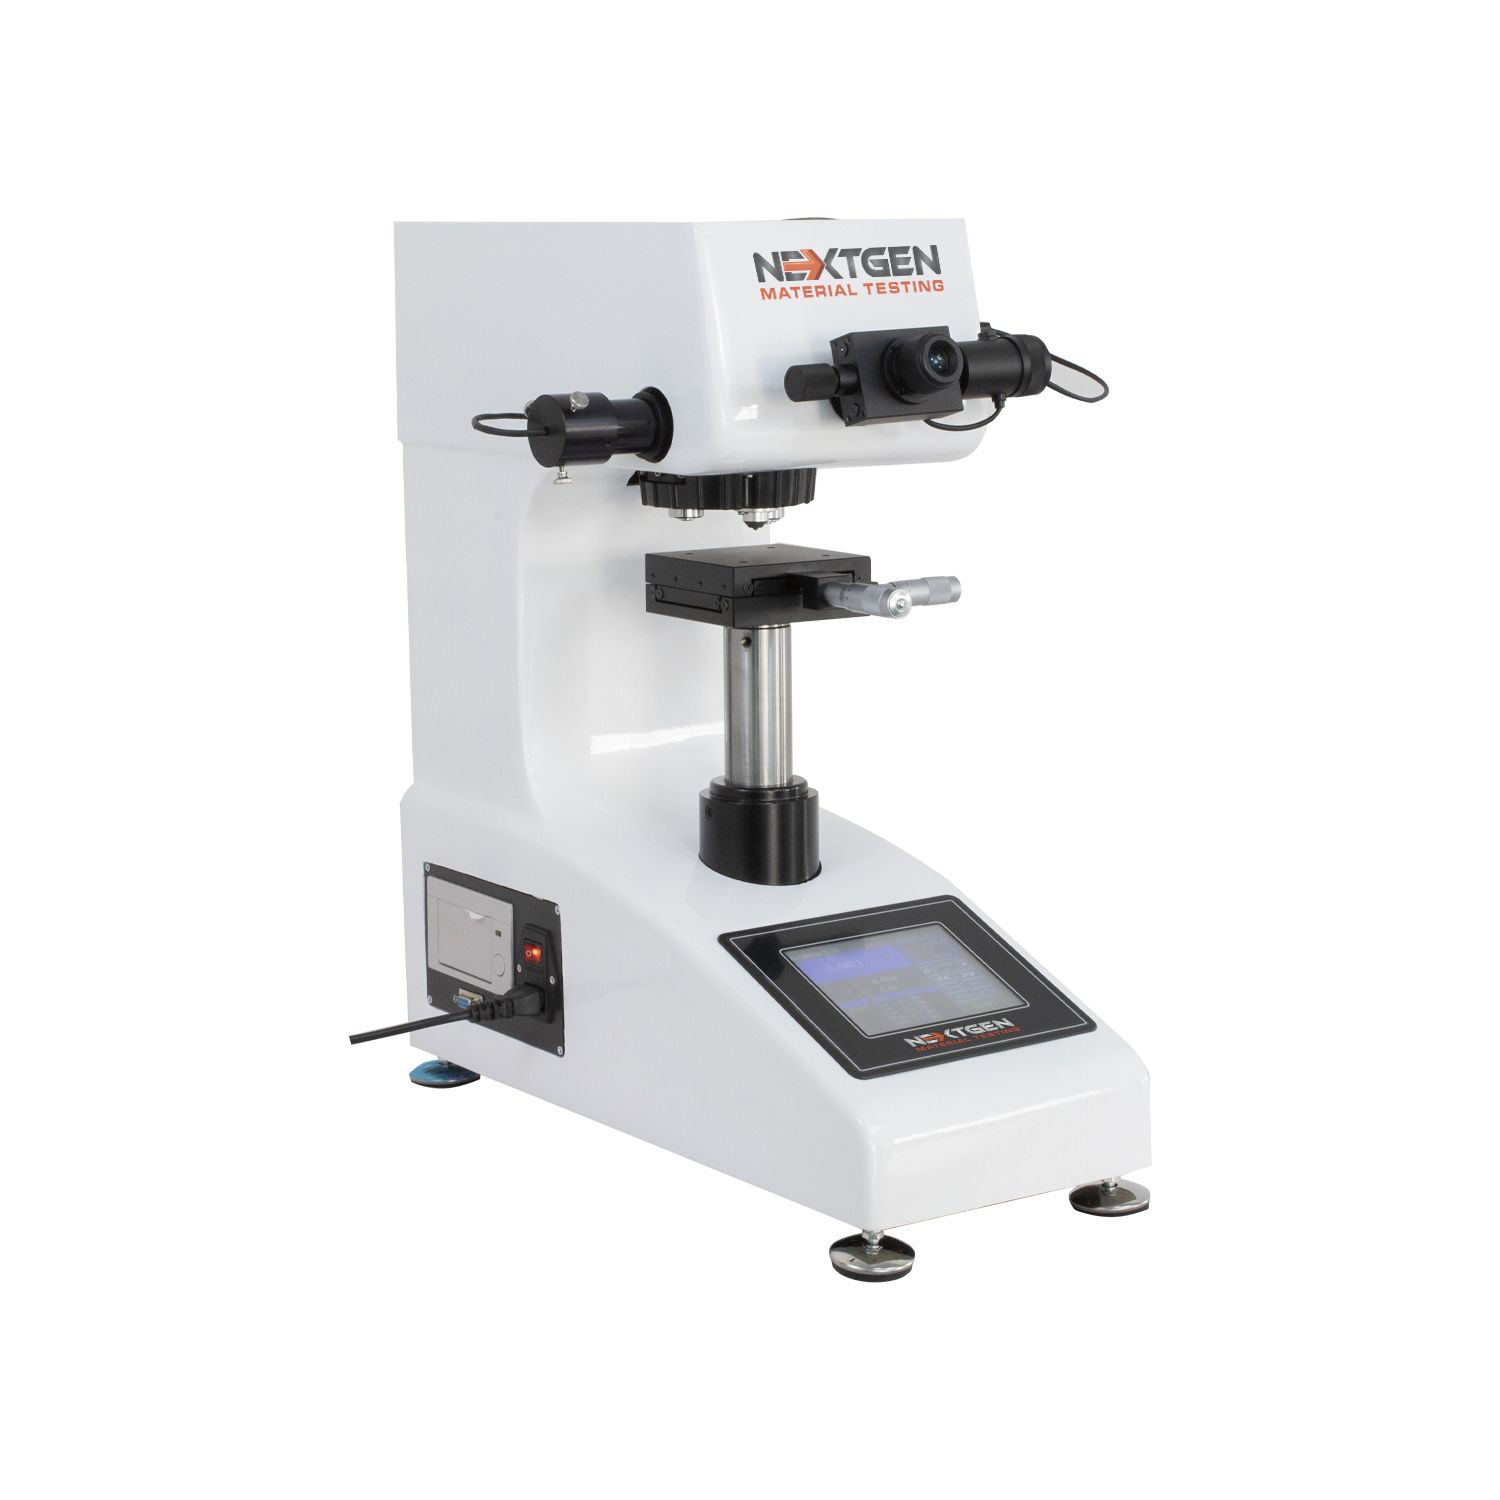
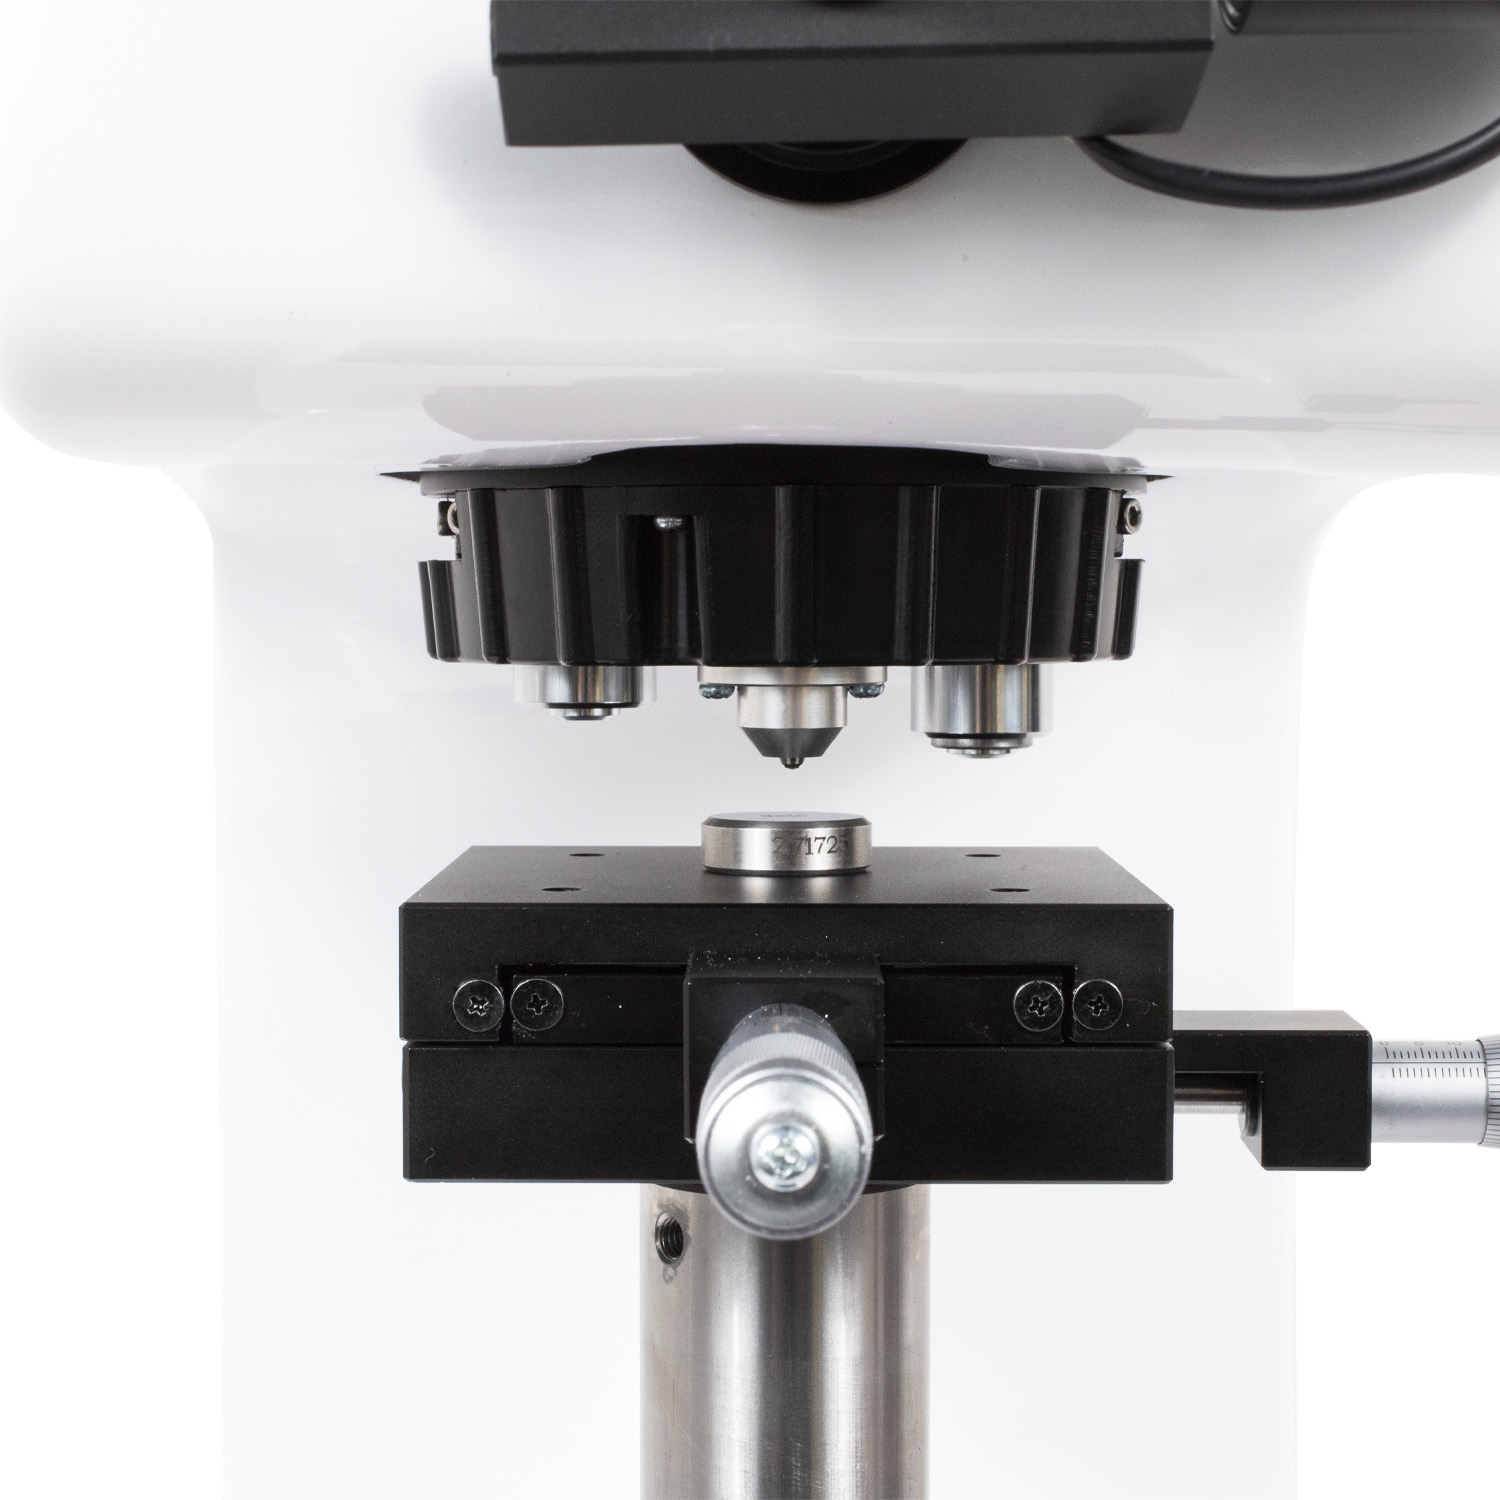
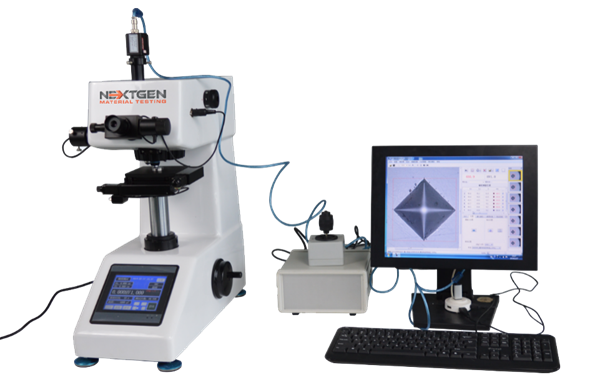
NG-5000 Series Macro Vickers Hardness tester is the most advanced model for accurate measurements and ease of use. The NG5000 - Macro Vickers Hardness tester is equipped with a motorized turret and an optional CCD camera and software to take out all possibilities of human error.
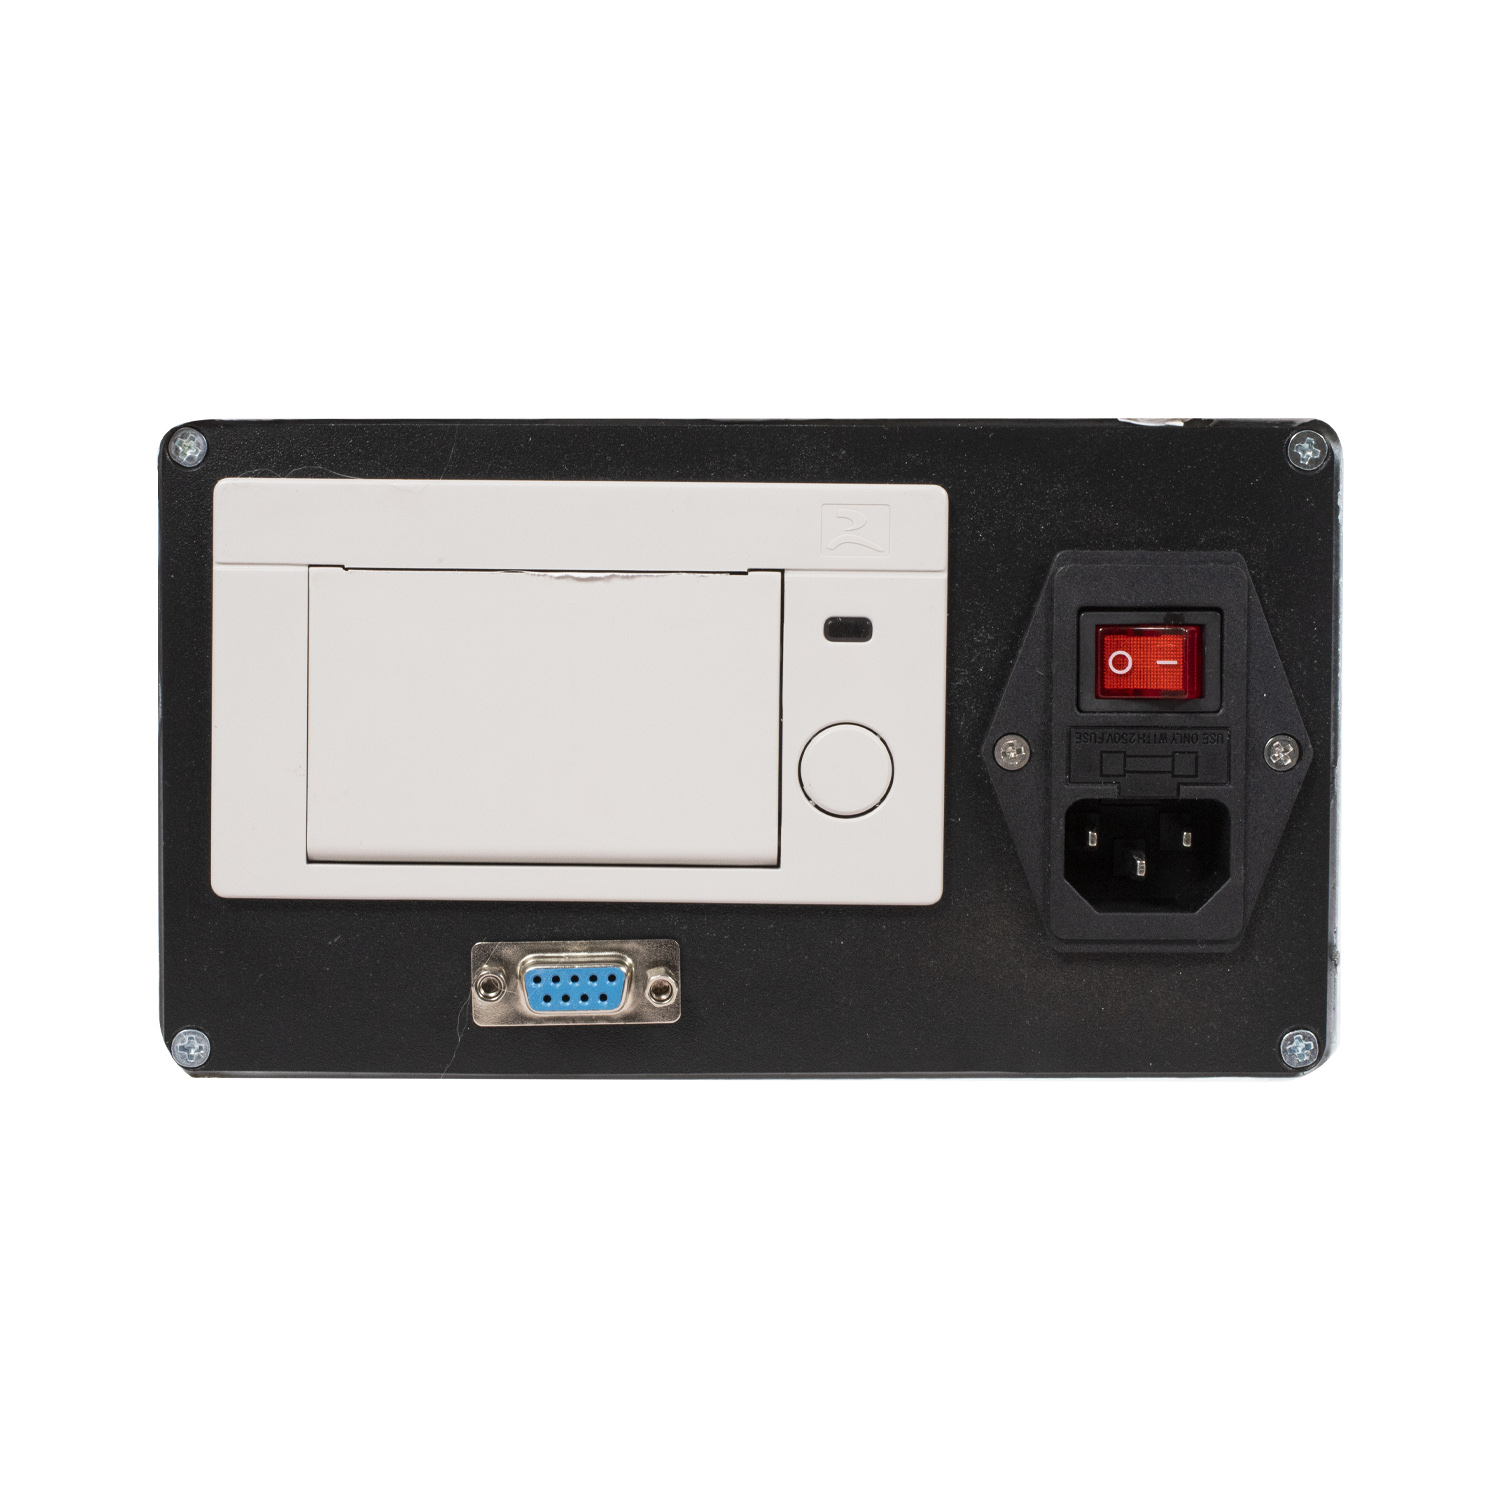
This testers are equipped with a large display and a built in printer. The unit can be connected to a computer with the included USB/RS-232 cord for easy data transfer. The files can be easily exported to either a word or excel format for easy printing.
The NG-5000 CCD series - Macro Vickers Hardness Tester with CCD Optical Analysis Software has real time focus and the hardness indentation image can be displayed on the computer through the imaging system. This tester can provide the perfect solution for experimental analysis. Learn more about the Basics of Vickers Hardness Test.
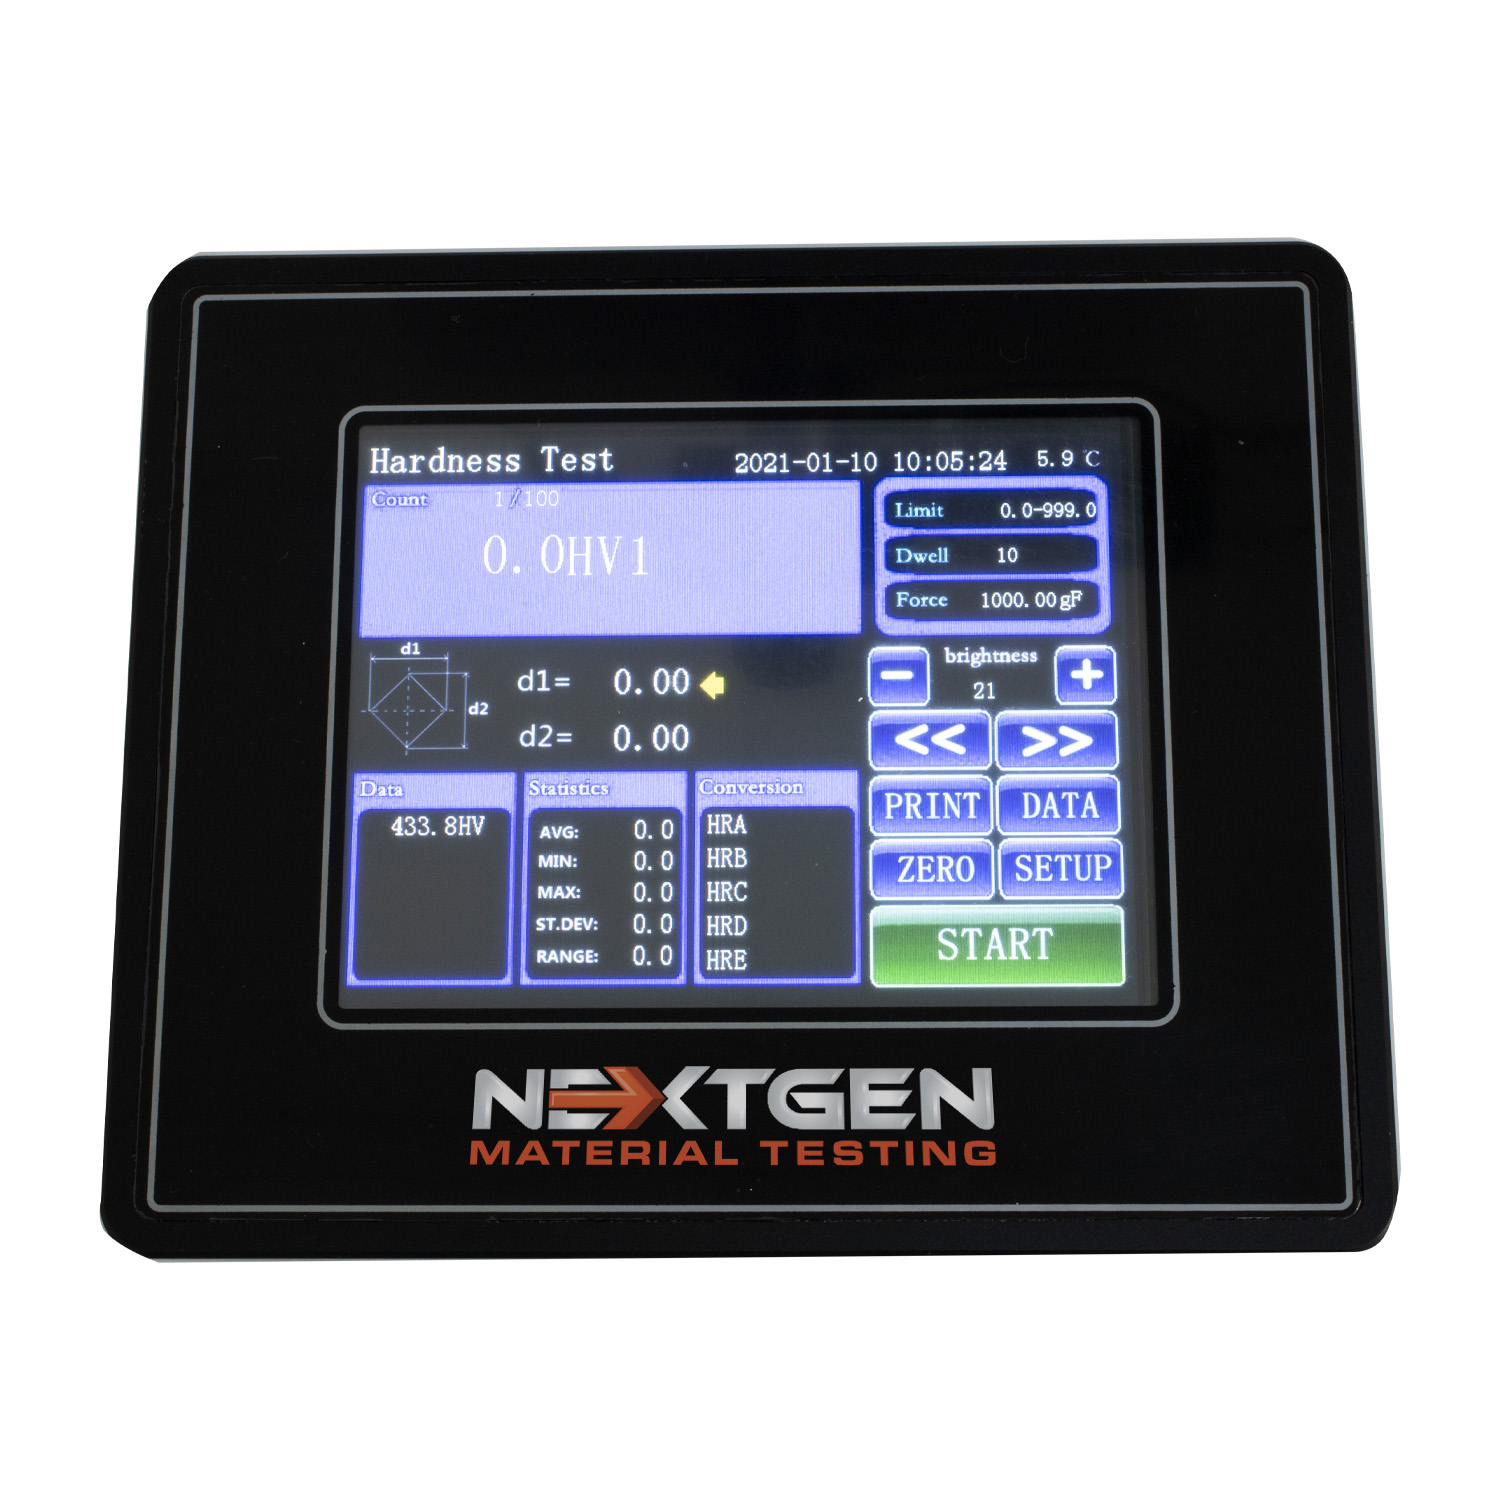
The NG-5000 - Macro Vickers Hardness testers are equipped with a large LCD display and a user friendly interface for controlling all aspects of your test. It features a built in printer to allow the operator to print and document the series of hardness readings. The motorized turret automatically controls the changing of the objective lenses and indenter positions for the quickest analysis. The loading and unloading of the test force is fully automated as well and is held for the specified dwell time (1-99 seconds).Our most advanced NG-1000CCD - Micro Vickers Hardness tester system includes a high quality CCD Camera and is packaged with our VickSoft Vickers Hardness Test Software. The software will use the indentation image from the CCD camera to detect your Vickers hardness value. Our user friendly VickSoft software allows you to categorize your hardness results by part number/IDs and can then be further exported into a testing report.
- Guided by optical cross rails to ensure the highest guiding accuracy
- Fast and smooth force transmission can be achieved by using the secondary transmission force of the rack and pinion.
- This machine is equipped with our most advanced high transmission ratio high precision worm gear rod which can achieve stable continuous lifting, and greatly improved the accuracy and repeatedly of the testing process. This update is in the improved working performance and working efficiency.
- Equipped with dual optical path, one optical path for eyepiece system, another path for CCD camera, both paths can work at the same time without the need to switch the optical path rod. This greatly extend the service life of the optical system, and make the testing process much simpler.
- High definition 8’’ touch screen interface with menu structure and digital eyepiece with a built-in encoder. One-push encoder button provides the diagonal length of indentation D1, D2 and hardness value will display on touch screen directly for easiest and most optimal operation.
- With hardness conversion function, the system can easily convert HV to HRA, HRB, HRC, HBW, and other scales.
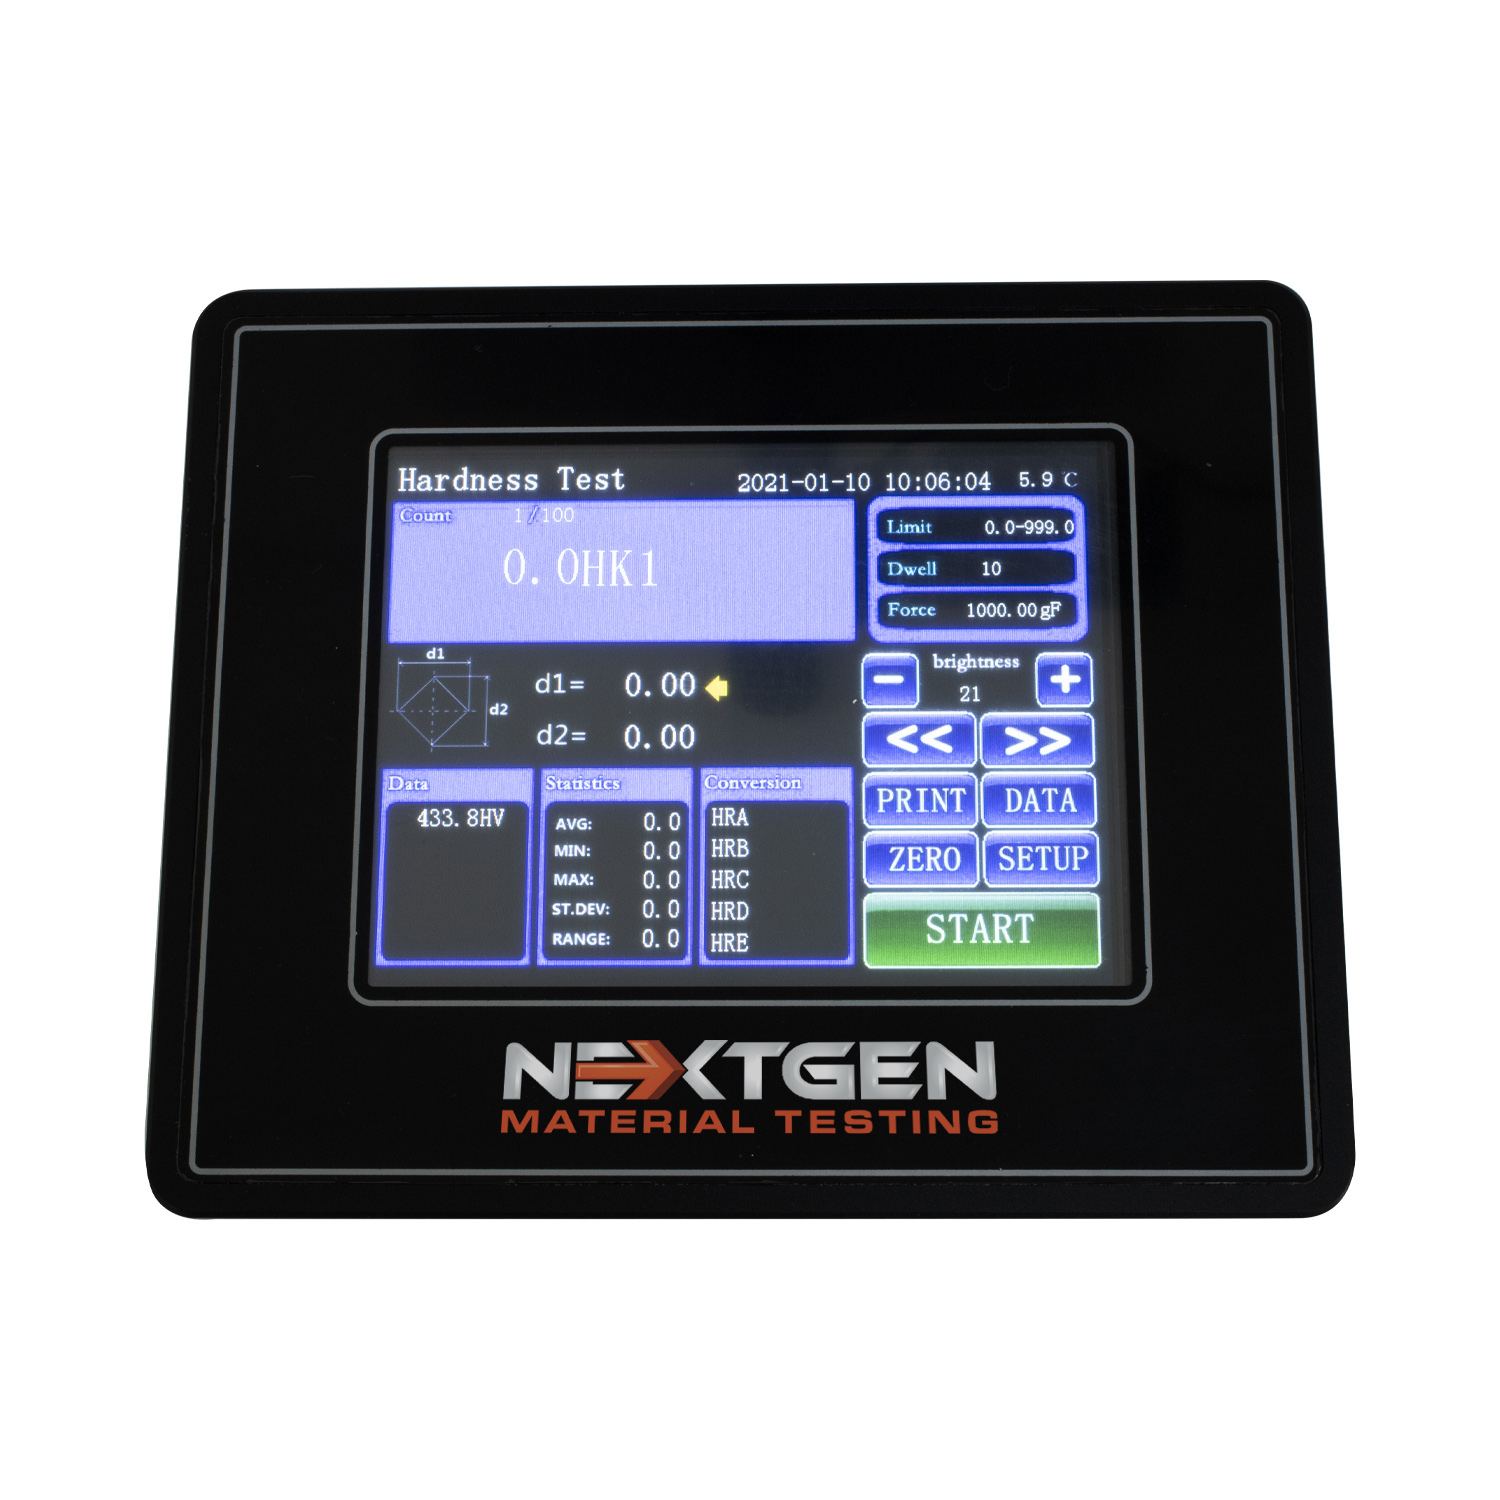
- Standard with (HV & HK) Vickers hardness testing capabilities.
- OK/NG judgement
- Includes (10X & 40X) lenses for measurement suitable to test wide hardness range of materials from the softest to the hardest of materials.
NG-5000 Models
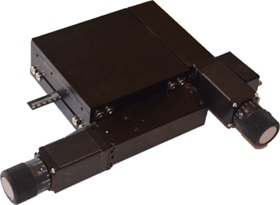
Any NG-5000 model can be upgraded to a Semi Automatic Hardness Testing System. The Semi-automatic system only has XY stage movement, therefore requires manual focus work for each of the plotted indentations. Once the manual focus is completed measurement process of indentation, measuring, and hardness curve plotting is completed with a click of a button.

NG 5/10/30/50 CCDCCD - Digital Macro Vickers Tester with CCD Optical Analysis Software with 5kgf, 10kgf, 30kgf and 50kgf loads, Motorized Turret and Built-In Printer. Read More |

NG 5/10/30/50 DGENDGEN - Digital Macro Vickers Hardness Tester with 5kgf, 10kgf, 30kgf and 50kgf loads, Motorized Turret and Built-In Printer. Read More |

NG 5/10/30/50 AGENAGEN - Standard Digital Macro Vickers Hardness Tester with 5kgf, 10kgf, 30kgf and 50kgf load options, Motorized Turret and Built-In Printer. Read More |
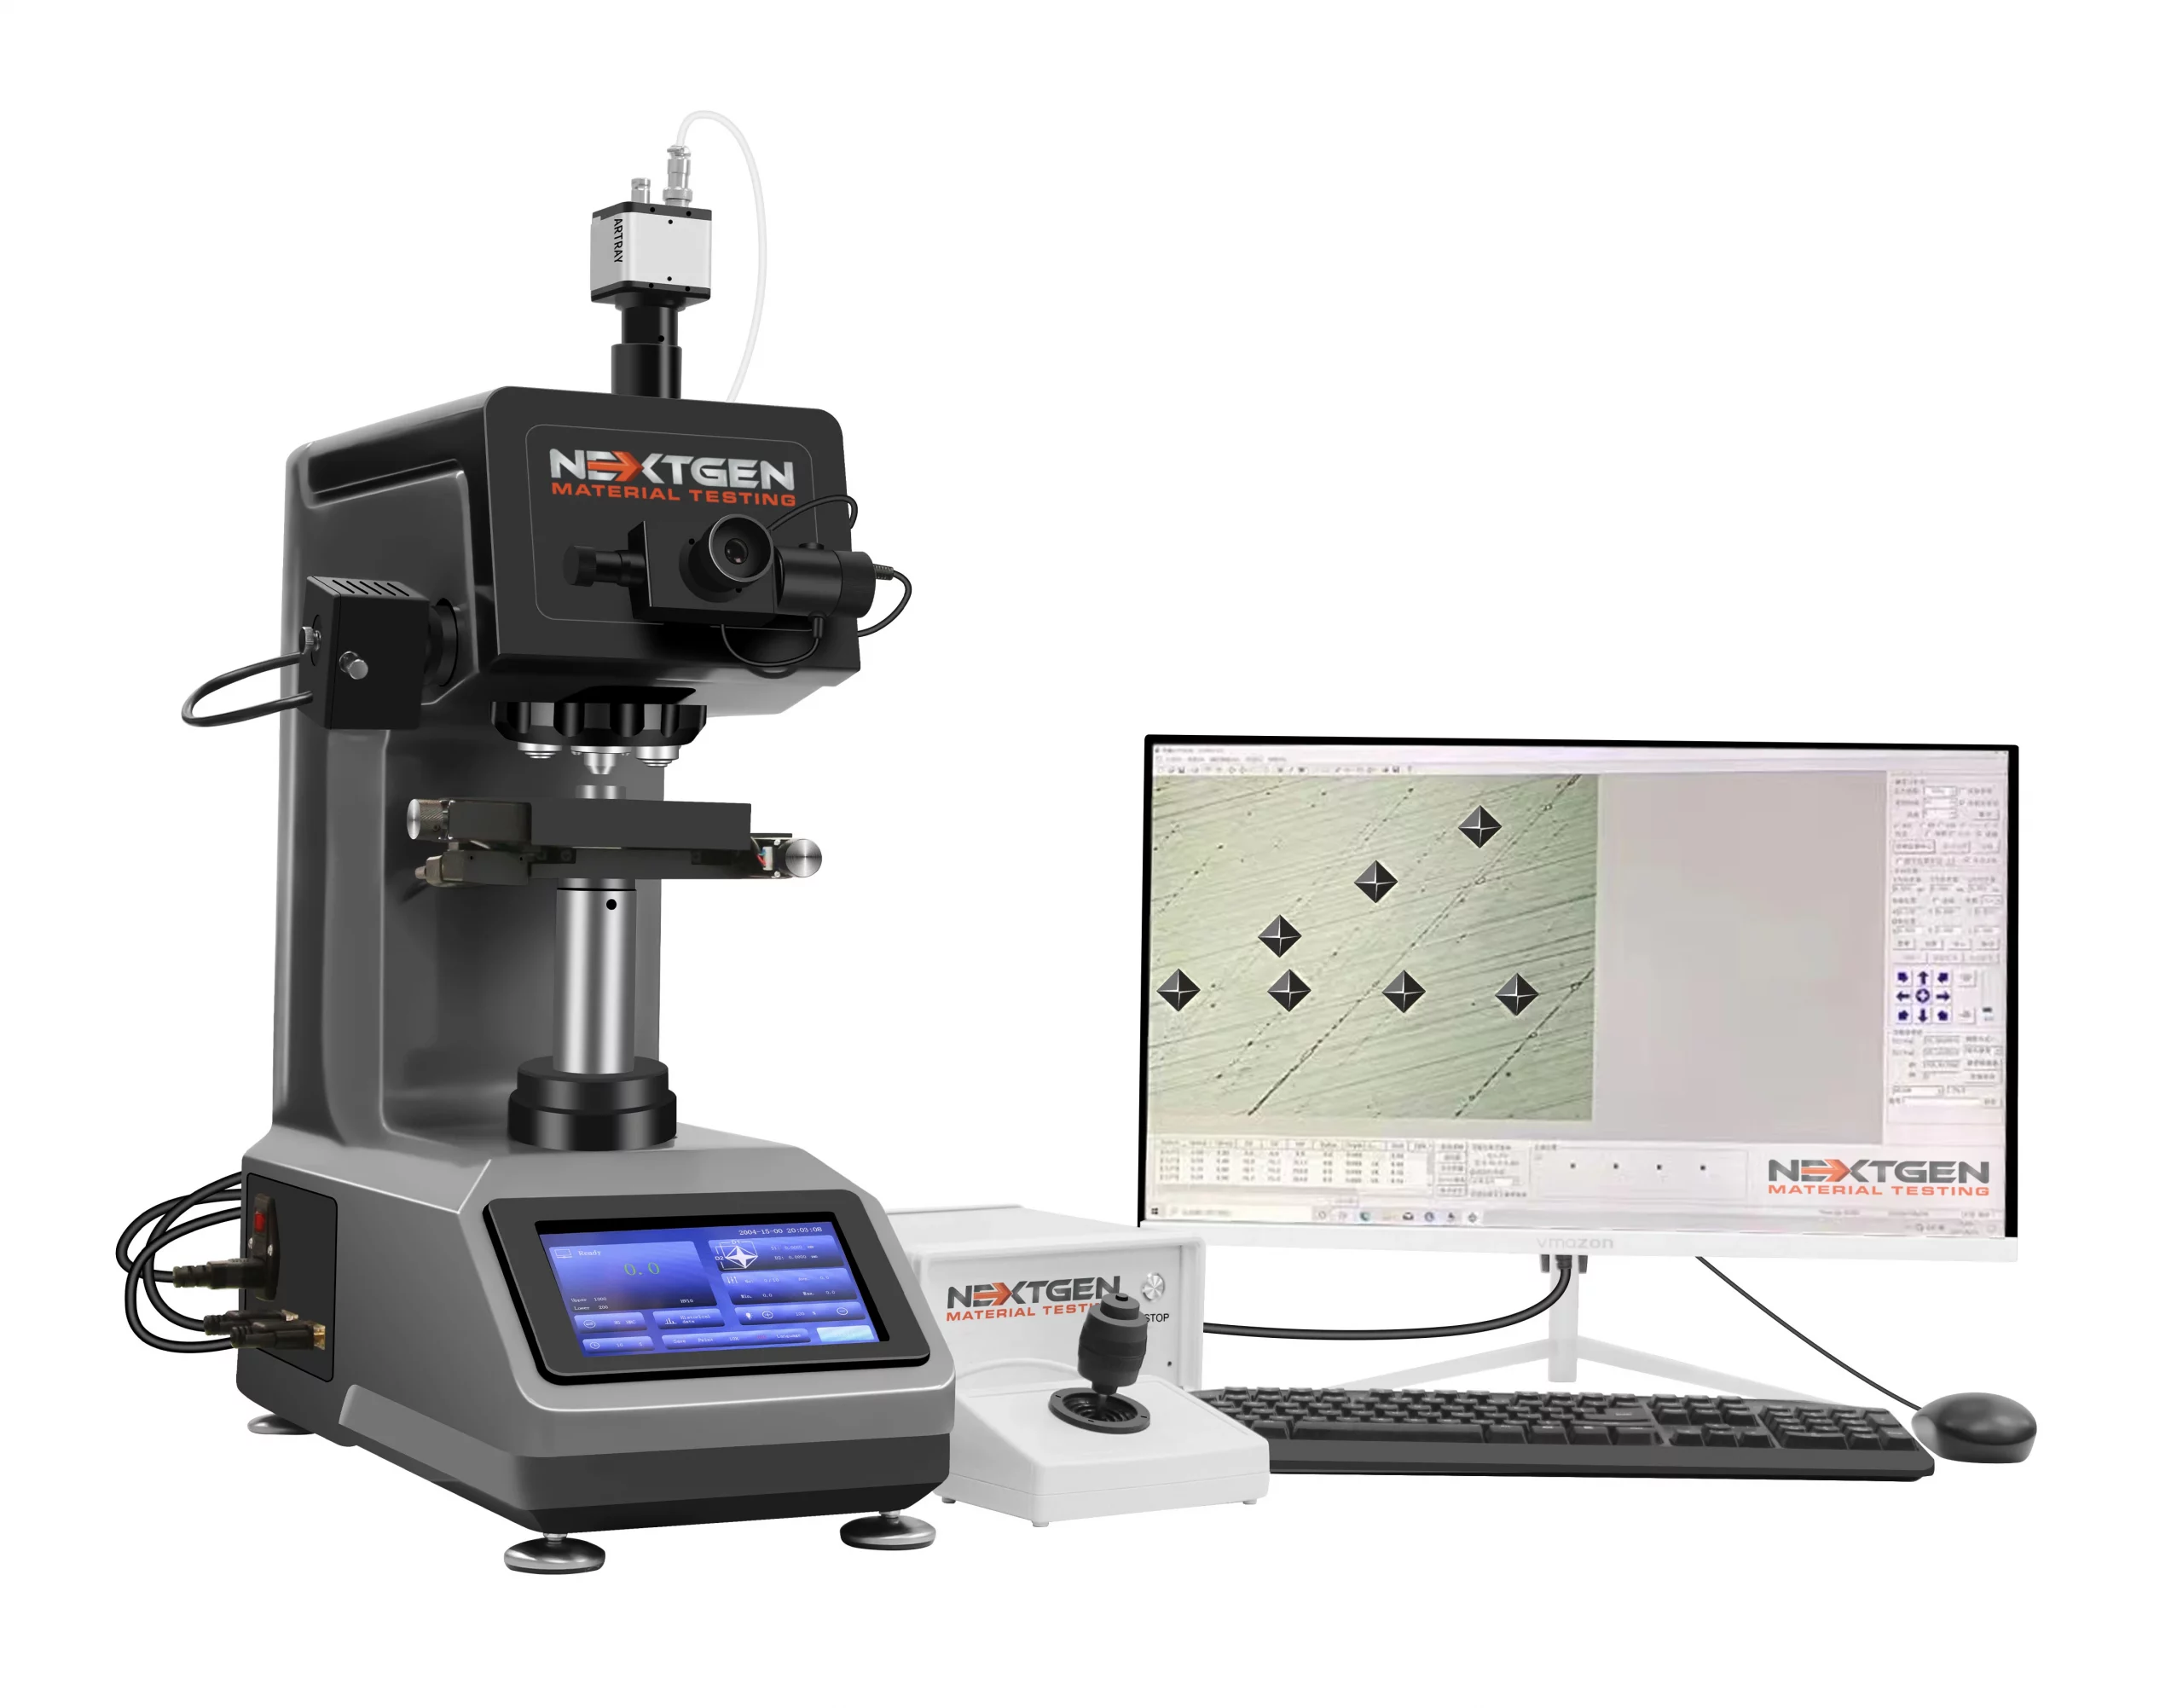
NG-5/10/30/50CCD SEMIAll of the benefits of the NG-5/10/30/50CCD system with a motorized XY stage Read More |
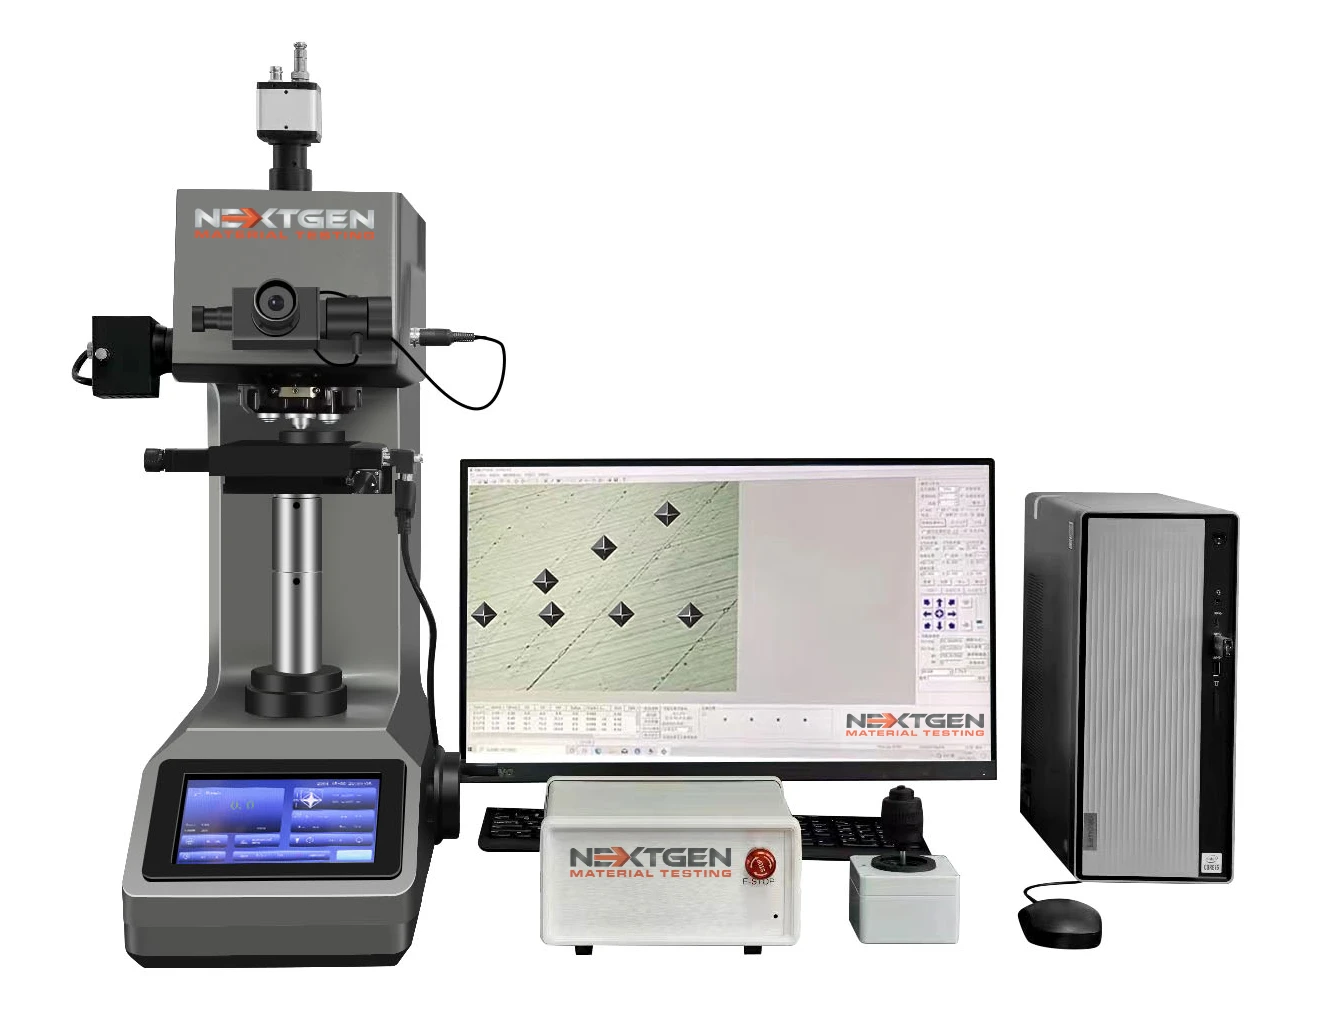
NG-5/10/30/50CCD FAAll of the benefits of the NG-5/10/30/50CCD SEMI with the automated Z axis control Read More |
Technical Specifications
| NG-5CCD | NG-5DGEN | NG-5AGEN | NG-5CCD SEMI | NG-5CCD FA | NG-10CCD | NG-10DGEN | NG-10AGEN| NG-10CCD SEMI | NG-10CCD FA | NG-30CCD | NG-30DGEN | NG-30AGEN | NG-30CCD SEMI | NG-50CCD FA | NG-50CCD | NG-50DGEN | NG-50AGEN | NG-30CCD SEMI | NG-50CCD FA | ||
|---|---|---|---|---|---|
| Testing Forces | 300g (1.96N), 500g (4.9N), 1kg (9.8N), 2kg (19.6N), 3kg (29.4N), 5kg (49N) |
0.3kg (2.94N), 0.5kg (4.9N), 1kg (9.8N), 3kg (29.4N) 5kg (49N), 10kg (98N) |
1kg (9.8N), 2kg (19.6N), 3kg (29.4N), 5kg (49N), 10kg (98N), 30kg (294N) |
1kg (9.8N), 2kg (19.6N), 3kg (29.4N), 5kg (49N), 10kg (98N), 30kg (294N), 50kg (490N) |
|
| Vickers Scales | HV0.3, HV1, HV2, HV3, HV5 |
HV0.3, HV0.5, HV1, HV3, HV5, HV10 |
HV1, HV2, HV3, HV5, HV10, HV20, HV30 |
HV1, HV2, HV5, HV10, HV20, HV30 HV50 |
|
| Conversion | Conversion of Vickers value to: HRA, HRC, HRD, HK, HBS, H15N, H30N, H45N, H15T, H30T, H45T |
||||
| Minimum Measuring Unit | 0.01μm | ||||
| Vickers Value Range | 1HV - 4000HV | ||||
| Eyepiece | 10x Magnification Eyepiece | ||||
| Objectives | 10x (Observation) and 40x (Measurement) | ||||
| Vickers Value | Displayed on the instruments display as well as the computer software (CCD) | ||||
| Magnification | 100X (Observation), 400X (Measurement), (Can be extended to 150X or 600X) | ||||
| Loading Method | Automatically - Load, dwell and unload the testing force | ||||
| Duration | 1-99 seconds | ||||
| Turret | Automatic Motorized Turret - Objective Lenses and Indenter | ||||
| Maximum Height of Specimen | 8.5cm | ||||
| Maximum Depth of Specimen | 12cm | ||||
| Light Source | LED Cold light source (no heat generated from light source - service life of light source can reach 100,000 hours) | ||||
| Stage | Dimensions of the X-Y Testing table are 10cmx10cm Maximum Travel Range 2.5cm x 2.5cm Moving Resolution Ratio 0.1mm |
||||
| Warranty | 12 Months | ||||
| Power Source | 110V/60Hz/1Ph | ||||
| Overall Dimensions |
19.3“ x 7.3“ x 20.3“ / 49 x 18.5 x 51.5 cm (LxWxH)
|
||||
| Weight | 100lbs / 45kg | ||||
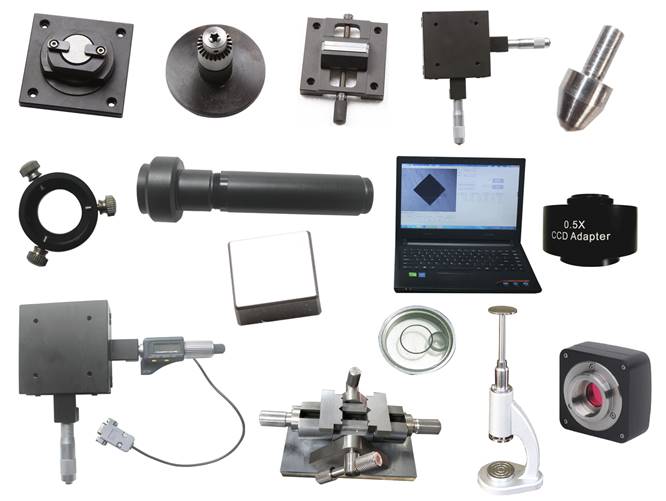
| Optional Items | 15x Eyepiece | ||||
NG 5/10/30/50 CCD

Standards
Description
CCD - Digital Macro Vickers Tester with CCD Optical Analysis Software with 5kgf, 10kgf, 30kgf and 50kgf loads, Motorized Turret and Built-In Printer.
CCD - Digital Macro Vickers Tester with CCD Optical Analysis Software measurements can be made through the eyepiece or it can be done through the analysis software and CCD camera. This Macro Vickers tester allows for the most accurate measuring and result reading options.
Standard Configuration Includes: Vickers Hardness Tester, 10X Digital Micrometer eyepiece, 10X and 20X Objective Lenses, Vickers Diamond indenter, NIST Traceable Vickers Test Block, Motorized Turret, X-Y Testing Stage, 3-Stage Fixtures, Power Cable, Dust Proof Cover, Instruction Manual, Hardness Conversion Table, Certificate of Quality, Warranty Card and Accessory Case, CD with Image Analysis Software, Digital CCD Camera, USB Drive with Software and USB Data cable.
NG 5/10/30/50 DGEN

Standards
Description
DGEN - Digital Macro Vickers Hardness Tester with 5kgf, 10kgf, 30kgf and 50kgf loads, Motorized Turret and Built-In Printer.
DGEN - Digital Macro Vickers Hardness Tester The measurements are made through the eyepiece. This system is equipped with an encoder. After using the micrometers to measure the diagonals, the system will transmit your readings from the eyepiece into the system through a single click of a button. The system will generate your hardness reading and display it on the LCD.
Standard Configuration Includes: Vickers Hardness Tester, 10X Digital Micrometer eyepiece, 10X and 20X Objective Lenses, Vickers Diamond indenter, NIST Traceable Vickers Test Block, Motorized Turret, X-Y Testing Stage, 3-Stage Fixtures, Power Cable, Dust Proof Cover, Instruction Manual, Hardness Conversion Table, Certificate of Quality, Warranty Card and Accessory Case.
NG-5/10/30/50 DGEN - Digital Micro Vickers Hardness Tester with Encoder
NG 5/10/30/50 AGEN

Standards
Description
AGEN - Standard Digital Macro Vickers Hardness Tester with 5kgf, 10kgf, 30kgf and 50kgf load options, Motorized Turret and Built-In Printer.
AGEN - Standard Digital Macro Vickers Hardness Tester measurements are made through the eyepiece. After using the micrometers to measure the diagonals, you must enter your measurements manually into the tester through the numbered keypad to generate your hardness reading on the LCD.
Standard Configuration Includes: Vickers Hardness Tester, 10X Digital Micrometer eyepiece, 10X and 20X Objective Lenses, Vickers Diamond indenter, NIST Traceable Vickers Test Block, Motorized Turret, X-Y Testing Stage, 3-Stage Fixtures, Power Cable, Dust Proof Cover, Instruction Manual, Hardness Conversion Table, Certificate of Quality, Warranty Card and Accessory Case.
NG-5/10/30/50AGEN - Standard Digital Micro Vickers Hardness Tester in ACTION
NG-5/10/30/50CCD SEMI

Standards
Description
All of the benefits of the NG-5/10/30/50CCD system with a motorized XY stage! Bring your sample into focus using the manual Z axis hand wheel and use your software for boundary scans as well as automatic hardness indentation plotting, testing and reporting!
NG-5/10/30/50CCD FA

Standards
Description
All of the benefits of the NG-5/10/30/50CCD SEMI with the automated Z axis control. Your NG-5/10/30/50CCD FA can automatically control your focus for complete automation in hardness Vickers testing!
NG-5/10/30/50CCD FA Series - Fully Automatic Macro Vickers Hardness Tester
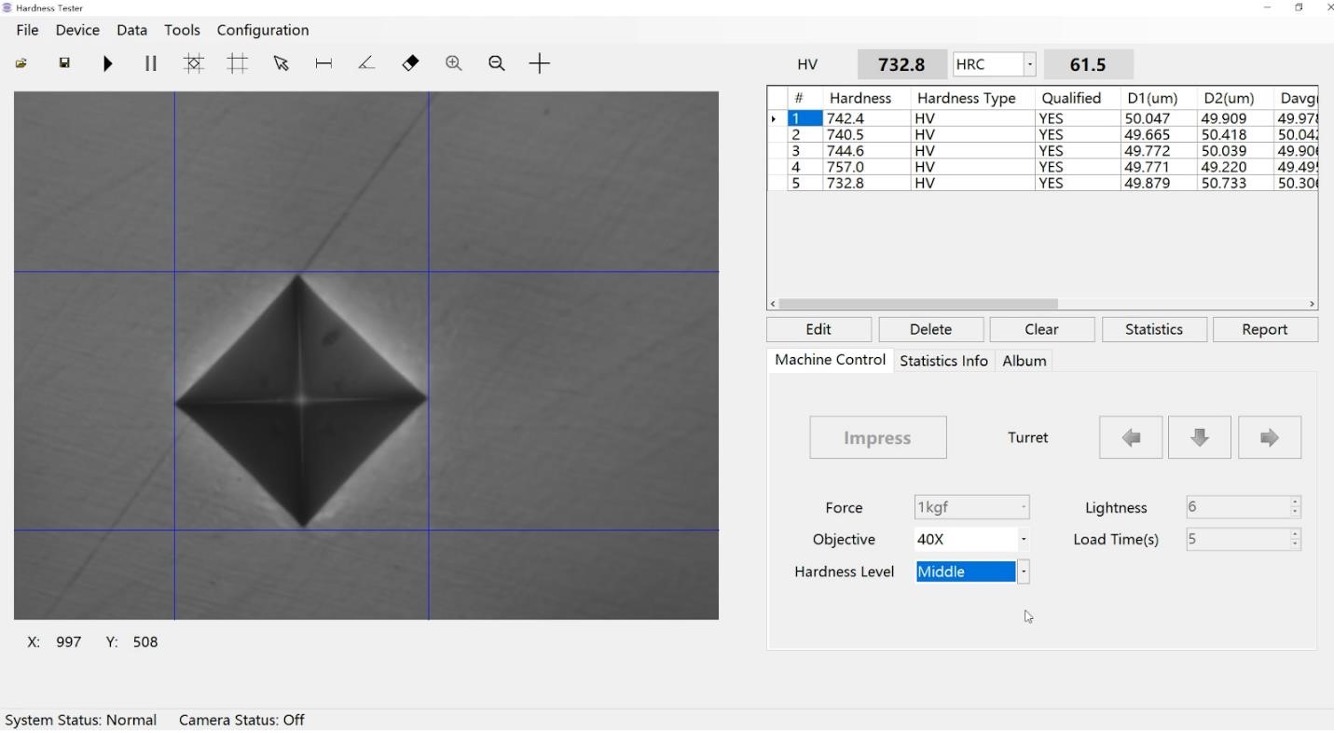
Software Features: Compatible with NG-5/10/30/50-CCD Only
Main Functions:
- Auto hardness measurement: With a single click of a button, the software automatically measures the diagonals of the indentation, calculates the hardness value and the statistics (also support manual measurement);
- Hardness curve: With the depths of test points by user input, the software automatically plots the hardness curve(s).User may save and load the depths in a depth template file for later testing for convenience;
- Hardness Conversion: Converts HV to other hardness scales (HRA, HRB, HRC, HBW, HK, and others).
- Data memory / Store function: All data in the process of measurement will be saved in the right bottom sheet.
- Statistics: Automatically updates the statistical values such as average, min and max, standard deviation.
- Test report: Automatically generates WORD report with customizable template;
- Data archiving: Measurement data and images can be saved in one file for later retrieval;
- Knoop Scale: Can be configured for Knoop Scale measurement.
- Other Functions: Includes the basic functions of imaging system such as image capture, camera calibration, image processing, etc.
- Inbuilt camera design, the Software can do indentation image Measure and analysis work; THVS-A software can control Machine turret and adjust lightness.
Main Application Purpose:
- Steel, nonferrous metals, tinsel, cemented carbide, sheet metal, metallographic structure.
- Carburization, nitriding and decarburization layer, surface hardening layer, galvanized coating, coating.
- Glass, chip and ceramic material.
Standard Configuration:
| Item | QTY |
| Weights Shaft | 1 |
| X-Y Cross Clamping Testing Table | 1 |
| Gradienter | 1 |
| Micro Vickers Hardness Block | 2 |
| Dust-proof Cover | 1 |
| Power Cable | 1 |
| Software | 1 Set |
| Manual | 1 |
| Weights | 6 |
| Level adjustment screw | 4 |
| Objective 10X, 40X | 1 of Each |
| Eyepiece 10X | 1 |
| Screw Driver | 2 |
| Fuse (2A) | 2 |
| Camera | 1 |
| Product Certificate | 1 |
Spare Parts and Consumables:
| Part # | Description of Part # | |
| NG-VKI | Dual Indenter Motorized Turret for Knoop and Vickers Testing Upgrade | |
| The addition of a 4th position on the motorized turret for a Knoop indenter. This allows the user to test either Vickers or Knoop without having to change any indenters. | ||
| NG-VDI | NIST Certified Vickers Diamond Indenter according to ISO 17025 | |
| NG-KI | NIST Certified Knoop Indenter according to ISO 17025 | |
| NG-860 | NIST Certified Micro-Vickers Test Block according to ISO 17025 | |
| Certified and NIST traceable. All loads and ranges available. | ||
| NG-860 | NIST Certified Knoop Test Block according to ISO 17025 | |
| Certified and NIST traceable. All loads and ranges available. | ||
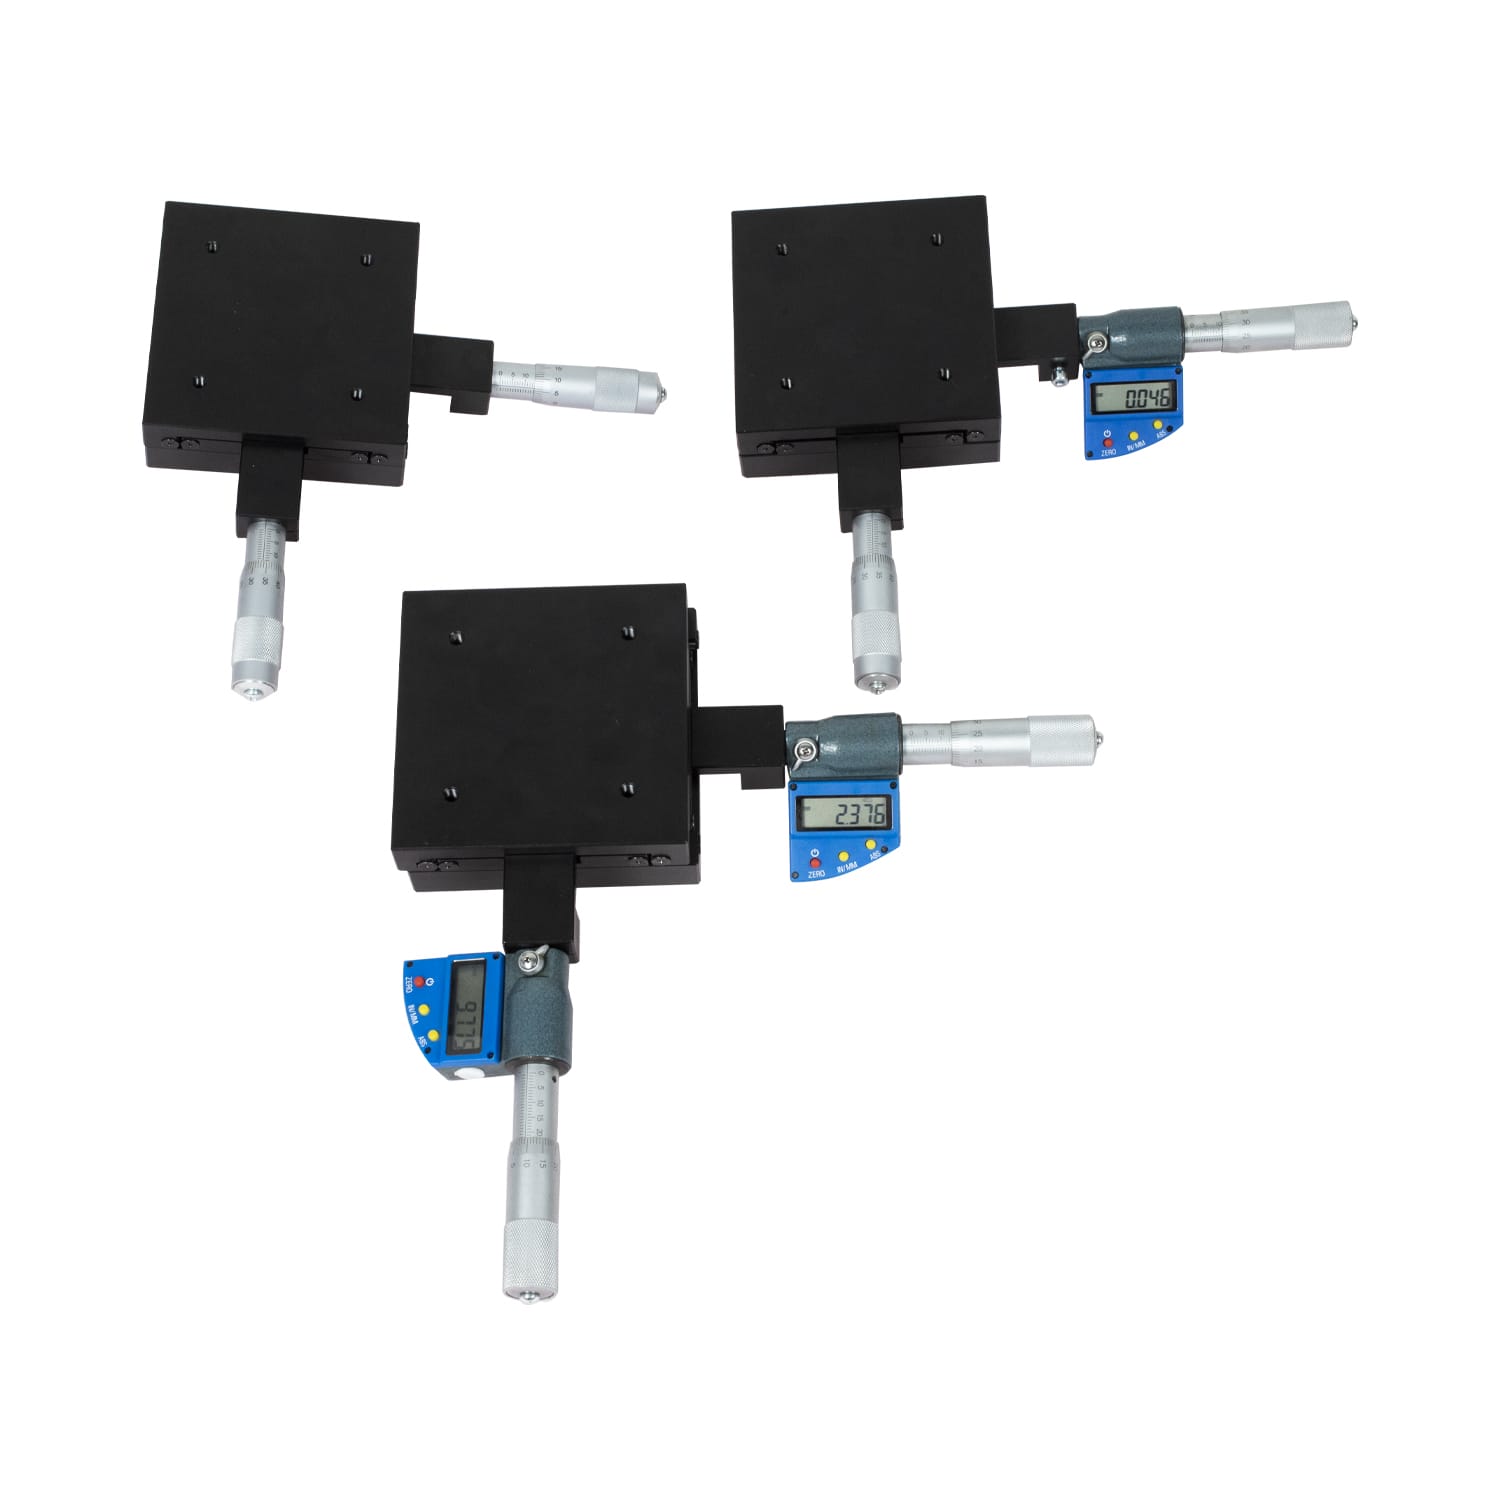
| NG-XY-MICRO | XY Stage with Digital Micrometer Upgrade | |
| NG-FLS2000 | Universal Leveling Fixture for Sample to Help Meet Parallelism Requirements for Hardness Testing | |
| NGFixture1000 |
Full Set of Fixtures for your NG-5/10/30/50DGEN ModelIncludes: • Flat clamping test table • Thin specimen test table • Filament clamping test table |
|
| NG-AutoSoft | Automatic Software (to be purchased with NG-5/10/30/50CCD) – Software automatically measures indentation | |
|
NG-USB- 1000DGEN |
Upgrade your NG-5/10/30/50DGEN model to a USB Interface instead of built-inprinter USB interface instead allows to store hundreds of results. The data will be saved in the U-flash in Excell format. This way you can save thousands of readings without the need for printer. |
|
| NG-2kgf | Add 2kgf Load to your NG-5/10/30/50 Series Vickers Hardness Tester | |
Vickers Hardness Tester | Unpacking and Set Up for Testing
FAQs
ISO 6507 is an international standard developed by the International Organization for Standardization (ISO). The full title of this standard is "Metallic materials - Vickers hardness test - Part 1: Test method."
ISO 6507-1 specifies the method for the Vickers hardness test for metallic materials. The Vickers hardness test is a common method for measuring the hardness of materials by pressing a diamond indenter into the surface of the material with a known force, and then measuring the size of the resulting indentation. This test method is widely used for measuring the hardness of materials with different thicknesses or for materials that are too small for other types of hardness tests.
ISO 6507-1 outlines procedures for conducting the Vickers hardness test, including requirements for the testing machine, preparation of test specimens, calibration, test force application, and measurement of the indentation size.
This standard is widely used in various industries, including metallurgy, manufacturing, engineering, and quality control, to assess the hardness of metallic materials.
Our Micro & Macro Vickers and Knoop Hardness Testers comply with ISO 6507.
Contact us to receive a personal quotation for our Micro & Macro Vickers and Knoop Hardness Testers.
ASTM E92 is a "Standard Test Method for Vickers Hardness of Metallic Materials" established by the American Society for Testing and Materials (ASTM) International.
This test method covers the determination of the Vickers hardness of metallic materials using a microindentation hardness testing machine. Vickers hardness is a measure of a material's resistance to indentation and is typically used for harder materials or when the test sample is thin.
In ASTM E92, the Vickers hardness is determined by measuring the diagonal lengths of the indentation left by a pyramidal diamond indenter. The hardness value is calculated based on the applied force and the surface area of the indentation.
Our Micro & Macro Vickers and Knoop Hardness Testers comply with ASTM E92.
Contact us to receive a personal quotation for our Micro & Macro Vickers and Knoop Hardness Testers.
ASTM E384 is a "Standard Test Method for Microindentation Hardness of Materials" established by the American Society for Testing and Materials (ASTM) International. This method is commonly used to determine the microhardness of materials, which involves measuring the resistance of a material to localized plastic deformation caused by indentation. Microindentation testing is often used for materials that are too small or too thin for traditional macroscopic hardness testing methods like Brinell or Rockwell hardness testing.
ASTM E384 provides guidelines for conducting microindentation hardness tests using various hardness testing machines, such as Vickers, Knoop, and instrumented indentation machines. The standard outlines procedures for sample preparation, calibration of the testing equipment, indentation procedures, and measurement of the hardness values.
This standard is widely used in industries such as metallurgy, materials science, engineering, and quality control to assess the mechanical properties of materials at small scales.
Our Micro & Macro Vickers and Knoop Hardness Testers comply with ASTM E384.
Contact us to receive a personal quotation for our Micro & Macro Vickers and Knoop Hardness Testers.
The Vickers method can be classified into three hardness testing load ranges: in the micro, low-load, and conventional (macro) hardness range depending on the ISO standard test force magnitude (and therefore on the Vickers Method, e.g., HV 0.01; HV 1; HV 10).
Depending on the appropriate load range, different applications exist for the Vickers techniques.
The benefits of the Vickers approach include:
Since the Vickers method covers the full hardness range, it can be applied to any materials and test specimens, from soft to hard.
There is just one kind of indenter that works with all Vickers techniques.
Since non-destructive testing is an option, the test specimen can serve additional functions.
NextGen’s Macro Vickers Hardness Tester – Analogue, Digital and Digital with CCD Optical Analysis Main Application Purpose:
- Steel, nonferrous metals, tinsel, cemented carbide, sheet metal, metallographic structure.
- Carburization, nitriding and decarburization layer, surface hardening layer, galvanized coating, coating.
- Glass, chip and ceramic material.
To obtain a personalized quote, click here.
Here are the main functions of NextGen’s NG-5000 - Macro Vickers Hardness tester:
- Automatic hardness measurement: With the push of a button, the program instantly calculates the hardness value, statistics, and the diagonals of the indentation (also assistance with manual measuring);
- Hardness curve: The software automatically plots the hardness curve using the depths of test points provided by the user. Durometer curve (s). A depth template file can be used by the user to save and load the depths for further testing for convenience;
- Converts HV to different hardness scales, including HRA, HRB, HRC, HBW, HK and others);
- Data memory/store function: All measurements' data will be saved in the appropriate lower sheet;
- Statistics: Updates statistical information such as average, minimum and maximum, and standard automatically deviation;6
- Test report: automatically produces a Word report using a template that is customizable;
- Data archiving: Images and measurement data can both be archived in a single file for access at a later time;
- Knoop Scale: This measurement method is configurable;
- Additional Functions: Consists of fundamental imaging system operations such as image capture, camera calibration, image processing, etc;
- An integrated camera that the software can use to measure and analyze indentation images; The Machine Turret and Lightness can be controlled via THVS-A software.
To obtain a personalized quote, click here.
The Vickers Hardness Test entails utilizing a diamond indenter to apply force (also known as a "load") to the test material in order to produce an indentation. The measurement of the specimen's hardness is determined by the depth of the indentation in the material. Generally speaking, the harder the object is, the smaller the depression. Depending on the force used to indent the test material, hardness testing can be divided into micro-indentation tests and macro-indentation tests. (Micro-indentation tests normally employ loads up to 200 gf; macro-indentation tests typically employ loads up to 1000 gf.) The two most popular tests that can be used for both micro- and macro-indentation are the Vickers and Knoop hardness tests.
By pressing the diamond indenter into the surface being tested, the test is carried out. The indenter has a square base, a pyramidal shape, and opposite faces that are at an angle of 136 degrees with one another. Loads typically range from 1 to 100 kgf. Typically, the entire load is applied for 10 to 15 seconds.
NextGen’s Macro Vickers Hardness Tester NG-5 has the following Vickers Scales: HV0.3, HV1, HV2, HV3, HV5.
NextGen’s Macro Vickers Hardness Tester NG-10 has the following Vickers Scales: HV1, HV2, HV3, HV5, HV10.
NextGen’s Macro Vickers Hardness Tester NG-30 has the following Vickers Scales: HV1, HV2, HV3, HV5, HV10, HV20, HV30
NextGen’s Macro Vickers Hardness Tester NG-50 has the following Vickers Scales: HV1, HV2, HV5, HV10, HV20, HV30, HV50
To obtain a personalized quote, click here.
Micro hardness testing is one of the many applications for which the Vickers hardness test is appropriate. You may find a description of the Vickers hardness test, instructions on how to use it, and a catalogue of our Vickers microhardness testing equipment on this website.
The hardness depth of surface-hardened steels is frequently assessed via hardness testing. To do this, a succession of hardness imprints are made on the cross-sectioned sample, working their way toward the centre. The distance from the surface to the hardness limit (HL) is computed when the hardness evolution is shown on a graph.
The hardness depth of surface-hardened steels is frequently assessed via hardness testing. To do this, a succession of hardness imprints are made on the cross-sectioned sample, working their way toward the centre. The distance from the surface to the hardness limit (HL) is computed when the hardness evolution is shown on a graph.
It's crucial to follow the guidelines for indent spacing while completing a hardness progression. To guarantee an accurate measurement of CHD, edge retention is also necessary during the mechanical preparation of samples.
Case depth is the distance between the surface and the hardness limit.
NextGen’s Macro Vickers Hardness Tester – Analogue, Digital and Digital with CCD Optical Analysis has the following Data Output:
Built-in Printer: Hardness Value, the max, and min value, testing time, and average value
To obtain a personalized quote, click here.
Almost every type of material can be examined using microhardness procedures, including ceramics, metals, composites, and others. Vickers tests can be used for a variety of purposes because the test indentation is too small; examples include measuring individual microstructures, testing extremely thin materials like foils, determining the surface of one small part or several smaller parts, or determining the depth of case hardening by segmenting a portion and making a series of indentations to define a profile of the change in hardness.
According to the Vickers hardness test method, test material is indented using a diamond indenter in the correct pyramidal shape with a square base at an angle of 136 degrees with respect to a weight of 1 to 100 kgf. Typically, the full load is applied for 10 to 15 seconds.
NextGen’s Macro Vickers Hardness Tester – Analogue, Digital and Digital with CCD Optical Analysis uses the following loading method: Automatically - Load, dwell and unload the testing force.
To obtain a personalized quote, click here.
Magnification is the process of enlarging something. Additionally, it means expanding the seeming size rather than the actual size. It is possible to measure this expansion.
Magnification Definition:
It describes the process of using lenses to enlarge an object visually. Additionally, the thing simply appears larger and does not actually become bigger. Additionally, this idea comes from two different forms.
First, use a microscope to magnify small things, and then a telescope (that makes a distant object appear closer and the images are more clear and more defined).
Additionally, both of these forms and tools use two distinct formulas. Additionally, microscopic magnification aids in our understanding of the composition and structure of items.
There are two types of magnification lenses Simple and Compound lenses.
NextGen’s Macro Vickers Hardness Tester – Analogue, Digital and Digital with CCD Optical Analysis magnification is 100X (for observation), 200X (for measurement), and can be extended to 400X.
To obtain a personalized quote, click here.
The size of the diagonal impression that the indenter leaves behind is measured by the Vickers hardness test, an optical method. However, depth measurement methods gauge the size of the indentation made by the indenter (only Rockwell is standardized).
The depth of the indentation the indenter leaves on the surface of a workpiece (specimen) when applying a particular test force depends on how soft the material being tested is.
In order to measure the Vickers hardness, an ISO 6507-compliant pyramid-shaped indenter (with an interfacial angle of 136°) is pressed into a specimen (workpiece) with a specified test load beginning at 1 gf (HV).
The Vickers hardness (HV) is calculated by dividing the surface area of the remaining indent on the specimen by the test force (F in newtons N) (see formula below). The surface area of the remaining pyramidal indentation is determined using the average of the two diagonals because the base area of Vickers indents is normally not square (d1 and d2 in mm).
The standard specifies the Vickers hardness range (ISO 6507). Depending on the specimen material used and the test force, the Vickers hardness value might range from 1 to 3.000 HV.
Test duration for NextGen’s Macro Vickers Hardness Tester – Analogue, Digital and Digital with CCD Optical Analysis is 1-99 seconds.
To obtain a personalized quote, click here.
For quick and easy analysis, the automated turret enables the exchange of the objective lenses and the indenter. The load, dwell period, and release phases of the macro testing force are all entirely automated. After the unit completes the test, the objective lens will automatically return to its original focus condition, which is over the indentation. This makes it possible to calculate the Vickers Hardness value by taking a quick measurement of the indentation's diagonals.
The test load for this Vickers method ranges from 1 gf according to ISO standards and from 1 gf up to 120 kgf according to ASTM standards. These standards demonstrate that this method may be used to measure hardness for all load levels, from micro to macro to low.
NextGen’s Macro Vickers Hardness Tester uses Automatic Motorized Turret - Objective Lenses and Indenter.
To obtain a personalized quote, click here.
A material's resistance to permanent deformation, such as piercing or scratching, is referred to as hardness. One method of determining hardness is through static indentation tests. A cone, pyramid, or ball is driven into the material's surface to create a static depression. The hardness is determined by the relationship between the stress applied for a specific amount of time and the size or depth of the indentation. A square pyramidal diamond indenter with predetermined face angles is used in Vickers hardness testing.
The test should be run on a flat specimen with a polished or prepared surface for high-accuracy measurement. The amount of force applied determines the quality of the necessary surface. The indentation perimeter and depth must always be distinct under a microscope in all tests.
For NextGen’s Macro Vickers Hardness Tester NG-5 the Maximum Height of Specimen is 8.5cm and Maximum Depth is 11cm.
For NextGen’s Macro Vickers Hardness Testers NG-10, NG-30, NG-50 the Maximum Height of Specimen is 16cm and Maximum Depth is 30cm.
Click here if you would like to obtain a personal quote.
A flexible hardness test technique, the Vickers hardness test is used to measure both macro and micro hardness. It is appropriate for a variety of applications and materials and has a wide load range.
Many people believe that the Vickers hardness test is simpler to use than other hardness tests: The procedure can be carried out using a universal or micro hardness tester, the calculations necessary are independent of the indenter size, and the same indenter (a pyramidal diamond) can be used for all materials, regardless of hardness.
When you do a Vickers hardness test, your indentation will distort the surrounding material and change its properties regardless of the microhardness tester you choose. The Vickers hardness testing standards provide a specific spacing between multiple indentations in order to prevent erroneous interpretations of perceived hardness.
NextGen’s Macro Vickers Hardness Tester – Analogue, Digital and Digital with CCD Optical Analysis has the following stage:
- Dimensions of the X-Y Testing table are 10cmx10cm
- Maximum Travel Range 2.5cm x 2.5cm
- Moving Resolution Ratio 0.1mm
Click here if you would like to obtain a personal quote.
Volts are SI-derived units representing electromotive force, electric potential difference, and potential energy (symbol: V). One volt is the potential created when an electric current of one ampere spends one watt of energy between two points on a conducting wire. For every coulomb of charge that crosses the potential difference between two locations, one joule of energy will be transferred in its stead.
A power source's electrical potential, or, to put it another way, the amount of pressure required to get electrons to flow through an electrical connection, is 220V. There are several countries where 220V is the standard for residential power.
The International System of Units (SI) uses the hertz (symbol: Hz) as the unit of frequency, which is equal to one event (or cycle) per second. One hertz is equal to one second, according to the hertz, a SI-derived unit whose expression in terms of SI base units is s1.
NextGen’s Macro Vickers Hardness Tester – Analogue, Digital and Digital with CCD Optical Analysis Software has the following Power Source: 110V/60Hz/1Ph
Click here if you would like to obtain a personal quote.
ASTM E384 is the approved test method for determining a material's Knoop and Vickers hardness.
Test loads can range from 1 gramme to 1,000 grammes, despite the fact that they are typically between 100 and 500 grammes.
The Vickers indenter frequently produces an indentation that is geometrically equivalent at all test forces.
The Knoop indenter does not produce a geometrically similar indentation as a function of test force. Because of its rhombic shape, a Knoop indentation has a shallower indentation depth than a Vickers impression under the same test conditions. Therefore, it can be very useful to evaluate thin coatings or hardness gradients on sectioned samples using the Knoop indenter.
ASTM E140 can be used to convert Knoop and Vickers hardness values into other hardness scales.
To answer your question, yes, NextGen’s Macro Vickers Hardness Tester – Analogue, Digital and Digital with CCD Optical Analysis Software implements ASTM E384 Standard
Click here if you would like to obtain a personal quote.
This specification relates to the determination of the Vickers hardness of metallic materials with applied forces between 1 kgf and 120 kgf. Part B is covered by the validation of the Vickers hardness testing equipment. Additionally, section C talks about the standard test block calibration. All requirements are available from ASTM International.
This standard covers two classes of standardized tests: the Routine test (with routine accuracy) and the Verification, Laboratory, or Referee test (with a much higher degree of accuracy required). WMT&R specializes in the Referee Test.
In the Vickers Hardness Test, a small diamond indenter with an apical angle of 136 degrees is employed and is driven into the test material at a specific load. The resulting indentation is then measured from tip to tip along both axes. The average of the two axis readings is converted into a Vickers Hardness number using a formula, or more typically, a chart based on the formula. The test will yield the most accurate results if the specimen is subjected to the maximum load possible. A higher load results in a larger indentation, better measurement resolution, and more trustworthy data.
NextGen’s Macro Vickers Hardness Tester – Analogue, Digital and Digital with CCD Optical Analysis Software implements ASTM E92 Standard.
Click here if you would like to obtain a personal quote.
For the three separate test force ranges for metallic materials, including hard metals and other cemented carbides, ISO 6507 specifies the Vickers hardness test technique.
Principle: A diamond indenter is pressed into a test piece's surface in the shape of a right pyramid with a square base and a predetermined angle between opposing faces at the vertex.
The area of the sloped indentation surface, which is considered to be a right pyramid with a square base and the same angle as the indenter at the vertex, is divided by the test force to give the quotient, which is used to determine the Vickers hardness.
NOTE 1 The centre of the base and the apex of a right pyramid are in line.
NOTE 2 This document has incorporated hardness as appropriate.
NextGen’s Macro Vickers Hardness Tester – Analogue, Digital and Digital with CCD Optical Analysis Softwarehas ISO 6507 certification.
To obtain a personalized quote, click here.
LEDs are solid-state electronics that instantly transform electrical energy into a single colour of light. LEDs don't waste energy by converting it into heat that doesn't produce light since they use "cool" light-generating technology, in which the majority of the energy is provided in the visible spectrum. In contrast, an incandescent bulb emits the majority of its energy in the infrared (or non-visible) region of the spectrum. As a result, both HID and fluorescent bulbs generate a lot of heat.
LEDs don't just provide cold light; they also:
- Can be powered by a solar panel or even a portable battery pack.
- Can be included in a control system.
- Are compact, shock-resistant and vibration-resistant.
- Enjoy a quick "on-time" (60 nsec vs 10 msec for an incandescent lamp).
- Possess good colour resolution and a little or nonexistent shock danger.
NextGen’s Macro Vickers Hardness Tester – Analogue, Digital and Digital with CCD Optical Analysis Software uses LED Cold light source (no heat generated from light source - service life of light source can reach 100,000 hours)
DGEN is a digital macro Vickers hardness tester with a built-in printer, motorized turret, and 5kgf, 10kgf, 30kgf, and 50kgf loads.
Vickers Hardness Digital Macro Tester (DGEN) Through the eyepiece, measurements are taken. An encoder is part of this system. The device will communicate your data from the eyepiece into the system with only one button press after utilizing the micrometres to measure the diagonals. Your hardness reading will be generated by the system and displayed on the LCD.
The following items are included in the standard configurationof NextGen’s Macro Vickers Hardness Tester NG 5/10/30/50 DGEN: a Vickers Hardness Tester, a 10X Digital Micrometer eyepiece, 10X and 20X Objective Lenses, a Vickers Diamond indenter, a NIST Traceable Vickers Test Block, a Motorized Turret, an X-Y Testing Stage, 3-Stage Fixtures, a power cable, a dust-proof cover, an instruction manual, a hardness conversion table, a certificate of quality, Warranty card and Accessory case.
Click here if you would like to obtain a personal quote.
AGEN is an analogue macro Vickers hardness tester with a built-in printer, motorized turret, and load options of 5kgf, 10kgf, 30kgf, and 50kgf.
Measurements are taken using the AGEN - Analogue Macro Vickers Hardness Tester through the eyepiece. You must manually enter your measurements into the tester through the numbered keypad after using the micrometres to measure the diagonals in order for the tester to display your hardness reading on the LCD.
The following items are included in the standard configuration of NextGen’s Macro Vickers Hardness Tester NG 5/10/30/50 AGEN: a Vickers Hardness Tester, a 10X Digital Micrometer eyepiece, 10X and 20X Objective Lenses, a Vickers Diamond indenter, a NIST Traceable Vickers Test Block, a Motorized Turret, an X-Y Testing Stage, 3-Stage Fixtures, a power cable, a dust-proof cover, an instruction manual, a hardness conversion table, a certificate of quality, warranty & accessory case.
Click here if you would like to obtain a personal quote.
CCD - Digital Macro Vickers Tester with Built-in Printer, Motorized Turret, and CCD Optical Analysis Software with 5kgf, 10kgf, 30kgf, and 50kgf loads.
Vickers Tester for Digital Macro with CCD Optical Analysis Software measurements may be performed using the eyepiece or the CCD camera and analysis software. The Macro Vickers tester offers the most precise options for measuring and reading results.
The following items are included in the standard configuration of NextGen’s Macro Vickers Hardness Tester NG 5/10/30/50 CCD: Vickers Hardness Tester, 10X Digital Micrometer eyepiece, 10X and 20X Objective Lenses, Vickers Diamond indenter, NIST Traceable Vickers Test Block, Motorized Turret, X-Y Testing Stage, 3-Stage Fixtures, Power Cable, Dust Proof Cover, Instruction Manual, Hardness Conversion Table, Certificate of Quality, Warranty Card and Accessory Case, CD with Image Analysis Software, Digital CCD Camera, USB Drive withSoftware and USB Data cable.
Click here if you would like to obtain a personal quote.
A material's resistance to localized permanent deformation is gauged by its hardness. Plastic deformation is another name for permanent distortion. When a material deforms elastically, it does so only when force is applied; whereas, when a material deforms plastically, it does not change back to its previous shape.
Varied types of loading cause different behaviours from materials. For instance, a metal that can withstand a significant one-time impact very well could not behave the same way under continual loads.
To make an informed decision for the application, hardness testing must be done in each scenario.
Scratch, rebound, and indentation hardness are the three different types of hardness. Each sort of hardness can only be measured with a certain set of tools.
Also, the same material will have different hardness values for the types mentioned above.
The commonly used units for hardness measurement are:
- Brinell Hardness Number (HB)
- Vickers hardness number (HV)
- Rockwell hardness number (HRA, HRB, HRC, etc)
The minimum measuring unit of NextGen’s Macro Vickers Hardness Tester – Analogue, Digital and Digital with CCD Optical Analysis Software is 0.1μm.
Click here if you would like to obtain a personal quote.
A material's hardness is a quality, not a fundamental physical trait. Its definition is "resistance to indentation," and its measurement is the indentation's permanent depth.
Simply put, the harder the material is when tested with a fixed force (load) and a specific indenter. Using one of more than 12 distinct test procedures, the depth or area of the indentation is measured to determine the indentation's hardness.
Based on an optical measurement technique, the Vickers method. In order to create an indentation that can be measured and translated into a hardness value, a diamond indenter is used in the Microhardness Test Procedure, ASTM E-384. Although test samples must be well polished to permit quantifying the size of the impressions, it is particularly useful for testing on a variety of materials. For testing purposes, a diamond with a square base and a pyramidal shape is employed. Although "Macro" Vickers loads can be up to 30 kg or more, most loads are quite light, ranging from 10gm to 1kgf.
The Vickers Value Range of NextGen’s Macro Vickers Hardness Tester – Analogue, Digital and Digital with CCD Optical Analysis Software is HV1 - HV4000
Click here if you would like to obtain a personal quote.
When it comes to macro Vickers hardness testers we have 3 primary options to meet your metal testing requirements. Our NG-5000 Series - Macro Vickers Hardness Testing Systems has you covered for virtually all Vickers applications. The categories of the macro hardness testers include the AGEN - Analogue Macro Hardness Tester Series, DGEN - Digital Macro Hardness Tester Series and CCD - Digital Macro Hardness Testers with Optical Analysis Software. Each unit provides a unique competitive advantage for your macro hardness testing needs. Whether you are looking to perform low or high testing volumes, softer or harder materials, or require minimal to no operator error, the NG-5000 Series - Macro Vickers Hardness Testing Systems is the logical solution. Request quote today to learn more.
Your Macro Vickers hardness tester is to be expected within 2-4 weeks of the purchase order issue and payment term completion. The Vickers hardness testers are our best selling quality control unit therefore the manufacturing process for the macro Vickers hardness testers is ongoing all year round. The unit is manufactured to order within 2 weeks, inclusive of the quality inspection and certification processes. It then takes 3-5 business days to deliver the macro Vickers hardness tester to your facility anywhere in North America. Contact us today to help expedite the delivery of the macro Vickers hardness tester into your facility.
Yes. NextGen Material Testing, Inc. offers marketing leading Universal Hardness Testing systems. Our hardness testers are manufactured to suite virtually any technical specification. NextGen's Universal Hardness Testers are equipped to perform various test scales such as Rockwell, Brinell and Vickers Hardness testers all-in-one. Our Universal Hardness Testers come in semi- and fully automatic options with user-friendly advanced software. The hardness testers are capable of testing the softest and the thinnest of metals to super-hard engineered alloys. Learn more at Advanced Automatic Vickers/Knoop/Brinell Hardness Tester.
Yes. NextGen Material Testing, Inc. offers a full range of semi- and fully-automatic Macro Vickers and Micro Vickers Hardness Testing Systems. Please refer to our Advanced Automatic Vickers/Knoop/Brinell Hardness Tester for more information.
Does the Vickers Hardness Tester come certified and in accordance with thelatest industry standards?
All equipment supplied by NextGen Material Testing, Inc.'s comes pre-calibrated and certified before leaving our facility. All of our Vickers Hardness Testers and other quality control equipment is manufactured in accordance to the latest applicable industry standards.
Request a quotation today.
NextGen Material Testing, Inc. is partnered with major ISO certified
organizations globally. This means that your Vickers Hardness Tester is
going to be accommodated for annual calibration worldwide. NextGen does not
charge annual fees for your Vickers Hardness Testing calibrations because
majority of calibration procedures can be done over the phone, Skype or
TeamViewer.
In using the AGEN Model the measurements are conducted through the eyepiece. The micrometers are then aligned with the diagonals for measurement. The reading provided using the micrometers is then manually entered into the tester using the number keypad to receive the hardness reading on the LCD screen.
In using the DGEN Model the measurements are conducted through the eyepiece. There is an encoder provided with this system. The micrometers are aligned with the diagonals and the reading will be transmitted into the system with a simple click of a button. The generated hardness reading will be displayed on the LCD screen.
In using the DGEN CCD Model the measurements can be conducted using the eyepiece of through the CCD Camera with the Analysis software. In conducting measurements through the CCD Camera and the Analysis software, the micrometers will automatically align with the diagonals of the indentation and the reading will be displayed in your PC through the included USB/RS-232 cord.
Both AGEN and DGEN Models have the following testing force ranges:
|
NG5 |
NG10 |
NG30 |
NG50 |
|
|
Testing Forces |
300g (1.96N), 500g (4.9N), 1kg (9.8N), 2kg (19.6N), 3kg (29.4N), 5kg (49N) |
500g (4.9N), 1kg (9.8N), 2kg (19.6N), 3kg (29.4N), 5kg (49N), 10kg (98N) |
1kg (9.8N), 2kg (19.6N), 3kg (29.4N), 5kg (49N), 10kg (98N), 30kg (294N) |
1kg (9.8N), 2kg (19.6N), 3kg (29.4N), 5kg (49N), 10kg (98N), 30kg (294N), 50kg (490N) |
The Macro Vickers Hardness tester offers conversion of Vickers values to the following scales: HRA, HRC, HRD, HK, HBS, H15N, H30N, H45N, H15T, H30T, H45T
Every Macro Vickers Hardness tester is covered by our 12 months manufacturing warranty as well as our market leading Life-Time Consultation Advantage. Please refer to the Warranty Support page for more details.
Each purchase Macro Vickers Hardness tester comes standard with certified test blocks. All we ask is that you provide us your desired hardness value and hardness load.
Related Products
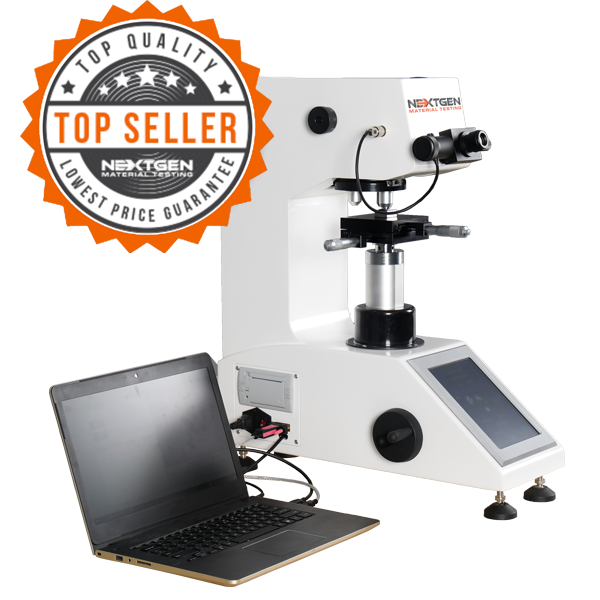
Micro Vickers and Knoop Hardness Tester - Digital and Digital with CCD Optical Analysis Software
NG-1000 Series
NextGen Micro Hardness testers provide solutions for Vickers and Knoop hardness testing with micro loads ranging from 10gf to 1kgf. The NG1000 series is available in Standard Digital, Digital and CCD configurations for Micro Vickers/Knoop testing.
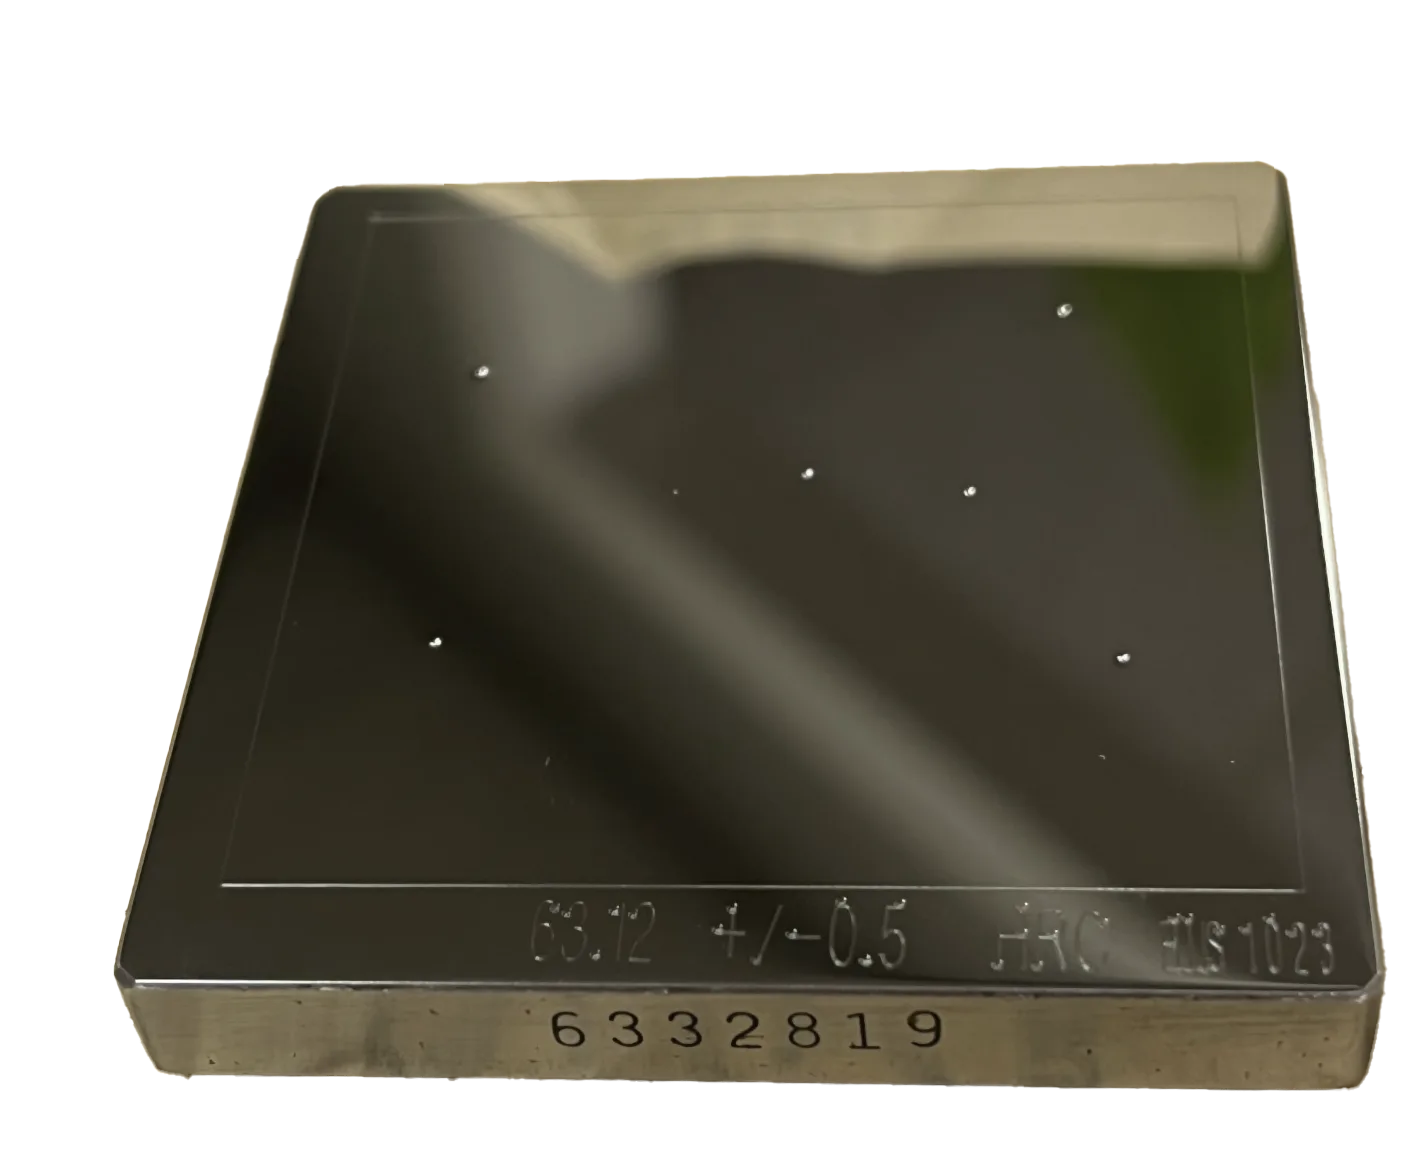
Hardness Test Blocks, Indenters and Hardness Testing Accessories
Certified Test Blocks are a requirement as a reference material for any type of hardness testing. At NextGen, we understand the importance of a Test Block to ensure the accuracy of your hardness testing procedures.
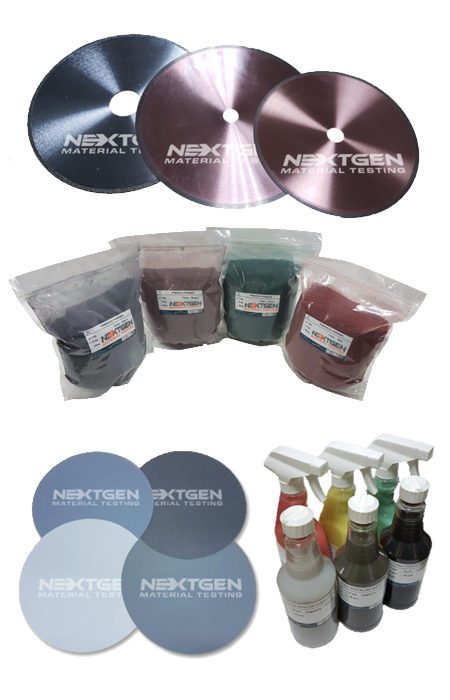
Metallography Consumables
Learn about the full scope of NextGen's cutting, polishing & grinding, mounting and etching metallography consumables. Our consumables are compatible with virtually all global brands, offering a rare combination of exceptional quality, longevity and affordability.
